e-STUDIO2020C/2330C/2820C/2830C/3520C/3530C/4520C
© 2008 - 2011 TOSHIBA TEC CORPORATION All rights reserved
REPLACEMENT OF PC BOARDS/HDD
7 - 20
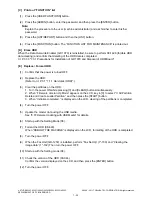
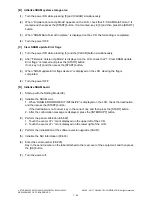
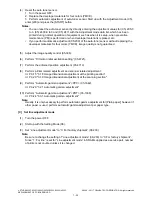
[C] Print out “FUNCTION” list
(1)
Press the [USER FUNCTIONS] button.
(2)
Press the [ADMIN] button, enter the password, and then press the [ENTER] button.
Note:
Explain the procedure to the user (machine administrator) and ask him/her to enter his/her
password.
(3)
Press the [LIST/REPORT] button and then the [LIST] button.
(4)
Press the [FUNCTION] button. The “FUNCTION LIST FOR MAINTENANCE” is printed out.
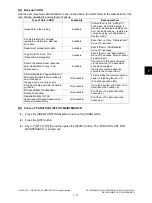
[D] Erase HDD
When the Data Overwrite Enabler (GP-1070) is reinstalled, be sure to perform 08-1426 (forcible HDD
data clearing) and confirm that deleting of the HDD data is completed.
P.7-33 "7.3.1 Precautions for Installation of GP-1070 and Disposal of HDD/Board"
[E]
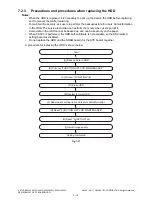
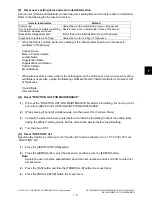
Replace / Format HDD
(1)
Confirm that the power is turned OFF.
(2)
Replace the HDD.
(Refer to
P.7-1 "7.1.1 Hard disk (HDD)".)
(3)
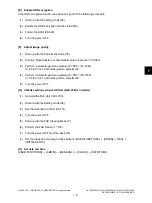
Clear the partitions on the HDD.
1. Turn the power ON while pressing [3] and [CLEAR] button simultaneously.
2. When “Firmware Version Up Mode” appears on the LCD, key in [3] to select “3: All Partition
Delete and Create Loader Partition.” and then press the [START] button.
3. When “Initialize completed.” is displayed on the LCD, clearing of the partitions is completed.
(4)
Turn the power OFF.
(5)
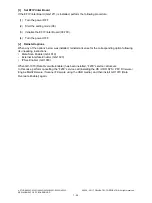
Update the master data using the USB media.
See “8.1Firmware Updating with USB Media” for details.
(6)
Start up with the Setting Mode (08).
(7)
Format the HDD (08-690).
When “REBOOT THE MACHINE” is displayed on the LCD, formatting of the HDD is completed.
(8)
Turn the power OFF.
(9)
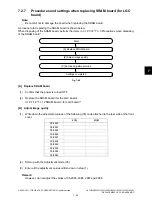
When the Fax Unit (GD-1250) is installed, perform “Fax Set Up” (1*-100) and “Clearing the
image data” (1*-102).Then turn the power OFF.
(10) Start up with the Setting mode (08).
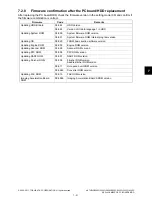
(11) Check the version of the HDD (08-944).
Confirm the version displayed on the LCD, and then press the [ENTER] button.
(12) Turn the power OFF.

