6
© 2008 - 2011 TOSHIBA TEC CORPORATION All rights reserved
e-STUDIO2020C/2330C/2820C/2830C/3520C/3530C/4520C
ERROR CODE AND TROUBLESHOOTING
6 - 97
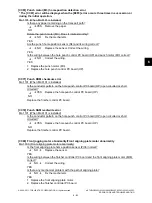
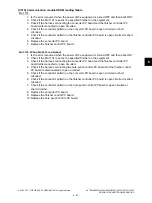
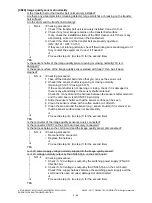
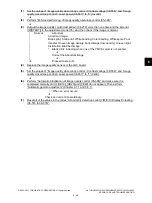
(3)
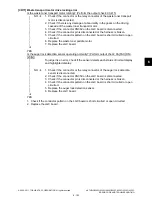
Check “Output value display of image quality sensor / High-density pattern (05-390-0 to 3)” to
check if the high-density pattern abnormality occurs for each color and identify the color which
pattern is abnormal. If the value is 628 or above, it is defined as high-density pattern abnormality.
(4)
Set the values of “Image quality closed-loop control / Contrast voltage (08-556)” and “Image
quality closed-loop control / Laser power (08-557)” to “0” (Invalid).
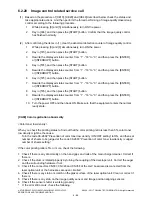
(5)
Perform “Enforced performing of image quality open-loop control (05-394)”.
(6)
Output the image quality control test pattern (04-270) more than one time and the list print
([9][START]) in the adjustment mode (05), and check the patch of the color identified in step (1)
to see if the image is abnormal.
(7)
Replace the image quality sensor or LGC board.
(8)
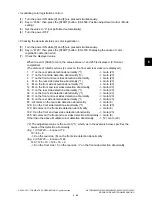
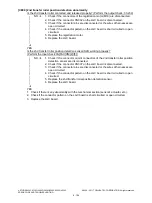
Set the values of “Image quality closed-loop control / Contrast voltage (08-556)” and “Image
quality closed-loop control / Laser power (08-557)” to “1” (Valid).
(9)
Perform “Automatic initialization of image quality control (05-396)” and make sure it is completed
normally. (Error [CE40] does not appear.) Then perform “Automatic gamma adjustment” (Chapter
3.7.1 and 3.8.1).
|
|
|
|
|
|
|
|
|
|
|
|
|
|
|
|
|
|
|
|
|
|
|
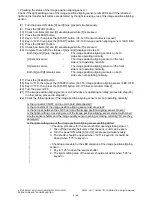
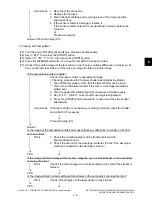
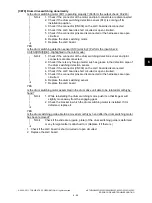
Under 628 (Y, M, C and K)
|
628 or above (Y, M, C and K)
High-density pattern abnormality
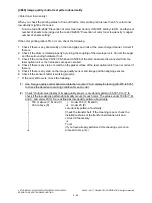
•
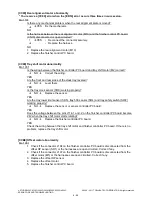
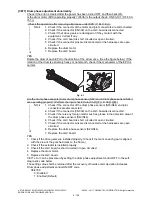
Check if the laser shutter is working properly.
<Procedure>
1. Take off the developer unit so that the laser shutter
can be easily seen.
*
Clean around the laser shutter if the developer has
been spilled over.
2. While pressing the digital keys [0] and [3]
simultaneously, turn the power ON.
3. Key in “417”.
4. Press the [START] button repeatedly to open and
close the shutter alternatively.
-
If the laser shutter does not open/close, check
the shutter and correct it if necessary.
•
Check if the developer unit has been installed properly.
1. Visually check the installation status of the developer
unit, and correct it if there is any abnormality.
|
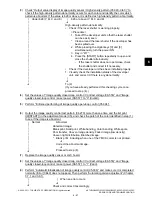
To (9)
(If you have already performed this checking cycle once,
proceed to step (4).)
|
|
|
|
|
|
|
|
|
|
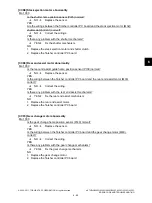
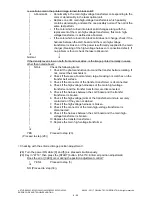
Normal
Abnormal
Abnormal image:
Blank print, Solid print, White banding, Color banding, White spots,
Poor transfer, Uneven image density, Faded image (low density),
Uneven light distribution, Blotched image.
*
Blank print: including when one of the YMCK colors is not printed.
Correct the abnormal image.
Proceed to step (8).
|
|
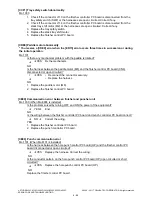
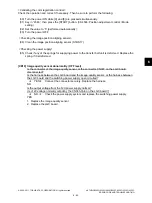
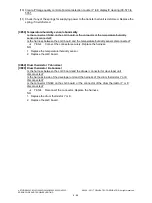
| When an error occurs:
Check and correct it accordingly.

