


1-43
IMPORTANT POINTS WHEN USING THE BYPASS TRAY
• When using plain paper other than SHARP standard paper or special media other than SHARP-recommended
transparency film, or when printing on the reverse side of previously used paper, the paper must be loaded one sheet
at a time. Loading more than one sheet at a time will cause misfeeds.
• Before loading paper, straighten any curling in the paper.
• When adding paper, remove any paper remaining in the bypass tray, combine it with the paper to be added, and
reload as a single stack. If paper is added without removing the remaining paper, a misfeed may result.
Inserting paper
Inserting tab paper
To print on tab paper, load tab paper in the bypass tray with the print side face up.
Inserting transparency film
Place paper that is 7-1/4" x 10-1/2" (A5) or smaller in the horizontal
orientation.
• Use only tab paper that is made of paper. Tab paper made of a material other than paper (film, etc.) cannot be used.
•
To print on the tabs of tab paper...
In copy mode, use "Tab Copy" in the special modes. In print mode, use the tab print function.
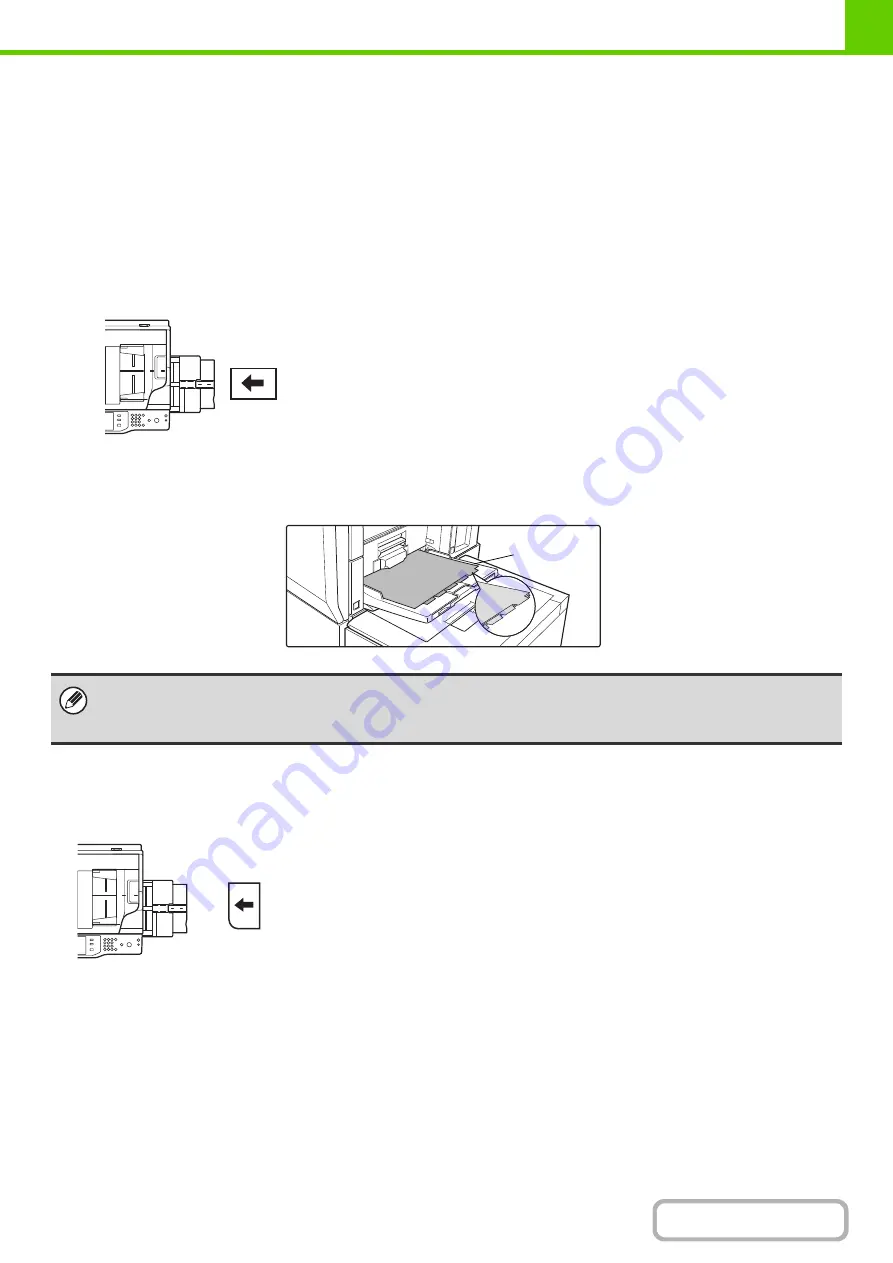
• Use SHARP-recommended transparency film. When inserting
transparency film in the bypass tray, the rounded corner
should be facing the front left of the machine.
• When loading multiple sheets of transparency film in the
bypass tray, be sure to fan the sheets several times before
loading.
• When printing on transparency film, be sure to remove each
sheet as it exits the machine. Allowing sheets to stack in the
output tray may result in curling.
Face up
Summary of Contents for MX-M623
Page 6: ...Make a copy on this type of paper Tab Paper Transparency film ...
Page 11: ...Conserve Print on both sides of the paper Print multiple pages on one side of the paper ...
Page 35: ...Organize my files Delete a file Delete all files Periodically delete files Change the folder ...
Page 324: ...3 18 PRINTER Contents 4 Click the Print button Printing begins ...