115
18
Press the [COLOR START] key (
)
or the [BLACK & WHITE START] key
(
).
Copying will begin.
• If the originals were placed in the document feeder tray, the
originals are copied.
• If you are using the document glass, copy each page one
page at a time.
If you are using the sort function or other function that
requires all originals to be scanned before the copies are
printed, you must use the same [START] key that you used
to scan the first original to scan each of the remaining
originals.
• If you selected printing in color, press the [COLOR START] key (
). Even if color is selected, pressing the
[BLACK & WHITE START] key (
) will print the page numbers in black and white.
• If page numbers are printed in color on black and white copies, the copies will be included in the full color count.
To cancel scanning of the original and copying...
Press the [STOP] key (
).
• When "Page Numbering" is selected, copying in group mode is not possible. The mode automatically changes to sort
mode.
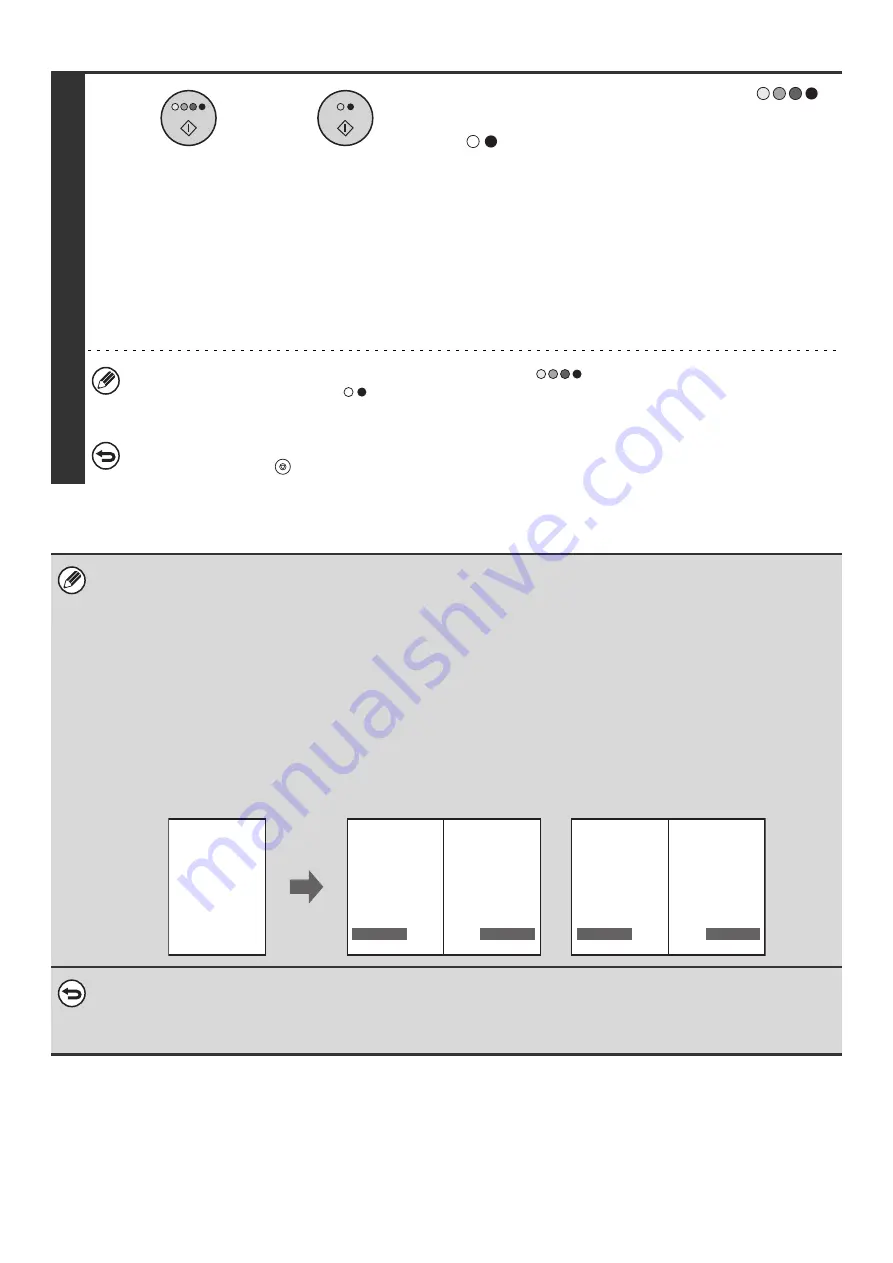
• When the page number printing position is set to the right side or left side and pamphlet copy or book copy is used, the
print position is changed so that the page numbers always appear on the outer side of each opened page (the left and right
sides of the opened pages). If a stamp is set in the area where page numbering is set, the position of the stamp changes
together with the page number.
If another print item is set in this changing position, the page numbers will alternate sides with the stamp.
A stamp item that is in a position not affected by the changing page number position will be printed in its set position.
Example: When four pages are copied using pamphlet copy and the page number format is "1, 2, 3...", the result is as
follows:
In this example, the page number is set at the bottom of the page and the date is set at the top, and thus the
date does not move.
•
To cancel the stamp...
Touch the [Cancel] key in the screen of step 4.
•
To cancel the page numbering setting...
Touch the [Cancel] key in the screen of step 6.
or
Date
Text
Stamp
4
AAA AAA
1
2
AAA AAA
3
No.
AUG/01/2005
AUG/01/2005
AUG/01/2005
AUG/01/2005
CONFIDENTIAL
CONFIDENTIAL
CONFIDENTIAL
CONFIDENTIAL
Print settings
Side 1
Side 2
Summary of Contents for MX 3501N - Color Laser - Copier
Page 1: ...User s Guide MX 3500N MX 3501N MX 4500N MX 4501N MX 2300N MX 2700N MODEL ...
Page 2: ...System Settings Guide MX 3500N MX 3501N MX 4500N MX 4501N MX 2300N MX 2700N MODEL ...
Page 173: ... mx4500_us_ins book 44 ページ 2005年10月31日 月曜日 午前11時57分 ...
Page 174: ... mx4500_us_ins book 45 ページ 2005年10月31日 月曜日 午前11時57分 ...
Page 176: ...Document Filing Guide MX 3500N MX 3501N MX 4500N MX 4501N MX 2300N MX 2700N MODEL ...
Page 223: ...Scanner Guide MX 3500N MX 3501N MX 4500N MX 4501N MX 2300N MX 2700N MODEL ...
Page 354: ...MX4500 US SCN Z2 Scanner Guide MX 3500N MX 3501N MX 4500N MX 4501N MX 2300N MX 2700N MODEL ...
Page 355: ...Printer Guide MX 3500N MX 3501N MX 4500N MX 4501N MX 2300N MX 2700N MODEL ...
Page 415: ...MX4500 US PRT Z2 Printer Guide MX 3500N MX 3501N MX 4500N MX 4501N MX 2300N MX 2700N MODEL ...
Page 416: ...Facsimile Guide MX FXX1 MODEL ...
Page 605: ...MX FXX1 MODEL MX4500 US FAX Z2 Facsimile Guide ...
Page 606: ...Copier Guide MX 3500N MX 3501N MX 4500N MX 4501N MX 2300N MX 2700N MODEL ...
Page 775: ...MX4500 US CPY Z1 Copier Guide MX 3500N MX 3501N MX 4500N MX 4501N MX 2300N MX 2700N MODEL ...
Page 843: ...MX4500 US USR Z1 User s Guide MX 3500N MX 3501N MX 4500N MX 4501N MX 2300N MX 2700N MODEL ...


