17
INSTALLING THE PRINTER DRIVER / PC-FAX DRIVER
14
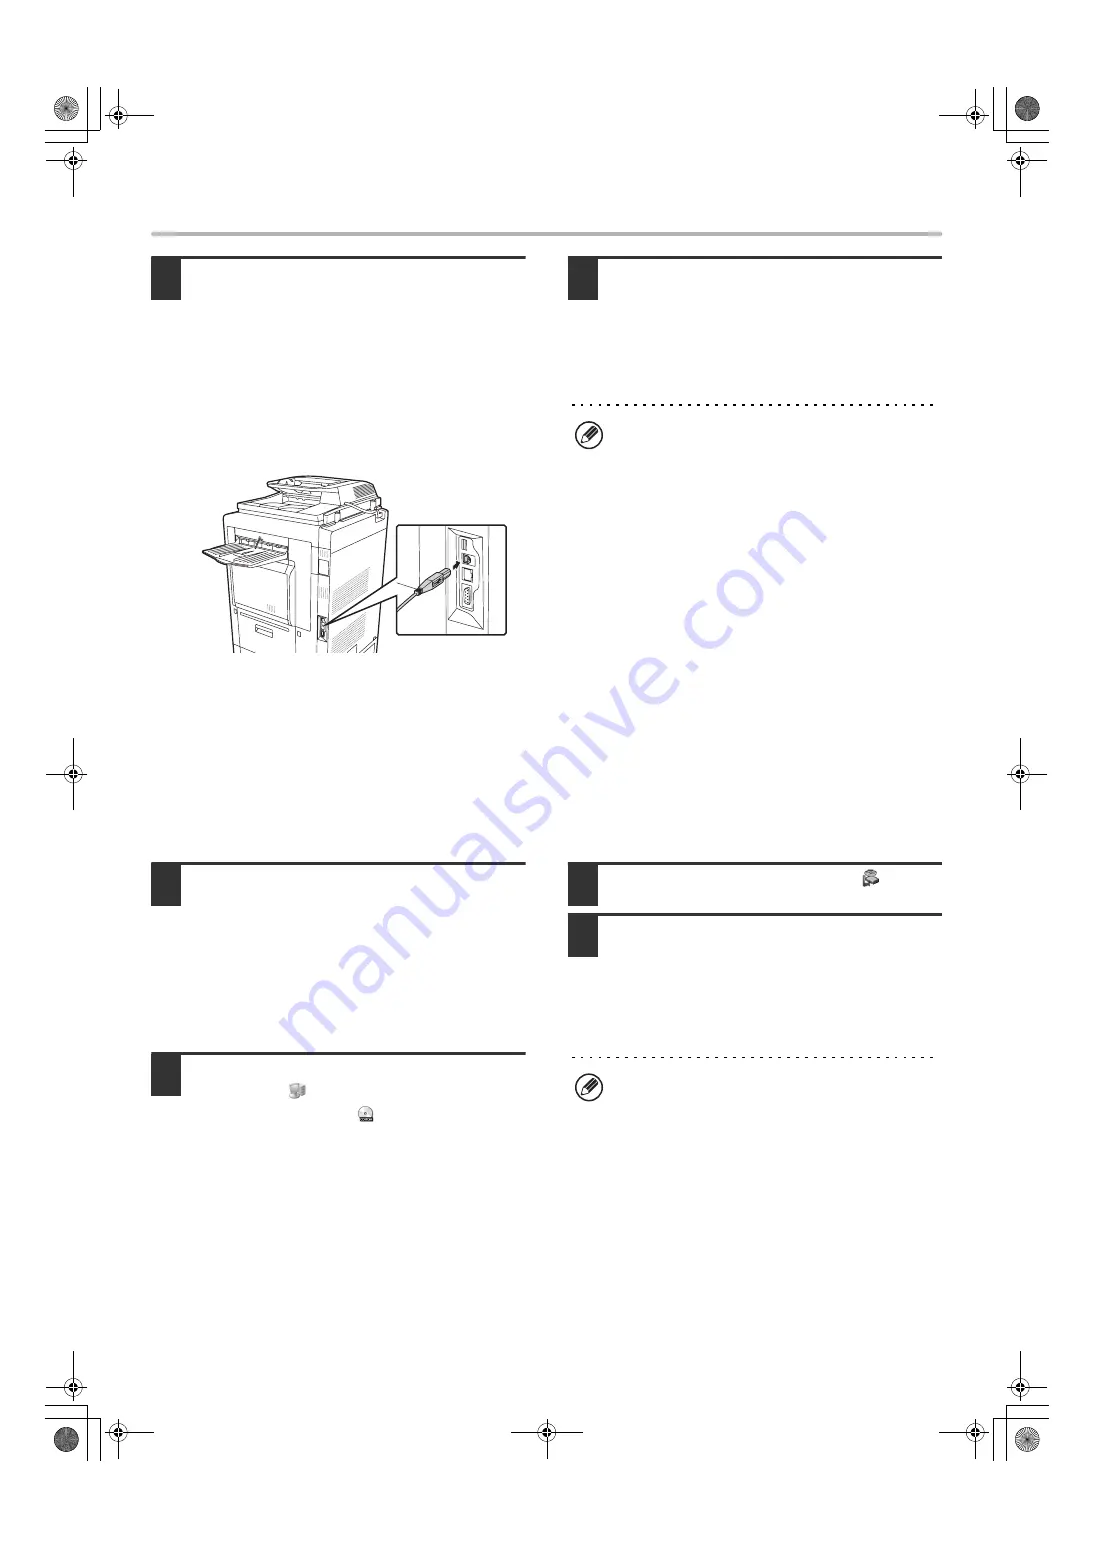
Connect the machine to your computer
with a USB cable.
(1) Make sure that the machine is powered
on.
(2) Connect the cable to the USB
connector (B type) on the machine.
The USB interface on the machine complies with
the USB 2.0 (Hi-Speed) standard. Please purchase
a shielded USB cable.
(3) Connect the other end of the cable to
the USB connector (A type) on your
computer.
The machine is found and a Plug and Play window
appears.
15
Installation of the PCL6 printer driver
begins.
When the "Found New Hardware Wizard" appears,
select [Install the software automatically
(Recommended)], click the [Next] button, and follow the
on-screen instructions.
This completes the installation.
• After installing the printer driver, see "CONFIGURING
THE PRINTER DRIVER FOR THE OPTIONS
INSTALLED ON THE MACHINE" (page 23) to
configure the printer driver settings.
• If you are using the machine as a print server (with the
machine configured as a shared printer), see "USING
THE MACHINE AS A SHARED PRINTER" (page 20)
to install the printer driver on each of the client
computers.
When installing the PCL5c printer driver, PS printer driver, PPD driver, or PC-Fax driver
Installation is possible even after the USB cable has been connected.
1
Insert the "Software CD-ROM" into your
computer's CD-ROM drive.
• If you are installing the printer driver, insert the
"Software CD-ROM" that shows "Disc 1" on the front of
the CD-ROM.
• If you are installing the PC-Fax driver, insert the
"Software CD-ROM" that shows "Disc 2" on the front of
the CD-ROM.
2
Click the [start] button, click [My
Computer] (
), and then double-click
the [CD-ROM] icon (
).
In Windows 98/Me/2000, double-click [My Computer] and
then double-click the [CD-ROM] icon.
3
Double-click the [Setup] icon (
).
4
The "SOFTWARE LICENSE" window
will appear. Make sure that you
understand the contents of the license
agreement and then click the [Yes]
button.
If you are using Windows 2000/XP/Server 2003
If a warning message regarding the Windows logo test
or digital signature appears, be sure to click the
[Continue Anyway] or [Yes] button.
You can show the "SOFTWARE LICENSE" in a
different language by selecting the desired language
from the language menu. To install the software in the
selected language, continue the installation with that
language selected.
!mx4500_us_ins.book 17 ページ 2005年10月31日 月曜日 午前11時57分
Summary of Contents for MX 3501N - Color Laser - Copier
Page 1: ...User s Guide MX 3500N MX 3501N MX 4500N MX 4501N MX 2300N MX 2700N MODEL ...
Page 2: ...System Settings Guide MX 3500N MX 3501N MX 4500N MX 4501N MX 2300N MX 2700N MODEL ...
Page 173: ... mx4500_us_ins book 44 ページ 2005年10月31日 月曜日 午前11時57分 ...
Page 174: ... mx4500_us_ins book 45 ページ 2005年10月31日 月曜日 午前11時57分 ...
Page 176: ...Document Filing Guide MX 3500N MX 3501N MX 4500N MX 4501N MX 2300N MX 2700N MODEL ...
Page 223: ...Scanner Guide MX 3500N MX 3501N MX 4500N MX 4501N MX 2300N MX 2700N MODEL ...
Page 354: ...MX4500 US SCN Z2 Scanner Guide MX 3500N MX 3501N MX 4500N MX 4501N MX 2300N MX 2700N MODEL ...
Page 355: ...Printer Guide MX 3500N MX 3501N MX 4500N MX 4501N MX 2300N MX 2700N MODEL ...
Page 415: ...MX4500 US PRT Z2 Printer Guide MX 3500N MX 3501N MX 4500N MX 4501N MX 2300N MX 2700N MODEL ...
Page 416: ...Facsimile Guide MX FXX1 MODEL ...
Page 605: ...MX FXX1 MODEL MX4500 US FAX Z2 Facsimile Guide ...
Page 606: ...Copier Guide MX 3500N MX 3501N MX 4500N MX 4501N MX 2300N MX 2700N MODEL ...
Page 775: ...MX4500 US CPY Z1 Copier Guide MX 3500N MX 3501N MX 4500N MX 4501N MX 2300N MX 2700N MODEL ...
Page 843: ...MX4500 US USR Z1 User s Guide MX 3500N MX 3501N MX 4500N MX 4501N MX 2300N MX 2700N MODEL ...


