102
Interface Settings
These settings are used to control and monitor data transmitted to the USB port or network port of the machine.
Touch the [Printer Settings] key, touch the [Interface Settings] key, and configure the settings.
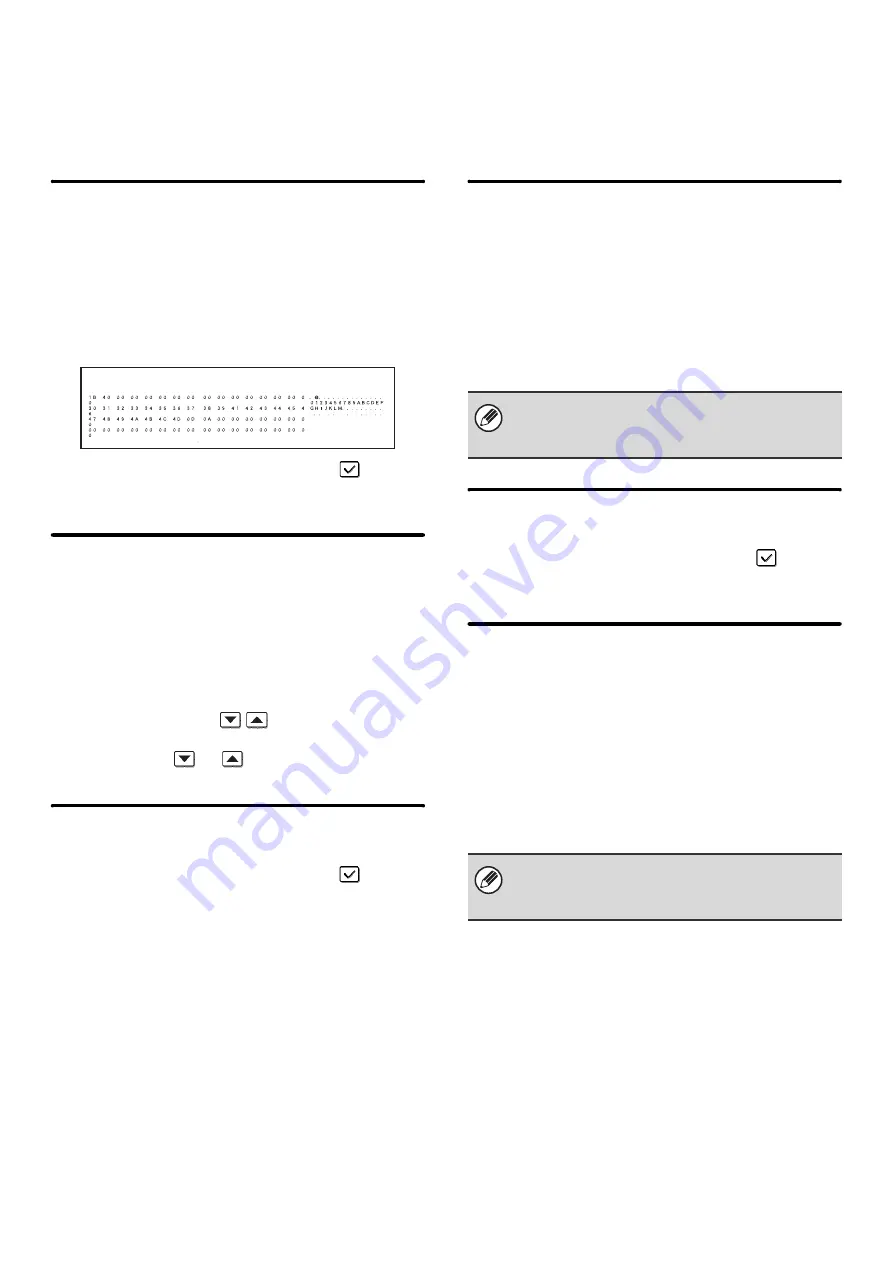
Hexadecimal Dump Mode
This function is used to print the print data from a
computer in hexadecimal format together with the
corresponding ASCII text. This allows you to check
whether or not print data from the computer is being
transmitted to the machine correctly.
Example of a hexadecimal dump
To enable this setting, select the checkbox
and
touch the [OK] key.
I/O Timeout
The I/O timeout can be set to any number of seconds
from 1 to 999.
The I/O timeout function temporarily breaks the
connection if the set duration of time elapses without any
data being received by the port. After the connection is
broken, the port is set to auto selection or the next print
job is begun.
Specify the time with the
keys and touch the
[OK] key. (To make the number change quickly, keep
your finger on the
or
key.)
Enable USB Port
This is used to enable printing from the USB port.
To enable this setting, select the checkbox
and
touch the [OK] key.
USB Port Emulation Switching
If the machine is connected using the USB port, select
the emulated printer language. The settings are the
same as those of "
Network Port Emulation Switching
• Auto*
• PostScript*
• PCL
Select one of the keys and touch the [OK] key.
* When the PS3 expansion kit is installed.
Enable Network Port
This is used to enable printing from the network port.
To enable this setting, select the checkbox
and
touch the [OK] key.
Network Port Emulation Switching
This setting is used to select the emulated printer
language when the machine is connected by a network
port. The settings are the same as those of "
".
• Auto*
• PostScript*
• PCL
Select one of the keys and touch the [OK] key.
* When the PS3 expansion kit is installed.
Unless printer errors occur frequently, it is
recommended that you use the factory default setting
"Auto".
Unless printer errors occur frequently, it is
recommended that you use the factory default setting
"Auto".
Summary of Contents for MX 3501N - Color Laser - Copier
Page 1: ...User s Guide MX 3500N MX 3501N MX 4500N MX 4501N MX 2300N MX 2700N MODEL ...
Page 2: ...System Settings Guide MX 3500N MX 3501N MX 4500N MX 4501N MX 2300N MX 2700N MODEL ...
Page 173: ... mx4500_us_ins book 44 ページ 2005年10月31日 月曜日 午前11時57分 ...
Page 174: ... mx4500_us_ins book 45 ページ 2005年10月31日 月曜日 午前11時57分 ...
Page 176: ...Document Filing Guide MX 3500N MX 3501N MX 4500N MX 4501N MX 2300N MX 2700N MODEL ...
Page 223: ...Scanner Guide MX 3500N MX 3501N MX 4500N MX 4501N MX 2300N MX 2700N MODEL ...
Page 354: ...MX4500 US SCN Z2 Scanner Guide MX 3500N MX 3501N MX 4500N MX 4501N MX 2300N MX 2700N MODEL ...
Page 355: ...Printer Guide MX 3500N MX 3501N MX 4500N MX 4501N MX 2300N MX 2700N MODEL ...
Page 415: ...MX4500 US PRT Z2 Printer Guide MX 3500N MX 3501N MX 4500N MX 4501N MX 2300N MX 2700N MODEL ...
Page 416: ...Facsimile Guide MX FXX1 MODEL ...
Page 605: ...MX FXX1 MODEL MX4500 US FAX Z2 Facsimile Guide ...
Page 606: ...Copier Guide MX 3500N MX 3501N MX 4500N MX 4501N MX 2300N MX 2700N MODEL ...
Page 775: ...MX4500 US CPY Z1 Copier Guide MX 3500N MX 3501N MX 4500N MX 4501N MX 2300N MX 2700N MODEL ...
Page 843: ...MX4500 US USR Z1 User s Guide MX 3500N MX 3501N MX 4500N MX 4501N MX 2300N MX 2700N MODEL ...


