14
INSTALLING THE PRINTER DRIVER / PC-FAX DRIVER
13
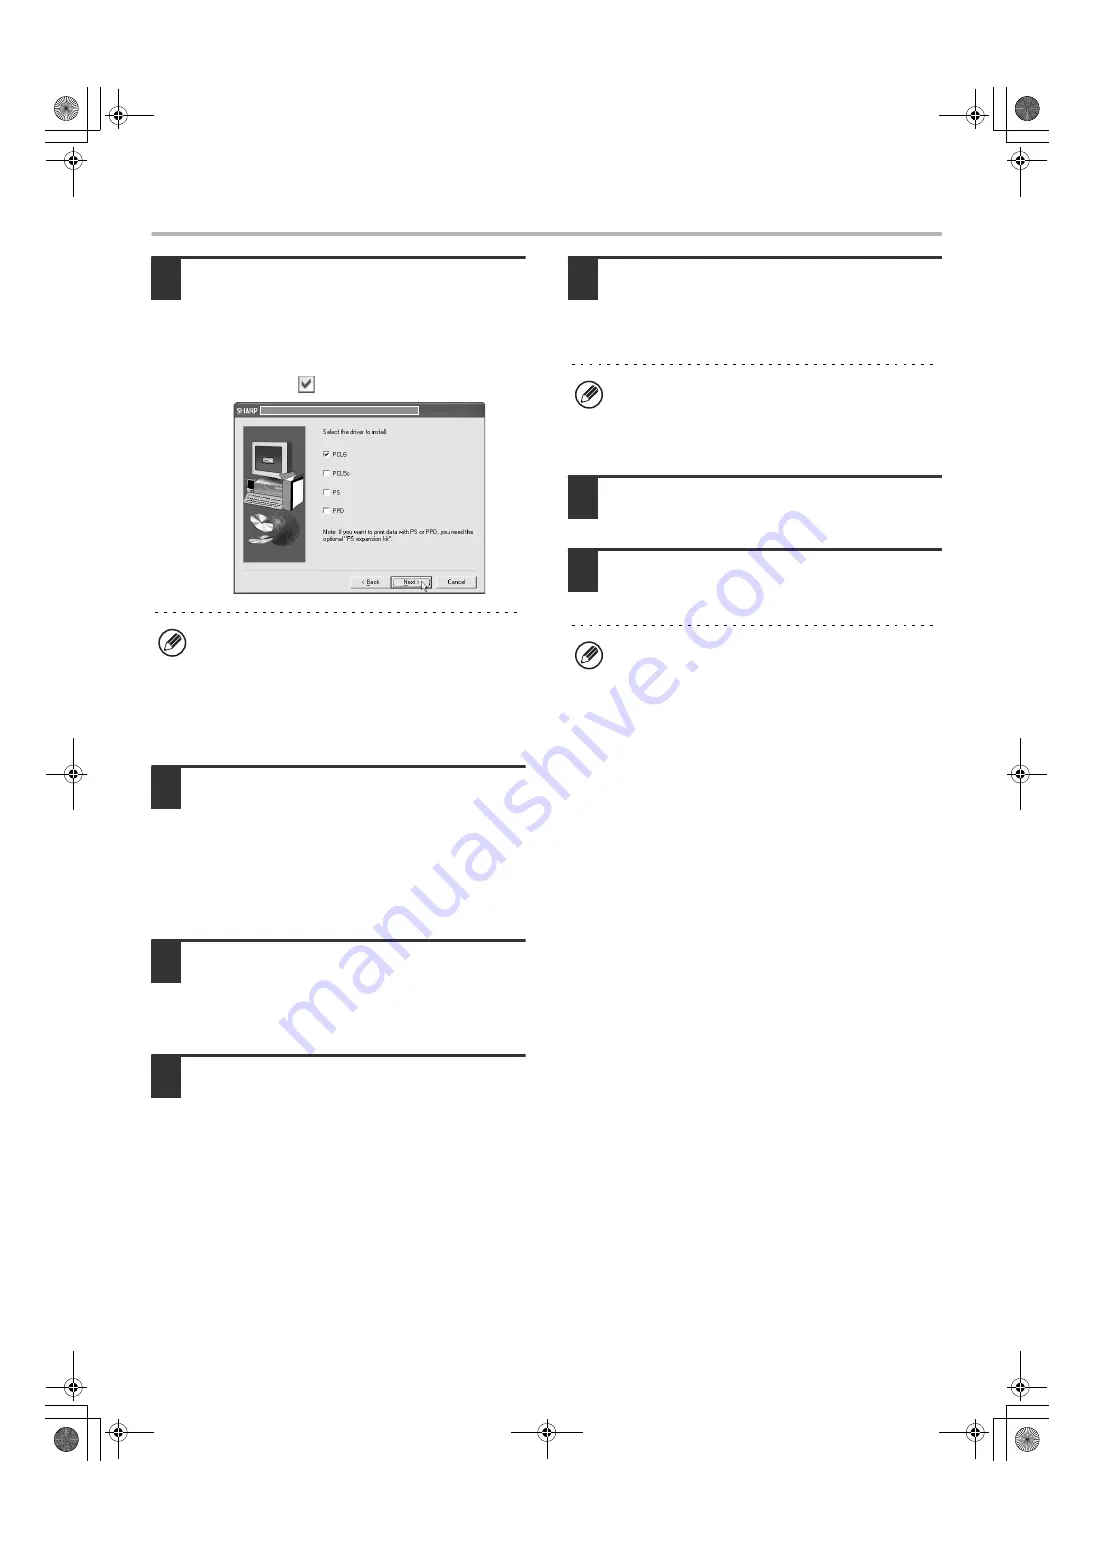
When the printer driver selection
window appears, select the printer
driver to be installed and click the
[Next] button.
Click the checkbox of the printer driver to be installed so
that a checkmark (
) appears.
14
Select whether or not you wish the
printer to be your default printer and
click the [Next] button.
If you are installing multiple drivers, select the printer
driver to be used as the default printer.
If you do not wish to set one of the printer drivers as the
default printer, select [No].
15
When the printer name window
appears, click the [Next] button.
If you wish to change the printer name, enter the desired
name.
16
When you are asked if you wish to
install the display fonts, select an
answer and click the [Next] button.
• When the PC-Fax driver is being installed, this screen
does not appear. Go to the next step.
• If you are not installing the PCL printer driver (you are
installing the PS printer driver or the PPD driver),
select [No] and click the [Next] button.
17
Follow the on-screen instructions.
Read the message in the window that appears and click
the [Next] button.
Installation begins.
18
When the installation completed screen
appears, click the [OK] button.
19
Click the [Close] button in the window
of step 6.
This completes the installation.
• After installation, see "CONFIGURING THE PRINTER
DRIVER FOR THE OPTIONS INSTALLED ON THE
MACHINE" (page 23) to configure the printer driver
settings.
• If you installed the PS printer driver or the PPD driver,
the PS display fonts can be installed from the
"PRINTER UTILITIES" CD-ROM that accompanies
the PS3 expansion kit. See "INSTALLING THE PS
DISPLAY FONTS" (page 40).
• When the PC-Fax driver is being installed, this
screen does not appear. Go to the next step.
• The PS3 expansion kit is required to use the PS
printer driver.
• The [PPD] checkbox only appears if you are using
Windows 2000/XP/Server 2003.
If you are using Windows 2000/XP/Server 2003
If a warning message regarding the Windows logo test
or digital signature appears, be sure to click the
[Continue Anyway] or [Yes] button.
After the installation, a message prompting you to
restart your computer may appear. If this message
appears, click the [Yes] button to restart your
computer.
!mx4500_us_ins.book 14 ページ 2005年10月31日 月曜日 午前11時57分
Summary of Contents for MX 3501N - Color Laser - Copier
Page 1: ...User s Guide MX 3500N MX 3501N MX 4500N MX 4501N MX 2300N MX 2700N MODEL ...
Page 2: ...System Settings Guide MX 3500N MX 3501N MX 4500N MX 4501N MX 2300N MX 2700N MODEL ...
Page 173: ... mx4500_us_ins book 44 ページ 2005年10月31日 月曜日 午前11時57分 ...
Page 174: ... mx4500_us_ins book 45 ページ 2005年10月31日 月曜日 午前11時57分 ...
Page 176: ...Document Filing Guide MX 3500N MX 3501N MX 4500N MX 4501N MX 2300N MX 2700N MODEL ...
Page 223: ...Scanner Guide MX 3500N MX 3501N MX 4500N MX 4501N MX 2300N MX 2700N MODEL ...
Page 354: ...MX4500 US SCN Z2 Scanner Guide MX 3500N MX 3501N MX 4500N MX 4501N MX 2300N MX 2700N MODEL ...
Page 355: ...Printer Guide MX 3500N MX 3501N MX 4500N MX 4501N MX 2300N MX 2700N MODEL ...
Page 415: ...MX4500 US PRT Z2 Printer Guide MX 3500N MX 3501N MX 4500N MX 4501N MX 2300N MX 2700N MODEL ...
Page 416: ...Facsimile Guide MX FXX1 MODEL ...
Page 605: ...MX FXX1 MODEL MX4500 US FAX Z2 Facsimile Guide ...
Page 606: ...Copier Guide MX 3500N MX 3501N MX 4500N MX 4501N MX 2300N MX 2700N MODEL ...
Page 775: ...MX4500 US CPY Z1 Copier Guide MX 3500N MX 3501N MX 4500N MX 4501N MX 2300N MX 2700N MODEL ...
Page 843: ...MX4500 US USR Z1 User s Guide MX 3500N MX 3501N MX 4500N MX 4501N MX 2300N MX 2700N MODEL ...


