Ontrac Installation Manual
26
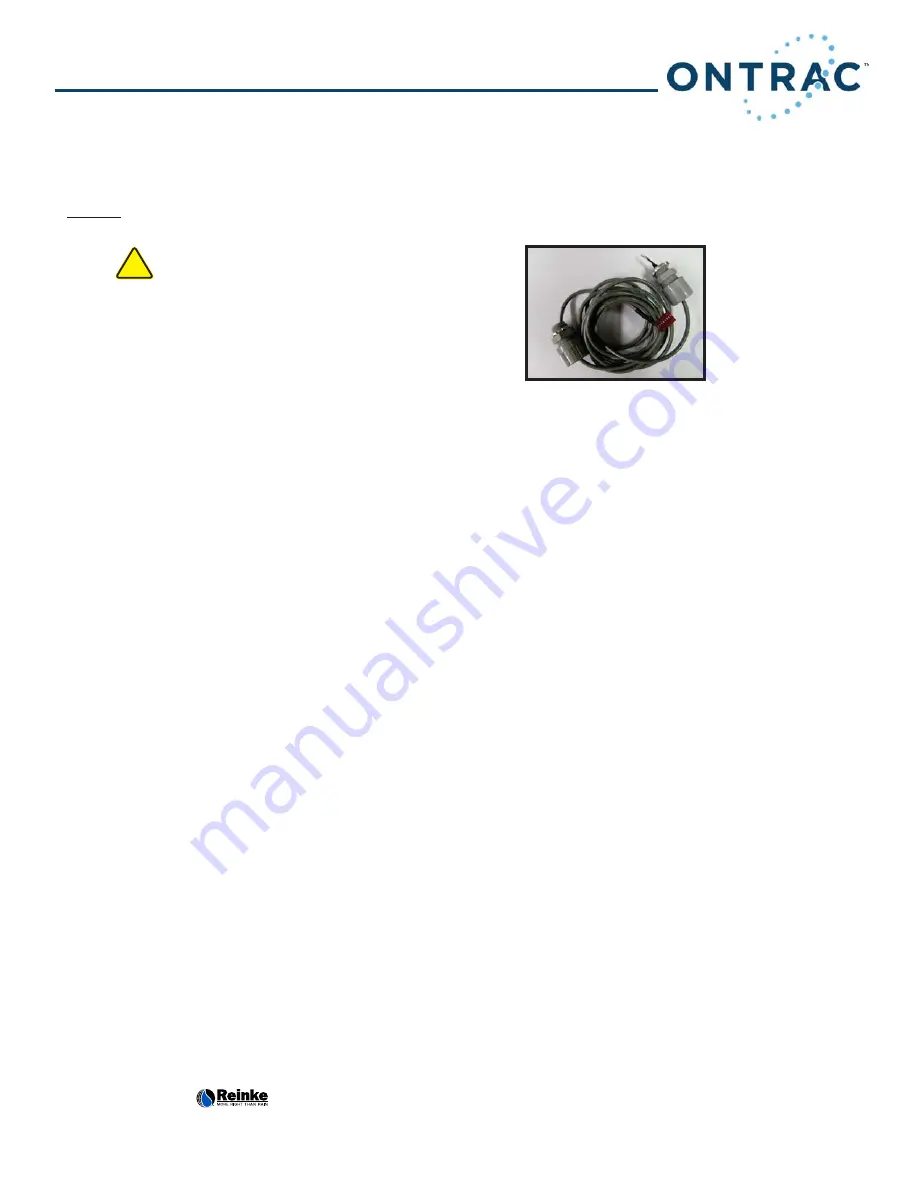
Cell Option: GPS Navigator Cable (350774)
350974
- Ontrac Cell Navigator GPS Cable: Data Cable Assy-Ontrac Navigator GPS (P/N 110547), WDHD
5522 ½” NPT .19-.25 (P/N 112467), Locknut-1/2” Elect Conn (P/N 113136)
Verify that all parts match accordingly.
!
350974 - (Ontrac Cell-GPS NAVIGATOR CABLE) -
This option provides the serial communications
cable to connect an Ontrac Cell-Base Unit (350785) with a Reinke Navigator EOS GPS option. This allows
remote monitoring of system position using standard Reinke Navigator GPS equipment.
Installation:
1. Verify that all parts match accordingly.
2. This option can be installed at either the EOS or Pivot Center Resolver Board location. The wiring is
similar for each location.
2. Disconnect the battery, solar, and power supply from the G2 Board.
3.
Pivot Center mounting location:
a. Install a strain relief in the system main control panel. Choose any available ½” knock out.
4. End of System mounting Location:
a. Drill a 7/8” hole and install a strain relief in the Ontrac Cell-Base Unit. Install the Strain
Reliefs and Data Cable between the Ontrac Cell-Base Unit and the Navigator GPS Resolver
Box. The 8 position plug goes to the Ontrac box and the flying red/black leads to the
Resolver Box.
5. Connect the 8 position plug to the Modem Socket B serial port (J26).
6. Connect the Data Cable red/black wires to the Resolver Board Serial and Ground terminals as shown on
the next page.
7. Verify the Resolver Board serial out is set for ONTRAC.
8. Connect the battery, solar and power supply to the G2 board.
9. When the G2 board is powered press the Enter button twice to enter the main menu.
10. Press Back to select GPS and press Enter.
11. Press Enter for GPS mode.
12. Press Back to select External and press Enter.
13. Press Escape until the home screen is displayed.
14. Installation is complete.
15. Install all other options before verifying.
Verification
1. Start the system to verify the position on the Ontrac LCD home screen updates accurately. It will
update every 20 seconds. Pressing Escape will refresh the position displayed.
2. Use the ontracbyreinke.com website (user interface) or http://admin.ontracbyreinke.com/field_test,
(requires radio number), to verify proper communication and GPS position reporting.
Note: The field test website is only required if raw data is needed to verify
correct unit operation or ontracbyreinke.com has not been previously setup.
3. If you have questions or concerns contact technical support.
4. Verification complete.
5. Verify all installed options before leaving the field.
Note: This option will not work with CDW Boards using
VRI Technology.
Summary of Contents for Ontrac
Page 1: ...Ontrac Remote Management Installation Manual Ontrac Installation and Service Manual ...
Page 5: ...Safety Decals located on Main Control Panel preface System Safety IV Ontrac System Safety ...
Page 14: ...87 Satellite Base Units ...
Page 19: ...92 ...
Page 20: ...93 ...
Page 29: ...102 ...
Page 30: ...103 ...
Page 41: ...114 ...
Page 42: ...115 ...
Page 46: ......
Page 51: ...5 ...
Page 52: ......
Page 57: ...10 ...
Page 58: ......
Page 63: ...15 ...
Page 64: ......
Page 72: ......
Page 78: ......
Page 79: ...5 ...
Page 80: ...6 ...
Page 83: ...9 Options Setra Pressure Transducer 350734 Ontrac Installation Manual ...
Page 86: ...12 Options Setra Pressure Transducer Retro Fit 350734R Ontrac Installation Manual ...
Page 95: ...Ontrac Installation Manual 25 Options Post Tower Mount with Stop Iridium 350753 ...
Page 101: ...Ontrac Installation Manual 31 Options Post Tower Mount with Start Stop Iridium 350754 ...
Page 102: ......
Page 120: ...Ontrac Installation Manual 17 Cell Option Wire Theft Retro 356901R SAMPLE ...
Page 130: ...27 Wiring Diagram Ontrac Cell GPS Navigator Cable Ontrac Cell GPS Navigator Cable ...
Page 132: ......
Page 139: ...Moved to Archive Manual 01 2014 Ontrac Installation Manual Troubleshooting ...
Page 142: ...Flowcharts Ontrac Installation Manual Enclosed Adjustable Power Supply Troubleshooting 12 ...
Page 143: ...Ontrac Installation Manual Flowcharts Open Face Power Supply Troubleshooting 13 ...
Page 144: ...Ontrac Installation Manual Solar Panel Troubleshooting 14 Flowcharts ...
Page 145: ...Ontrac Installation Manual Rain Gauge Troubleshooting 15 Flowcharts ...
Page 146: ...Ontrac Installation Manual 16 Flowcharts Flowchart removed 01 14 see Archive Manual on RDSS ...
Page 147: ...Ontrac Installation Manual 17 Flowcharts Setra 1 6v 0 200psi Transducer Troubleshooting ...
Page 148: ...Ontrac Installation Manual Theft Sensor Troubleshooting 18 Flowcharts ...
Page 156: ......
Page 192: ...36 ...
Page 193: ...37 ...
Page 194: ...38 ...
Page 195: ...39 Rain Gauge ...
Page 196: ...40 ...
Page 197: ...41 ...
Page 198: ...Basic 42 ...
Page 199: ...43 ...
Page 200: ...44 ...


