


Chapter 6: Using the Web Interface
325
Setting the Date and Time
Set the internal clock on the PX3TS device manually, or link to a Network
Time Protocol (NTP) server.
Note: If you are using Sunbird's Power IQ to manage the PX3TS, you
must configure Power IQ and the PX3TS to have the same date/time or
NTP settings.
To set the date and time:
1.
Choose Device Settings > Date/Time.
2.
Click the Time Zone field to select your time zone from the list.
3.
If the daylight saving time applies to your time zone, verify the
Automatic Daylight Saving Time Adjustment checkbox is selected.
If the daylight saving time rules are not available for the selected
time zone, the checkbox is not configurable.
4.
Select the method for setting the date and time.
Customize the date and time
Select User Specified Time.
Type values in the Date field using the yyyy-mm-dd format, or click
to select
a date. For details, see
Calendar
(on page 327).
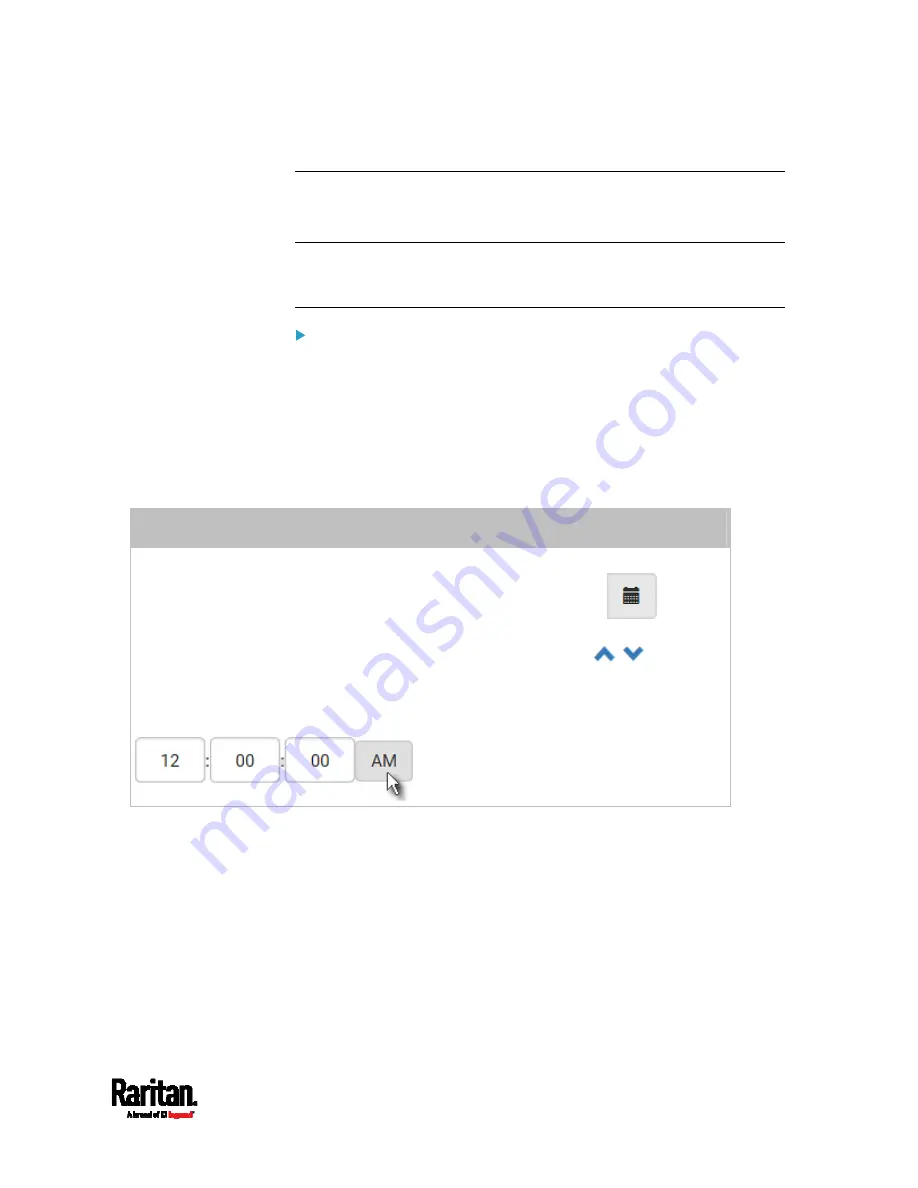
Type values in the Time field using the hh:mm:ss format, or click
to adjust
values.
The time is measured in 12-hour format so you must correctly specify AM or PM
by clicking the AM or PM button.
Summary of Contents for PX3TS
Page 5: ......
Page 16: ...Contents xvii Index 807...
Page 83: ...Chapter 4 Connecting External Equipment Optional 59 A DPX2 sensor package A DPX sensor package...
Page 85: ...Chapter 4 Connecting External Equipment Optional 61...
Page 754: ...Appendix H RADIUS Configuration Illustration 730 Note If your PX3TS uses PAP then select PAP...
Page 759: ...Appendix H RADIUS Configuration Illustration 735 14 The new attribute is added Click OK...
Page 760: ...Appendix H RADIUS Configuration Illustration 736 15 Click Next to continue...
Page 792: ...Appendix I Additional PX3TS Information 768...


