Step 6. Run the Philips Upgrade Wizard.
IntelliVue Telemetry System Infrastructure Installation and Service Guide
3
-
17
Using the Upgrade Wizard
Caution
Close the APC web interface before running the Philips Upgrade Wizard. Do not add
components to or remove components from the IntelliVue Telemetry System while
the wizard is running.
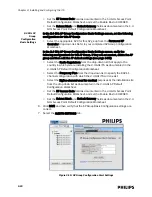
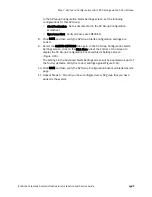
Follow these steps to upgrade ITS Access Point Controllers and Access Points using
the Philips Upgrade Wizard:
Philips Upgrade Wizard:
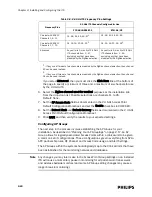
1. Run the Philips Upgrade Wizard by double-clicking the file:
C:\TelemetryUpgrader\upgrader.exe
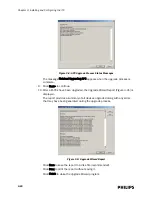
The Upgrade Wizard splash screen (Figure 3-17) appears.
2. Click Next> to continue.
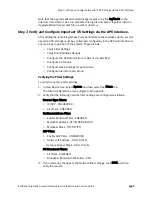
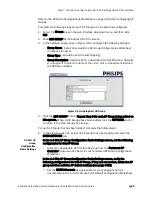
The APC/AP firmware selection screen (Figure 3-18) appears.
3. Complete the settings on the APC/AP firmware selection screen:
a) Click ... and then browse to the directory (e.g.,
C:\TelemetryUpgrader\AP
and APC Images\)
in which you have installed the APC and AP firmware
files.
b) Specify what type of APs you have installed by marking the appropriate radio
button, 1.4 GHz Smart Hopping or 2.4 GHz Smart Hopping.
Additionally, if you have installed Core APs, then be sure to mark the System
includes Cluster APs (with or without Remote Antennas) checkbox.
c) Verify that the correct firmware versions are displayed in the APC Version,
AP Version (Standard), and AP Version (Cluster) fields.
d) Select the ICN IP address (e.g., 172.31.240.4) you have configured for the
support PC on which you are running the wizard from the Use IP Address
drop-down menu. The menu lists the IP addresses of all Ethernet NICs
configured on the PC.
Figure 3-5: Upgrade Wizard Splash Screen
Summary of Contents for IntelliVue Telemetry System Infrastructure
Page 8: ...viii Contents ...
Page 14: ...xiv About This Guide ...
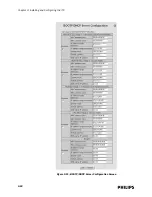
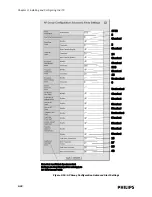
Page 100: ...3 22 Chapter 3 Installing and Configuring the ITS Figure 3 10 APC Filter Configuration Screen ...
Page 162: ...5 12 Chapter 5 Troubleshooting and Testing ...
Page 168: ...A 6 Chapter A Installing Multiple ITSs at a Single Hospital Site ...
Page 180: ...Index 8 Index ...


