148
Se
tt
ing I
n
s
p
e
c
tio
n C
on
d
it
ions
C
h
ap
te
r 4
Setting Judgement Limits
Set a tolerance (Maximum and Minimum values) of area or gray average measured in each cell.
If the detected data are within the tolerance, the object will be judged as "OK", if they are outside of it, the object
will be judged as "NG". When judgments of all cells are “OK”, judgement of the checker will be “OK”.
The maximum/minimum value can be set in two ways, common setting and individual setting. The common
setting sets the same value for all cells and the individual setting sets separate values. When you want to set
criteria for OK judgement by cells, use individual setting.
1.
Select "Judgement Limits".
2.
Press the TRIG key to execute a test.
The area of each cell is displayed for your guide to set
maximum/minimum values.
3.
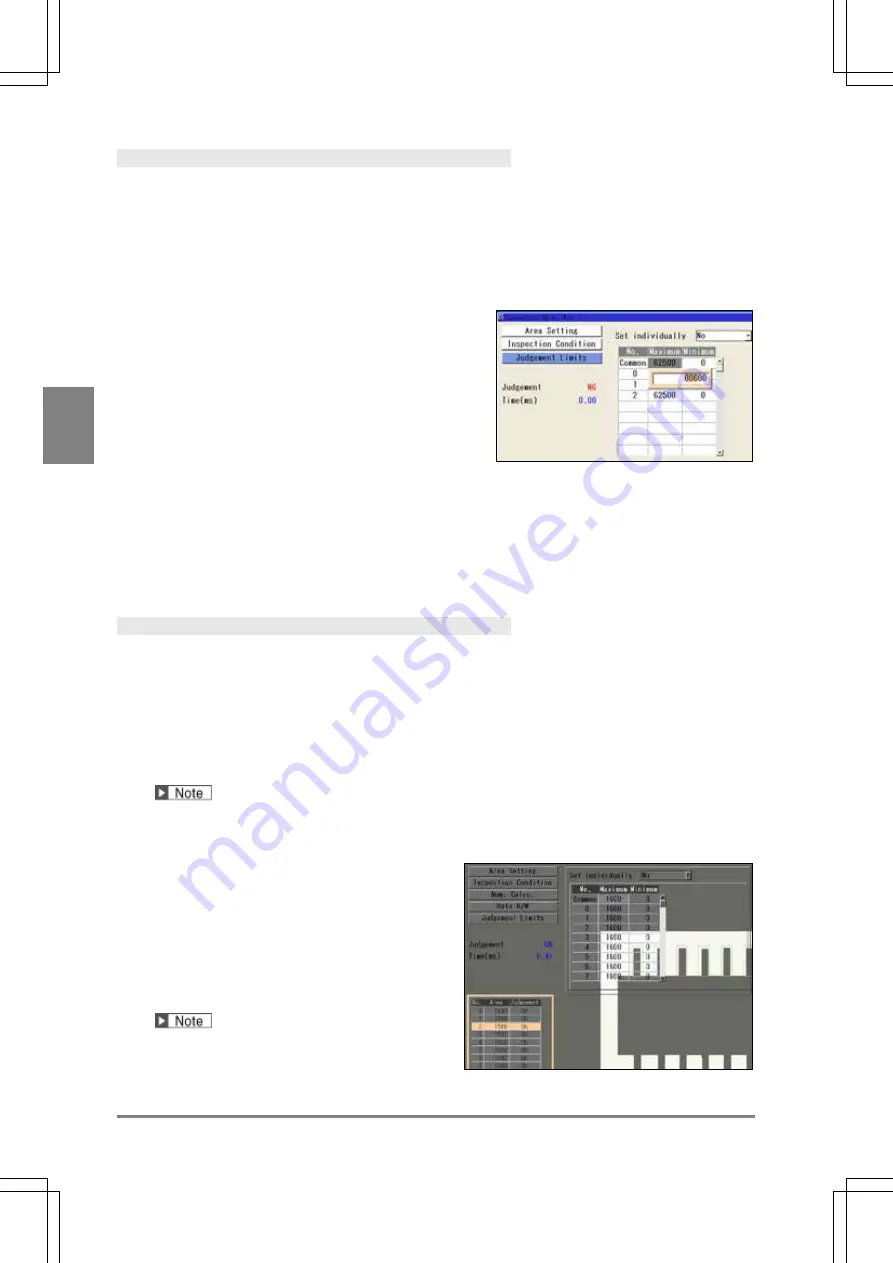
To set values individually, select “Yes” for “Set
individually”.
Select "No" not to employ Individual Setting.
4.
Select the table of maximum/minimum values.
5.
To employ the common setting, select the row of “Common” and enter a value.
To use the individual setting, select a cell number and enter a value.
After the setting is completed, press the CANCEL key.
Running a Test and Confirming Result
Confirm if the current settings perform an inspection properly. To observe the image easily, set “Window
Transparency (SETUP menu)” to a larger value. (See “Changing Window Transparency (SETUP Menu)”, page
341)
1.
Press the TRIG key.
When a live image is displayed on the screen, PV captures a new image first and runs a test. When a
memory image is displayed, it runs a test using the current memory image without capturing any images.
Position adjustment is also executed at the same time if it is used.
2.
Check data of the result list.
Connector (Binary Window)
No.:
Binary Window cell No.
Area:
Area of each cell
Judgement:
Judgement of each cell
Connector (Gray Window)
No.:
Gray Window cell No.
Gray Average:
Gray average of each cell
Judgement:
Judgement of each cell
When you highlight each No., the selected cell
turns to pink on the screen window.
Summary of Contents for PV-500
Page 1: ......
Page 10: ......
Page 11: ...9 Names and Descriptions Chapter 1 INDEX Chapter 1 Names and Descriptions ...
Page 21: ...19 Installation and Wiring Chapter 2 INDEX Chapter 2 Installation and Wiring ...
Page 37: ...35 Basic Operation Chapter 3 INDEX Chapter 3 Basic Operation ...
Page 55: ...53 Setting Inspection Conditions Chapter 4 INDEX Chapter 4 Setting Inspection Conditions ...
Page 345: ...343 Chapter 7 Changing Configuration INDEX Chapter 7 Changing Configuration TOOL ...
Page 375: ...373 Operation and Data Output through I O Terminals Chapter 8 INDEX ...
Page 390: ......
Page 391: ...389 Control with Communication Port Chapter 9 INDEX Chapter 9 Control with Communication Port ...
Page 430: ......
Page 431: ...429 PVWIN Chapter 10 INDEX Chapter 10 PVWIN ...
Page 493: ......
Page 494: ......


