5 [Registration] Tab Page
74 [Registration] Tab Page Overview
7
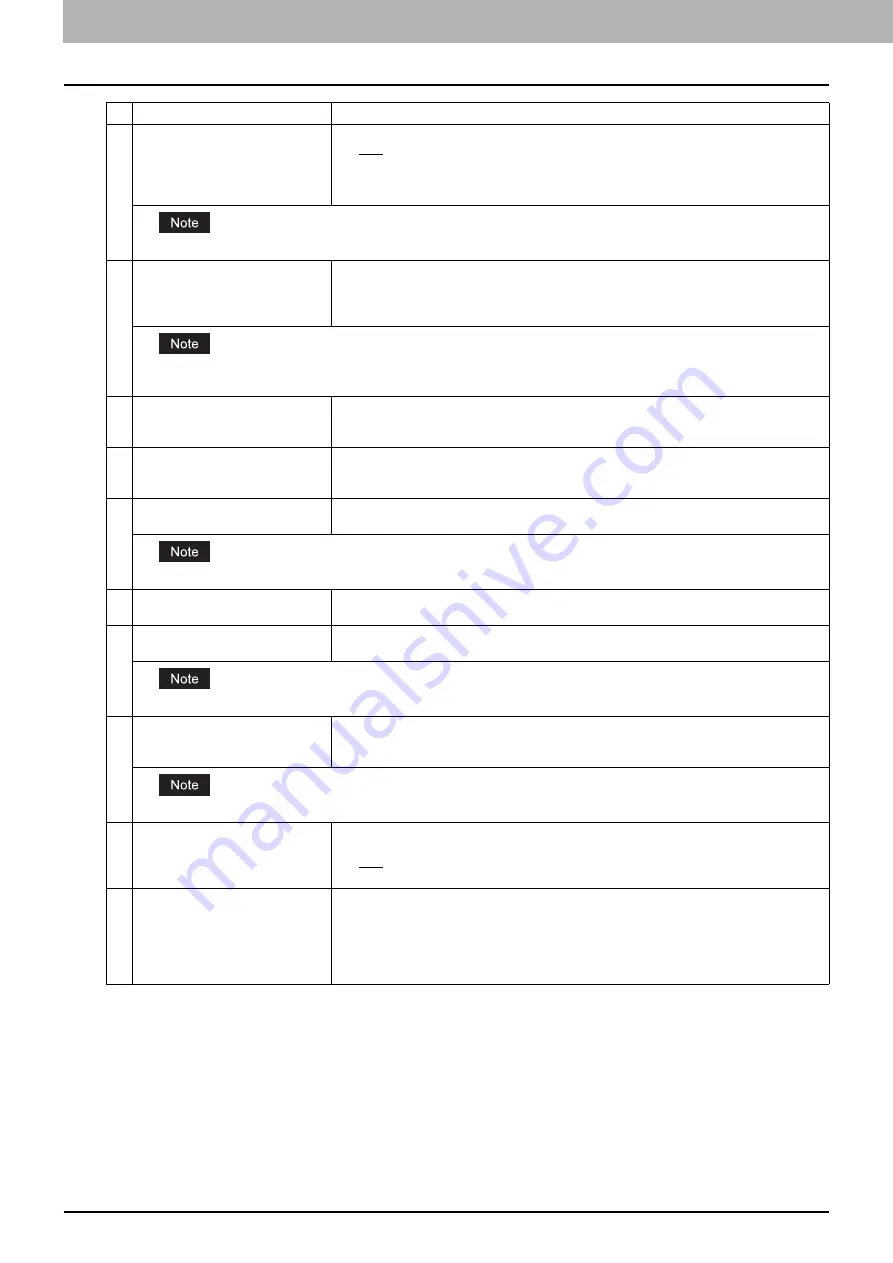
Original Mode
Select the document type of the originals.
y
Text
— Select this to set the Text mode as the default original mode.
y
Text/Photo
— Select this to set the Text/Photo mode as the default original mode. This
can be selected only when [Black] is selected in the [Color Mode] box.
y
Photo
— Select this to set the Photo mode as the default original mode.
This cannot be set when [Gray] is selected in the [Color Mode] box.
8
Exposure
Select the exposure for scanning.
Select [Auto] to automatically apply the best contrast for the document. You can also
manually adjust the exposure in 11 stages. The farther to the right that you set the value, the
darker the density of the scanned image will become.
[Auto] is not available when [Gray], [Full Color], or [Auto Color] is selected at the [Color Mode] box. In that case, set the
exposure manually.
9
Original Size
Select the original size.
If this is set to [Auto], the size is automatically detected. Select [Mixed Original Sizes] to
scan a document with mixed sizes. You can also specify the original size.
10
Background
Select the density level of the background of the scanned image. Density can be adjusted in
9 levels. The farther to the right that you set the value, the darker the density of the
background will become.
11
Contrast
Select the contrast level of the scanned image. Contrast can be adjusted in 9 levels. The
farther to the right that you set the value, the higher the contrast level will become.
This is not available when [Black] or [Gray] is selected at the [Color Mode] box.
12
Sharpness
Select the sharpness level of the scanned image. Sharpness can be adjusted in 9 levels.
The farther to the right that you set the value, the sharper the scanned image will become.
13
Saturation
Select the saturation level of the scanned image. Saturation can be adjusted in 7 levels. The
farther to the right you set the value, the more vivid the scanned image will become.
This is not available when [Black] or [Gray] is selected at the [Color Mode] box.
14
RGB Adjustment
Select the RGB density level of the scanned image. RGB density can be adjusted in 9 levels
for each color. The farther to the right you set the value, the darker the density of the
selected color will become.
This is not available when [Black] or [Gray] is selected at the [Color Mode] box.
15
Omit Blank Page
Select whether to automatically omit a blank page in the scanned image if it is included in
originals.
y
OFF
— The blank page is not omitted.
y
ON
— The blank page is omitted.
16
Outside Erase
Select whether to erase a shade that appears outside of the scanned image when an
original is placed on the original glass while the Original Cover is left open. The erased
shade will be whitened.
If you want to erase it, you can select the criteria in 7 levels for judging if it is an area to be
erased. The farther to the right you select, the larger the area that will be erased. [OFF] is
selected by default.
Item name
Description
Summary of Contents for MC780f
Page 1: ...User s Manual TopAccess Guide ...
Page 21: ...1 Overview 20 Accessing TopAccess 6 The TopAccess website appears ...
Page 25: ...1 Overview 24 Access Policy Mode ...
Page 29: ...2 Device Tab Page 28 Displayed Icons ...
Page 103: ...5 Registration Tab Page 102 Registration How to Set and How to Operate ...
Page 345: ...8 Administration Tab Page 344 Registration Administration tab How to Set and How to Operate ...
Page 375: ...11 APPENDIX 374 Installing Certificates for a Client PC ...
Page 380: ...January 2013 45511102EE Rev1 ...


