2
Installing the printer driver
2-6
cm4521
7
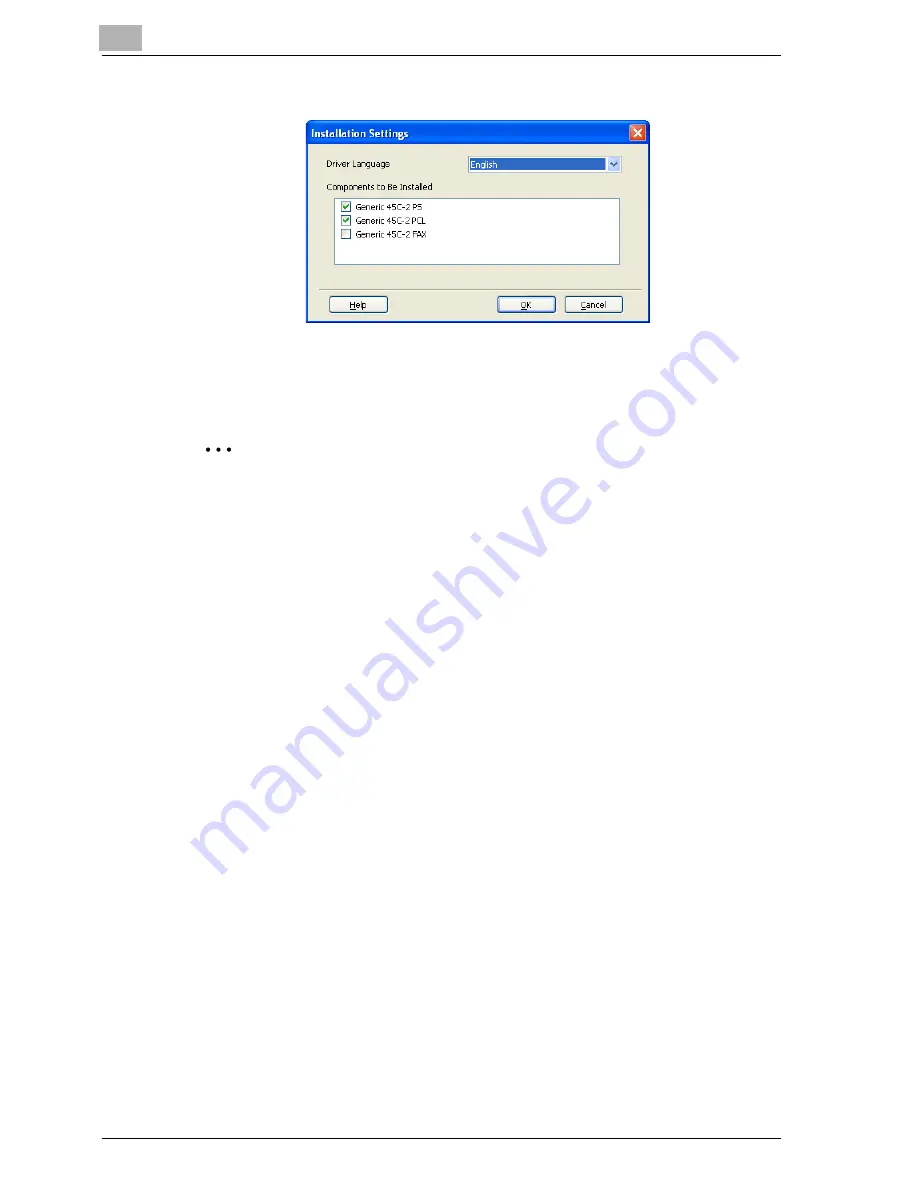
Select the components to be installed, and then click the [OK] button.
8
In the Confirm Installation Settings dialog box, click the [Install] button.
Follow the on-screen instructions to complete the installation.
2
Note
When the Digital Signature message appears, click the [Continue] button
or the [Yes] button.
Installing the printer driver using the Add Printer Wizard
For details on installing the printer driver in a network environment, refer to
“Setting up network printing” on page 3-1. Because it is necessary to specify
other network settings in advance when installing the printer driver using a
network connection, install it using a local connection at this time.
For Windows XP/Server 2003
1
Insert the printer driver CD-ROM into the computer’s CD-ROM drive.
2
Click the [Start] button, and then click “Printers and Faxes”.
–
If “Printers and Faxes” does not appear in the Start menu, open the
Control Panel from the Start menu, select “Printers and Other Hard-
ware”, and then select “Printers and Faxes”.
Summary of Contents for cm4521
Page 1: ...Oc cm4521 Print Operations User s Guide Printing for Professionals...
Page 33: ...Introduction x 32 cm4521...
Page 43: ...1 Overview 1 10 cm4521...
Page 105: ...3 Setting up network printing 3 40 cm4521...
Page 130: ...Various printing methods 4 cm4521 4 25 PCL driver PostScript driver...
Page 241: ...6 Setting up the PostScript driver Windows 6 56 cm4521...
Page 402: ...Various settings 10 cm4521 10 67 10 Touch Yes and then touch OK...
Page 403: ...10 Various settings 10 68 cm4521...
Page 409: ...11 Troubleshooting 11 6 cm4521...
Page 412: ...Appendix 12 cm4521 12 3 12 2 Configuration page...
Page 413: ...12 Appendix 12 4 cm4521 12 3 Font list PCL font list...
Page 414: ...Appendix 12 cm4521 12 5 PS font list...
Page 415: ...12 Appendix 12 6 cm4521 Demo page...


