BASIC OPERATIONS
2-5
2.2.2
Operating in Offline Mode
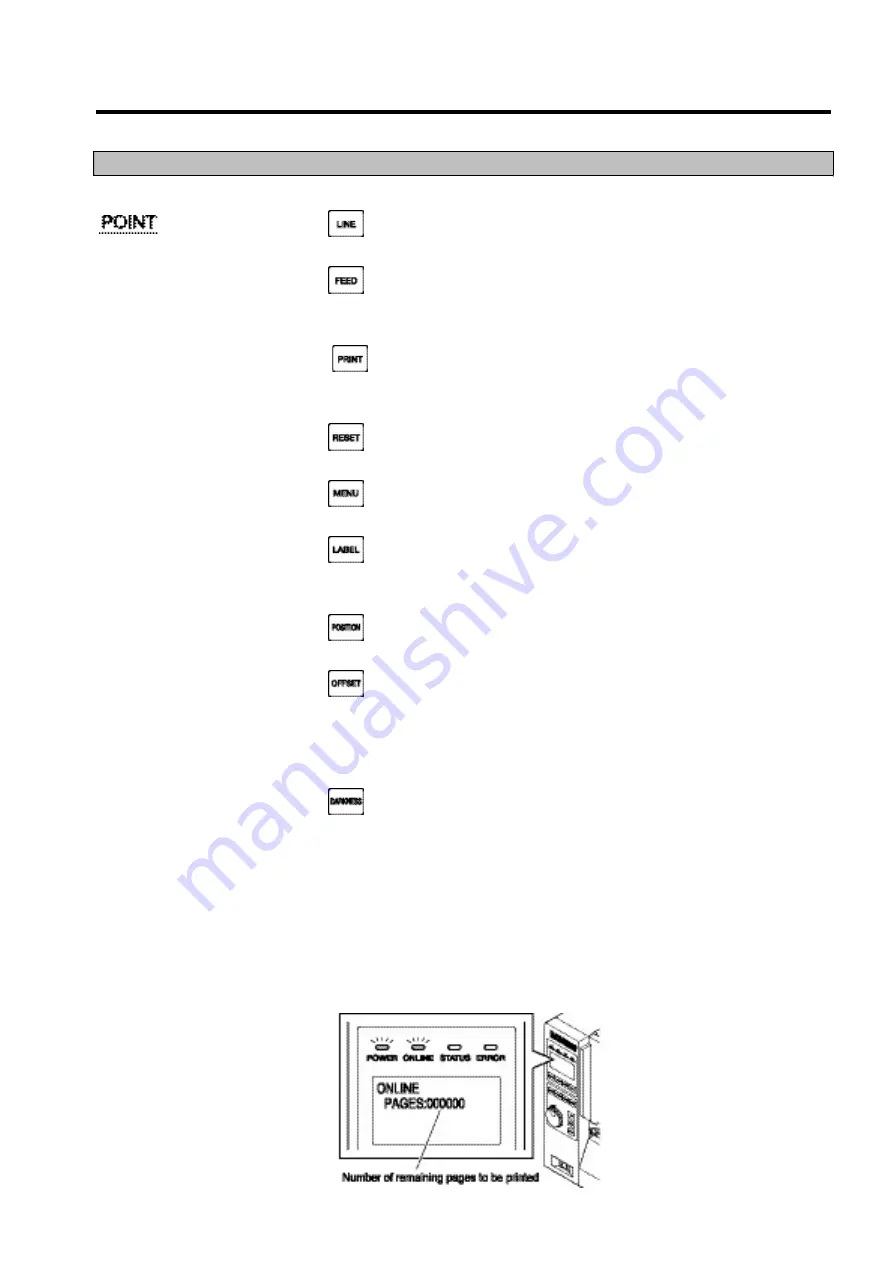
When the printer is stopped, the following operations can be done.
Press the
key, and switch the printer online.
If printing is suspended, printing process will be restarted.
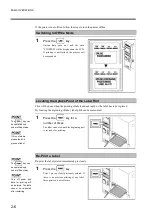
Press the
key, and the front end of label will be located.
Please read “Locating the uptake point of the label roll” on page 2-6 for detailed
operation.
Press the
key to print only one piece of lable with the setting of previous
printing operation.
Please read “Re-Print a Label” on page P.2-6 for detailed operation.
Press the
key to delete the data received from computer.
Please read “Delete the Received Data” on page P.2-7 for detailed operation.
Press the
key to set up the configuration of this printer.
Please read “Setup Procedure” on Chapter 3 for detailed operation.
Press the
key to change the configuration (Label No.) of label printing.
Please read “Change Print Configuration (Label No.)” on page P.2-7 for detailed
operation.
Press the
key to adjust the home position of label.
Please read “Adjust the Home Position of Label” on page P.2-8 for detailed operation.
Press the
key to adjust operation position.
Please read “Adjust Tear off Position / Cutter Position / Dispenser Position” on page
P.2-9 for detailed operation.
* The contents for adjustment differ depending on the operation options in the setting menu
of “Printing Mode” that shows the current configuration for printing.
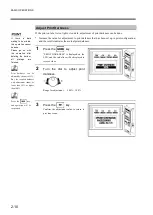
Press the
key to adjust print darkness.
Please read “Adjust Print Darkness” on page P.2-10 for detailed operation.
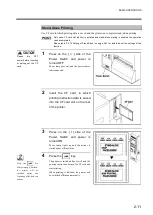
Use CF card in which printing data is saved and the printer can complete stand-alone
printing.
Please read “Stand-Alone Printing” on page 2-11 for detailed operations.
* Only when the CF card slot (option) is installed and stand-alone printing is enabled, the
operation can be completed.
Offline Status
When setting or
adjustment of label
pitch or other operation
is to be done, it is
necessary to turn the
printer offline.
Summary of Contents for DURA SI600
Page 1: ...THERMAL PRINTER INSTRUCTION MANUAL ...
Page 2: ......
Page 19: ...BEFORE OPERATION 1 3 Rear View ...
Page 20: ...BEFORE OPERATION 1 4 Operating Panel ...
Page 36: ...BEFORE OPERATION 1 20 ...
Page 48: ...BASIC OPERATIONS 2 12 ...
Page 54: ...SETUP PROCEDURE 3 6 3 1 3 Menu Flow of Setting Mode ...
Page 166: ...INSTALLING AND REMOVING THE OPTIONAL UNIT 5 12 ...
Page 167: ...INSTALLING AND REMOVING THE OPTIONAL UNIT 5 13 ...
Page 174: ......
Page 175: ...P N A2302B SECOND VERSION ...


