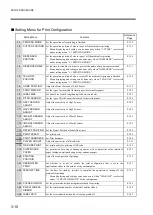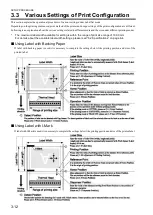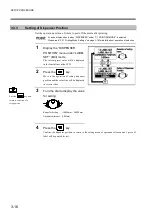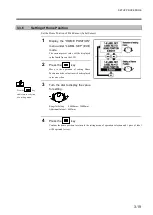
SETUP PROCEDURE
3-8
3.2.1
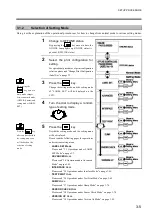
Register New Print Configuration
Here is an explanation of how to register a new print configuration.
Below is only an introduction of how to register the (Label No.) new print configuration.
After registration of new Label No., please read “3.2.2 Edit Print Configuration” on page 3-9 for
reference to set print configuration.
1
Under LABEL SET mode, turn
the dial to show "NEW" on the
menu.
2
Press the
key.
Move to selection of copy origin and the
option line will be displayed in reverse video.
3
Turn the dial and the print
configuration of copy origin will
be displayed.
4
Press the
key.
Decide the configuration for copy origin and
move to selection of registered Label No.;
the option line will be displayed in reverse
video.
5
Turn the dial to display the newly
registered print configuration
(Label No.).
6
Press the
key.
Register the new print configuration and
return to selection of operation options.
Next, please read “3.2.2 Edit Print
Configuration” on page 3-9 for reference to
set the various items of the newly registered
print configuration.
Press the
key,
and return to selection
of setting mode.
Press the
key,
operation will be
stopped and the menu
returns to selection of
operation option.
Press the
key,
operation will be
stopped and the menu
returns to selection of
operation option.
Summary of Contents for DURA SI600
Page 1: ...THERMAL PRINTER INSTRUCTION MANUAL ...
Page 2: ......
Page 19: ...BEFORE OPERATION 1 3 Rear View ...
Page 20: ...BEFORE OPERATION 1 4 Operating Panel ...
Page 36: ...BEFORE OPERATION 1 20 ...
Page 48: ...BASIC OPERATIONS 2 12 ...
Page 54: ...SETUP PROCEDURE 3 6 3 1 3 Menu Flow of Setting Mode ...
Page 166: ...INSTALLING AND REMOVING THE OPTIONAL UNIT 5 12 ...
Page 167: ...INSTALLING AND REMOVING THE OPTIONAL UNIT 5 13 ...
Page 174: ......
Page 175: ...P N A2302B SECOND VERSION ...

