SETUP PROCEDURE
3-21
3.3.8
Setting of Label Size
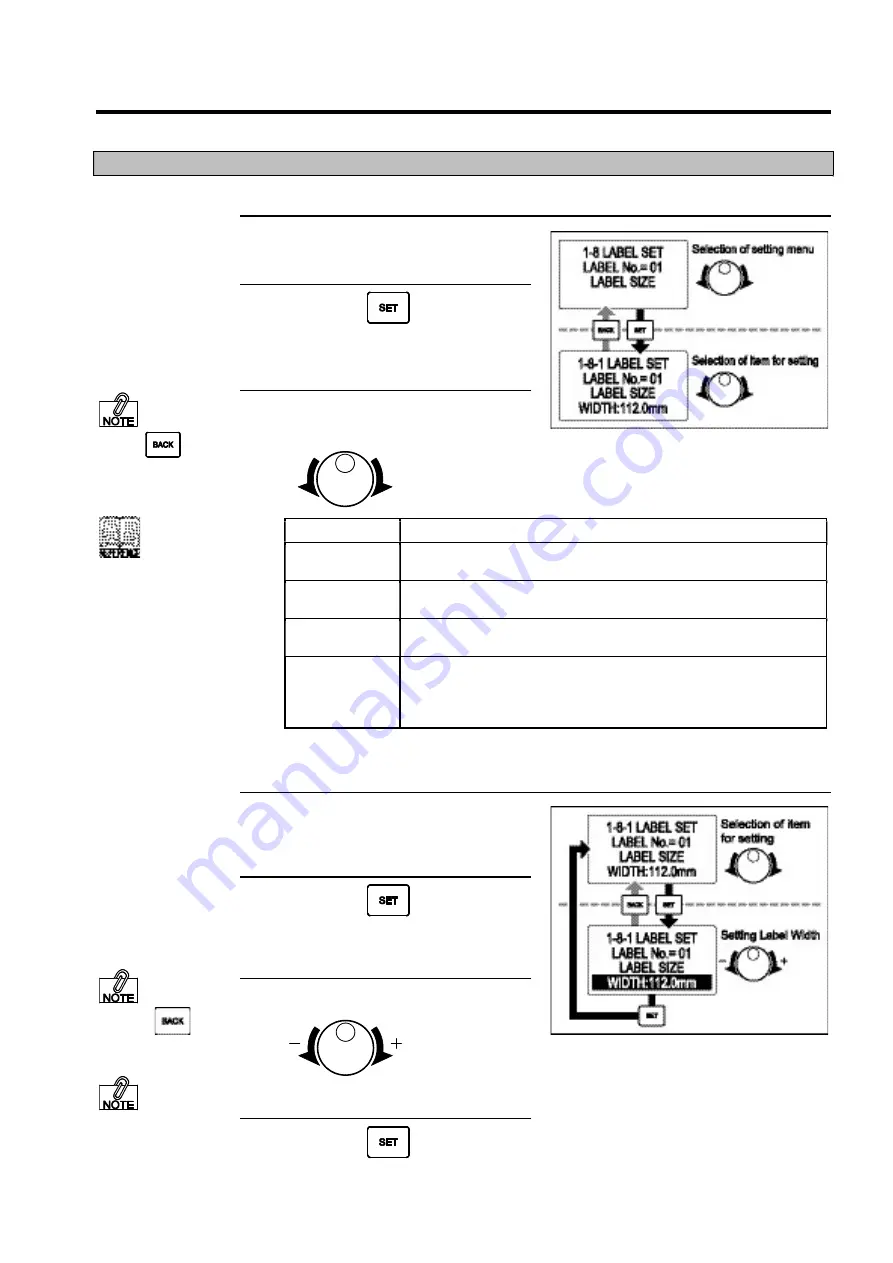
Set Label Size (width, length and pitch between labels).
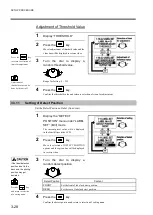
1
Display the “LABEL SIZE” menu
under “LABEL SET” (Edit) mode.
2
Press the
key.
Move to selection of setting options and the
option of “WIDTH” will be displayed in the
fourth line on the LCD.
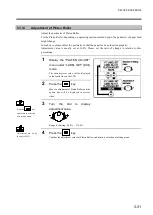
3
Turn the dial to display the
options for setting.
Option for Setting
Content
WIDTH
Set the width of label.
Please read the under mentioned “
Set Label Width” for operation procedures.
LENGTH
Set the length of label.
Please read the under mentioned “
Set Label Length” for operation procedures.
PITCH
Set the distance (in pitch) from the front of label to the next label.
Please read the under mentioned “
Set Label Pitch” for operation procedures.
AUTO LENGTH
MEASURE
Set whether to use the automatically measured value as the length of label when
paper is fed.
Please read the under mentioned “
Enable/Disable Auto Length Measure” for
operation procedures.
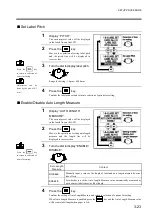
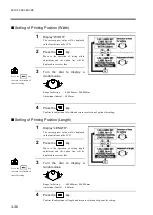
Set Label Width.
1
Display “WIDTH”.
The current preset value will be displayed
in the fourth line on the LCD.
2
Press the
key.
Move to the operation of setting label width
and the width line will be displayed in
reverse video.
3
Turn the dial to display label width.
Range for Setting : 1.0mm ~ 109.0mm
4
Press the
key.
Confirm the label width set and return to
selection of options for setting.
Pressthe
key
and return to selection
of a setting menu.
Press the
key
to return to selection of
items for setting.
Adjustment can be
done by the unit of 0.1
mm.
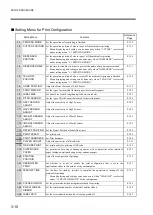
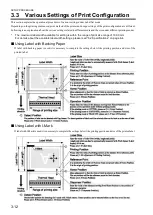
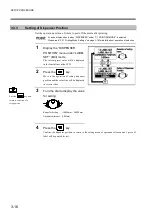
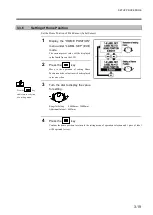
To set label size, please do
it after confirmation with
sections like “Using Label
with Backing Paper”,
“Using Label with I-
Mark” on Page 3-12 and
“Using Continuous
Paper” on Page 3-13 first.
Summary of Contents for DURA SI600
Page 1: ...THERMAL PRINTER INSTRUCTION MANUAL ...
Page 2: ......
Page 19: ...BEFORE OPERATION 1 3 Rear View ...
Page 20: ...BEFORE OPERATION 1 4 Operating Panel ...
Page 36: ...BEFORE OPERATION 1 20 ...
Page 48: ...BASIC OPERATIONS 2 12 ...
Page 54: ...SETUP PROCEDURE 3 6 3 1 3 Menu Flow of Setting Mode ...
Page 166: ...INSTALLING AND REMOVING THE OPTIONAL UNIT 5 12 ...
Page 167: ...INSTALLING AND REMOVING THE OPTIONAL UNIT 5 13 ...
Page 174: ......
Page 175: ...P N A2302B SECOND VERSION ...


