INSTALLING AND REMOVING THE OPTIONAL UNIT
5-2
5.1 Installing and Removing the Interface
Below is an explanation of how to install and set the interfaces.
For interface options, there are three types, namely LAN, USB, and RS-232C.
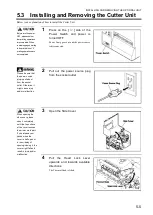
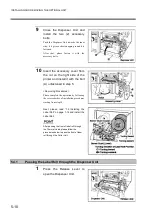
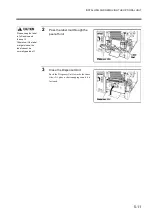
1
Press on the [
] side of the
Power Switch and power is
turned OFF.
Power Lamp goes out, and the power source
is disconnected.
2
Pull out the power source plug
from the socket outlet.
3
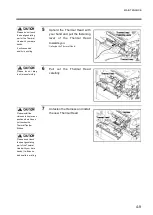
On the rear of the printer,
unfasten 1 bolt and remove the
Interface Cover No.1.
Please be sure that
the power source
plug is pulled out
from the socket
outlet. Otherwise, it
might cause injury
and/or malfunction.
The unfastened bolt
will be used to install
the option interface
board. Therefore,
please be careful that
it can be easily found
later.
Summary of Contents for DURA SI600
Page 1: ...THERMAL PRINTER INSTRUCTION MANUAL ...
Page 2: ......
Page 19: ...BEFORE OPERATION 1 3 Rear View ...
Page 20: ...BEFORE OPERATION 1 4 Operating Panel ...
Page 36: ...BEFORE OPERATION 1 20 ...
Page 48: ...BASIC OPERATIONS 2 12 ...
Page 54: ...SETUP PROCEDURE 3 6 3 1 3 Menu Flow of Setting Mode ...
Page 166: ...INSTALLING AND REMOVING THE OPTIONAL UNIT 5 12 ...
Page 167: ...INSTALLING AND REMOVING THE OPTIONAL UNIT 5 13 ...
Page 174: ......
Page 175: ...P N A2302B SECOND VERSION ...


