(00235)
3-11
3.2.5
Shutter Exposure Time Selection (SHUTTER)
While in the VIEW mode, the shutter exposure time can be selected from the VIEW MENU on the J-PAD3.
The shutter exposure time can be selected from either set values or desired values can be set.
1) While in the VIEW mode, press MENU
to display the
VIEW MENU.
2) Select "SHUTTER" from the VIEW MENU using the arrows
. (Figure 3-16).
3) Use the arrows
to select the shutter exposure time.
OPEN
1/ recording speed sec
100
1/ 100 sec
250
1/ 250 sec
500
1/ 500 sec
1 k
1/ 1000 sec
2 k
1/ 2000 sec
5 k
1/ 5000 sec
10 k
1/ 10,000 sec
20 k
1/ 20,000 sec
50 k
1/ 50,000 sec
100 k
1/ 100,000 sec
200 k
1/ 200,000 sec
333 k
1/ 333,333 sec
4) The left preset value shows 6 numerical columns
"******us". Select for the custom settings for the shutter
exposure time.
-
ⅰ
) Select "******us" and press SET
.
-
ⅱ
) Use arrows
to change columns and use arrows
to change the numerals.
(
Figure 3-17
)
.
-
ⅲ
) Press
SET
again, to set the shutter exposure time.
The upper limit for the shutter exposure time is set according to the recording speed. To set a value
greater than the shutter exposure time, press SET
to display the value of the upper limit.
The values that can be used as custom settings for the shutter exposure time change according to the
recording speed and frame size. When SET
is pressed, the display of the possible settings
changes.
CAUTION
)
Black balance adjustment is recommend when you use a shutter of 1
~
5
μ
s as black
level changes dramatically.
Selection of the shutter exposure time using the direct key
can be performed when the status
screen in the STOP mode or the VIEW mode is displayed.
The custom settings for the shutter exposure time cannot be changed with the direct key
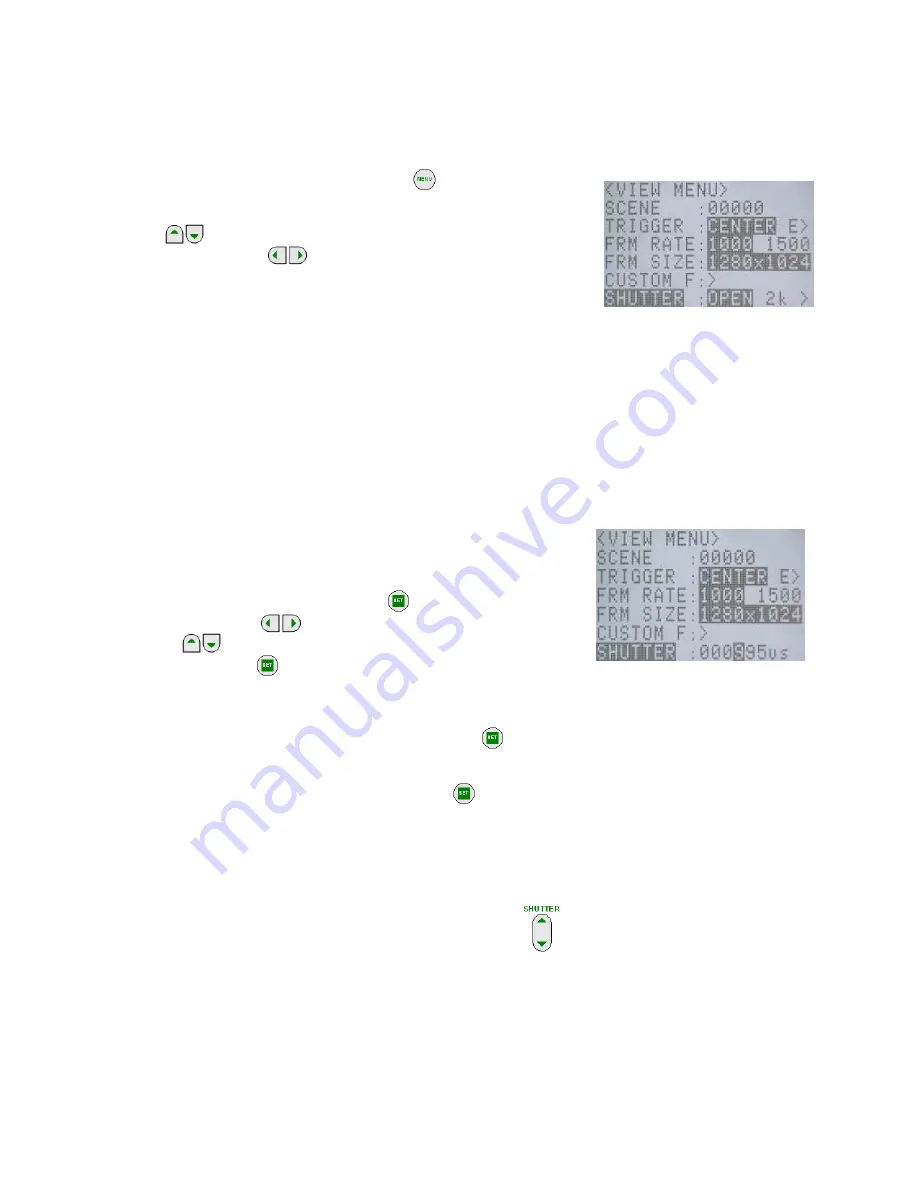
Figure 3-16 SHUTTER
Figure 3-17 SHUTTER (Custom)
Summary of Contents for MC-529
Page 2: ... 00235 ...
Page 4: ... 00235 2 Blank page ...
Page 10: ... 00235 8 Blank page ...
Page 16: ... 00235 vi Blank page ...
Page 17: ... 00235 1 1 1 Overview ...
Page 28: ... 00235 1 12 Blank page ...
Page 29: ... 00235 2 1 2 Basic Operations ...
Page 42: ... 00235 2 14 Fig 2 23 Dial key operation of J PAD3 ...
Page 52: ... 00235 2 24 Blank page ...
Page 53: ... 00235 3 1 3 Recording and Playback Settings ...
Page 112: ... 00235 3 60 Blank page ...
Page 113: ... 00235 4 1 4 Save Settings ...
Page 118: ... 00235 4 6 Blank page ...
Page 119: ... 00235 5 1 5 System Settings ...
Page 137: ... 00235 6 1 6 Troubleshooting ...
Page 141: ... 00235 7 1 7 Specifications ...
Page 162: ... 00235 7 22 7 11 Exterior Diagram 7 11 1 GX 3 Camera Main Unit ...
Page 171: ... 00235 8 1 8 Options ...
Page 175: ... 00235 8 5 8 2 Exterior Diagram 8 2 1 AC Adapter 約3000 255 127 7 2 3 ...
Page 176: ... 00235 8 6 8 2 2 J PAD3 18 65 140 2900 ...
Page 178: ... 00235 8 8 8 2 5 5 7 inch LCD Viewfinder ...
Page 180: ... 00235 8 10 8 2 7 C mount Adapter ...


