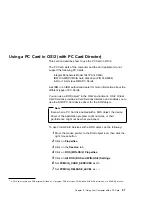
The names in the left list box (Available Cards) can be
registered. The names in the right list box (Selected Cards)
are already registered in Auto Configurator.
3
Click on the Add>> button.
4
Click on the Save button.
When a PC Card is installed, Auto Configurator starts from the
top of the list to assign the resources to the card.
Deleting a Registered Card
1
Double-click on the Auto Configurator Utility icon in the “PC
Card Director” window.
2
Select the PC Card you want to delete from Selected Cards in
the “Auto Configurator Utility” window.
3
Click on the Delete button.
4
Click on the Save button.
Changing the Registered Order for PC Cards
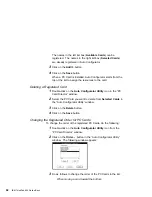
To change the order of the registered PC Cards, do the following:
1
Double-click on the Auto Configurator Utility icon from the
“PC Card Director” window.
2
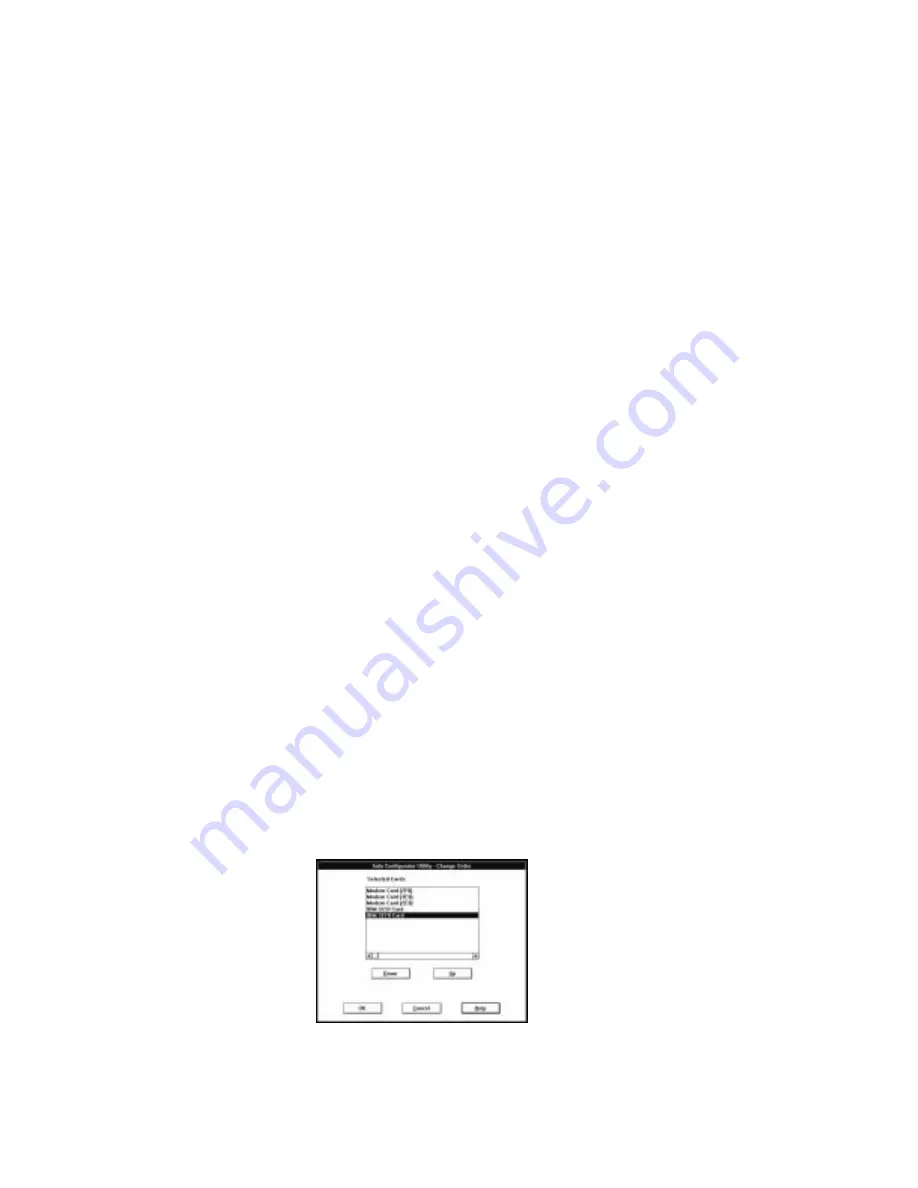
Click on the Order... button in the “Auto Configurator Utility”
window. The following window appears:
3
Do as follows to change the order of the PC Cards in the list:
When moving a card toward the bottom:
64
IBM ThinkPad 600 Online Book
Summary of Contents for ThinkPad 600
Page 20: ...14 IBM ThinkPad 600 Online Book ...
Page 24: ...18 IBM ThinkPad 600 Online Book ...
Page 42: ...36 IBM ThinkPad 600 Online Book ...
Page 96: ...90 IBM ThinkPad 600 Online Book ...
Page 200: ...4 Click on OK 194 IBM ThinkPad 600 Online Book ...
Page 202: ...196 IBM ThinkPad 600 Online Book ...
Page 214: ...208 IBM ThinkPad 600 Online Book ...
Page 216: ...210 IBM ThinkPad 600 Online Book ...

