


9.1 Starting & Stopping Measurement on a Specified Day
188
Apply
Select
Select
[Conditn.
(Condition)
]
.
Setting options (
∗
. default setting)
Current
Perform measurement using the
instrument setting conditions con-
figured at the time of scheduling.
Save No. 1
to
Save No. 10
Select any conditions from 10 set-
ting conditions saved to the inter-
nal memory of the instrument and
perform measurement.
7
6
6
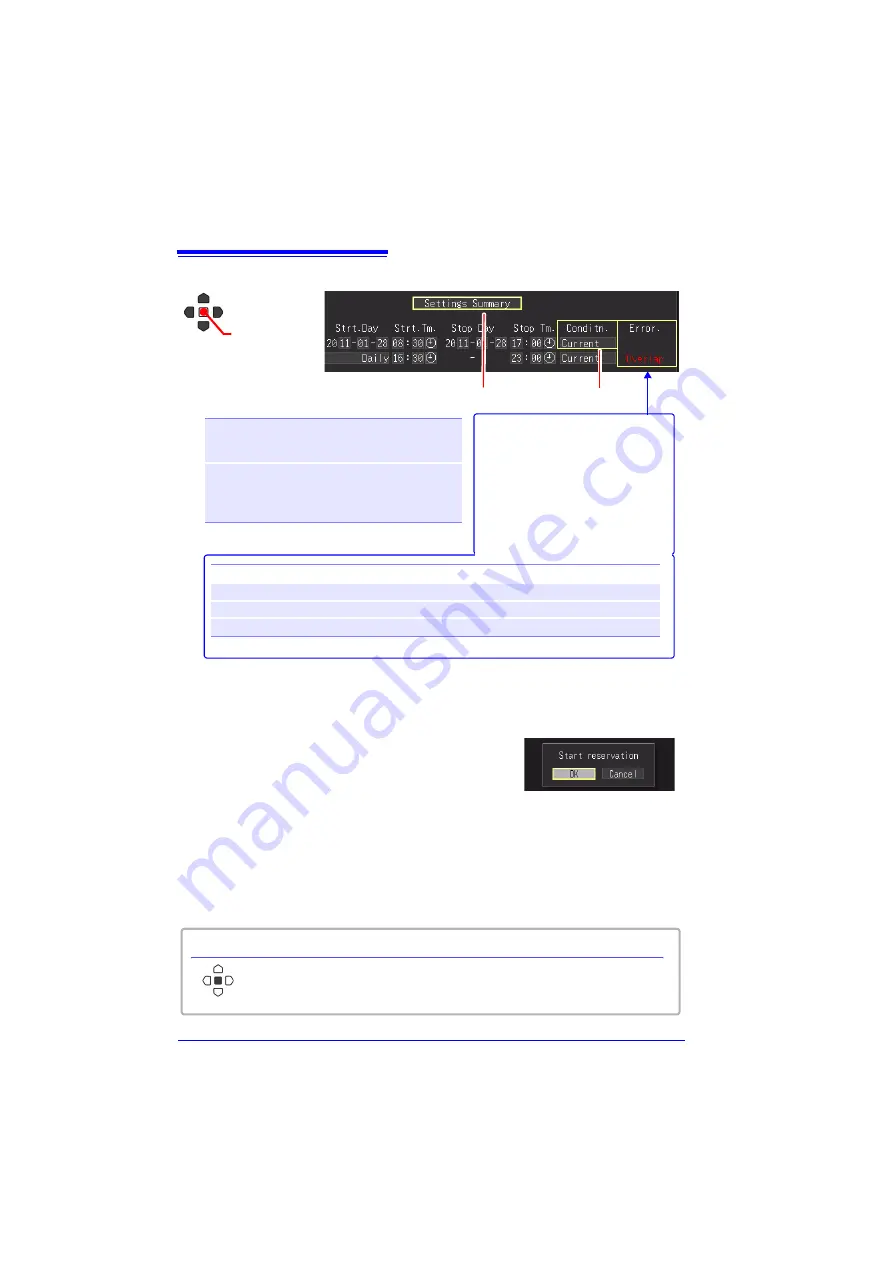
Error
Stop<start
The stop time is set to a time that is before the start time.
Stop<cur.
The stop time is set to a time that is before the current time.
Overlap
The schedule times overlap those of another setting.
7
Select
[Settings Summary].
The schedule confirmation screen appears.
Select
[OK].
If you select [Cancel], the Schedule screen is
redisplayed.
8
When the schedule settings are complete, the screen switches from the Measure-
ment Schedule screen to the normal Setting screen.
At that time, the
[Reserved]
indication flashes green on the bottom right of the screen
to indicate that the instrument has entered the schedule standby state.
Measurement starts automatically at the scheduled date and time.
The setting conditions of the enabled schedule cannot be changed.
About error display
Red indication: Indicates the error
item. The schedule conditions are
not set correctly. Change the set-
tings.
Green indication: Indicates that
the schedule is set correctly.
When you want cancel a schedule while
[Reserved]
is displayed
Press the
ENTER
key to display the schedule cancellation dialog box.
Select [
OK
] to cancel the schedule.
Summary of Contents for MR8880-20
Page 2: ......
Page 12: ...Procedure 2 ...
Page 40: ...1 3 Screen Configuration and Display 30 ...
Page 76: ...3 4 Measurement Using Setting Wizard PRESETS key 66 ...
Page 174: ...6 4 Data Management 164 ...
Page 186: ...7 7 Performing a Printer Check 176 ...
Page 196: ...8 4 Numerical Value Calculation Expressions 186 ...
Page 216: ...10 4 Making System Settings 206 ...
Page 222: ...11 3 Communication Using Commands 212 4Click Next to start install ing Installing Click ...
Page 226: ...11 3 Communication Using Commands 216 ...
Page 254: ...13 6 Setting Wizard Function PRESETS 244 ...
Page 292: ...Appendix 10 Installing Waveform Viewer A30 ...
Page 297: ......
Page 298: ......
Page 299: ......
Page 300: ......


