


165
Printing Basics
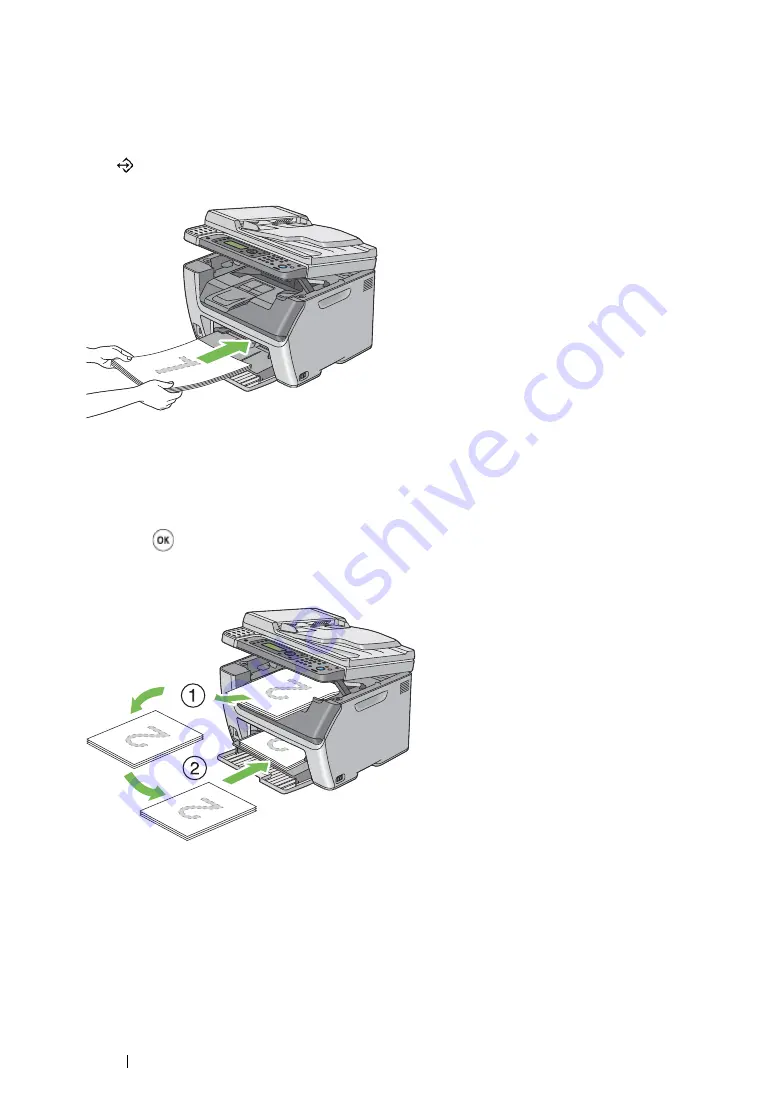
Loading Print Media in the Priority Sheet Inserter (PSI)
1
First print the even pages (rear sides).
For a six page document, rear sides are printed in the order page 6, page 4, then page 2.
The
(
Data
) LED blinks and the
Insert Output to Tray
message appears on the LCD
panel when the even pages finish printing.
2
After the even pages are printed, remove the paper stack from the center output tray.
NOTE:
•
Warped or curled prints can cause paper jams. Straighten them before setting them.
3
Stack the prints and set them as they are (with the blank side face up) into the PSI, and then
press the
button.
Pages are printed in order of page 1 (rear of page 2), page 3 (rear of page 4), and then page 5
(rear of page 6).
NOTE:
•
Printing on both sides of the paper is not possible if the document consists of various sizes of paper.
Summary of Contents for DocuPrint CM205 b
Page 1: ...User Guide DocuPrint CM205 f CM205 fw CM205 b ...
Page 9: ...Contents 8 ...
Page 31: ...Product Features 30 ...
Page 41: ...Specifications 40 ...
Page 57: ...Basic Operation 56 ...
Page 69: ...Printer Management Software 68 ...
Page 189: ...Printing Basics 188 ...
Page 217: ...Copying 216 ...
Page 259: ...Scanning 258 ...
Page 319: ...Faxing DocuPrint CM205 f CM205 fw Only 318 ...
Page 369: ...Using the Operator Panel Menus and Keypad 368 ...
Page 377: ...Troubleshooting 376 ...
Page 380: ...379 Troubleshooting 4 Lower the levers to their original position 5 Close the rear cover ...
Page 383: ...Troubleshooting 382 8 Close the rear cover ...
Page 439: ...Maintenance 438 5 Close the document cover ...
Page 467: ...Contacting Fuji Xerox 466 ...


