6.6 Printing Files
232
Serv
er
When setting Output Orientation:
You can set the output orientation of the copies.
Options are Auto, Face Up, and Face Up Reverse Order.
If Stapled/Punched or Booklet Creation is set to On, only Auto can be
selected for Output Orientation. If Transp Separators is set to On, Reverse
Order. cannot be selected. You cannot set Output Orientation if Tab Copying,
Folding, or Z Fold has already set for files.
When setting 2 Sided:
You can set the option for either one-sided or two-sided printing of a file.
Options are Auto, One-Sided, and Two-Sided.
You cannot set 2 Sided if Transp Separators, Tab Copying, Booklet Creation,
Book Duplex, or Folding has already set for files.
When setting Paper Supply:
You can specify the paper tray for printing. Only the tray with the same
orientation and size can be selected.
Options are Auto, Tray 1 to Tray 4. Tray 6 is available only when the tray 6
(optional) is installed.
5
Select Print First Page if necessary.
You can print only the first page as a sample to check the print file contents and
the print result. This sample printing does not affect the number of copies.
When Add Finishing is selected, it is recommended to check the print result.
The first page of the selected file is printed.
If there is no image for the first sheet of a document due to covers or
transparency separators, the first page having an image is automatically
searched and printed.
For a file where stapling is set, the first two pages having images are printed
and stapled. After printing, the display returns to the Print File screen.
6
Press Start or select Start Printing.
File printing starts.
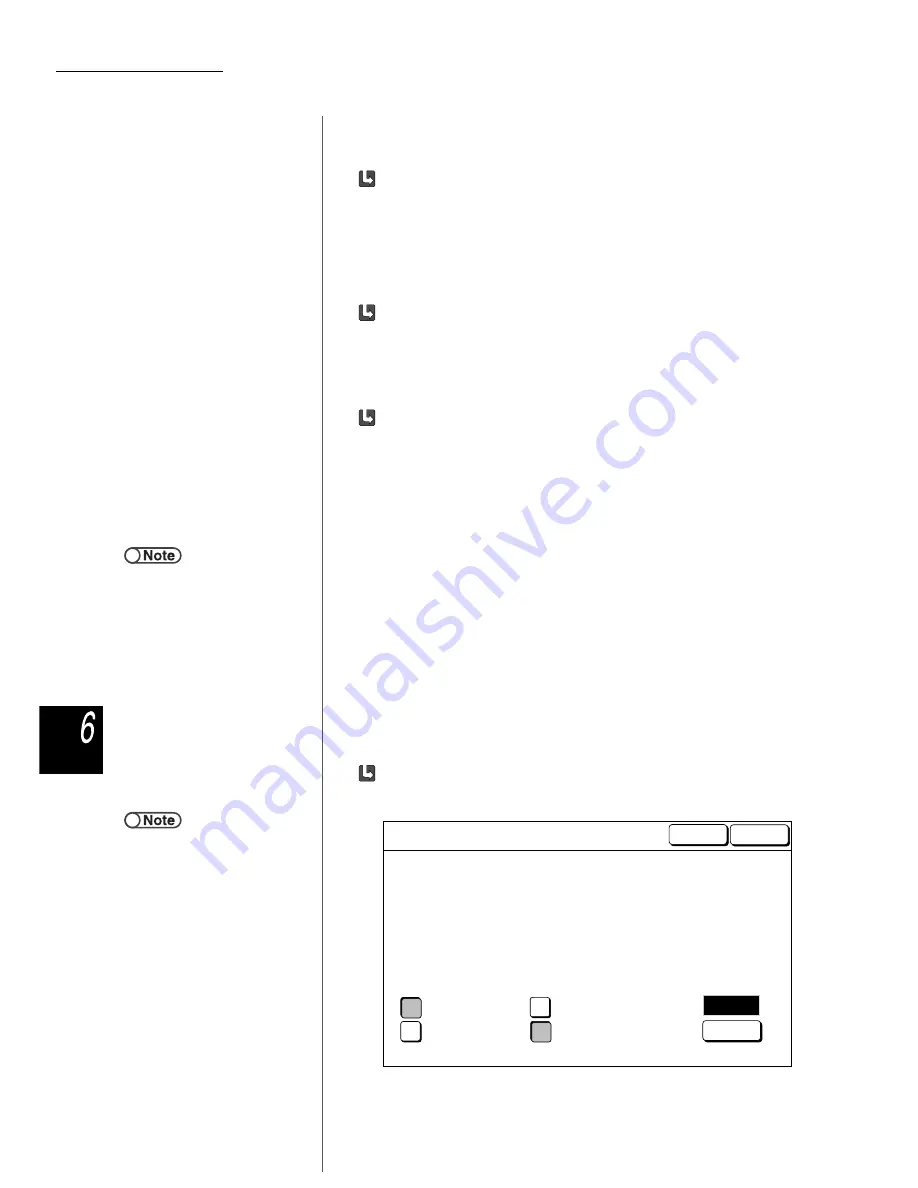
If the remote link folder is set:
If reprinting is executed by specifying a folder (No.1 to 29) where the remote
link folder is registered, the File Copy Target Folder screen appears.
●
If you have selected multiple files,
Print First Page is unavailable.
●
Even if multiple files are selected,
the Auto Send feature is applied to
all the files selected only once.
File Copy Target Folder (Folder No.31)
Enter
On
Off
On
Off
The Start Printing button has been selected. Select how you want the files to be handled
in the target folder and press Start again.
To perform Auto Print, select Enter first. Use the Numeric Keypad to enter the number
of sets you want to print and select Enter again.
To delete the file after printing, select Off for Save to File.
Note: The file will not be copied to the remote folder if Auto Print is Off.
10
Start
Previous
Screen
Auto Print at
Remote Machine
Save to File at
Remote Machine
Print Quantity at
Remote Machine


