


6.4 Editing Files
213
Serv
er
When inserting separators:
You can insert separators. When multiple files are merged, blank paper is
inserted between files. Separator insertion can be set only when multiple files
are selected. If necessary, insert separators here because separators cannot
be inserted into a merged file.
For a file selected here, nothing can be copied onto the separators. The number
of separators can be set from 1 to 99 as required.
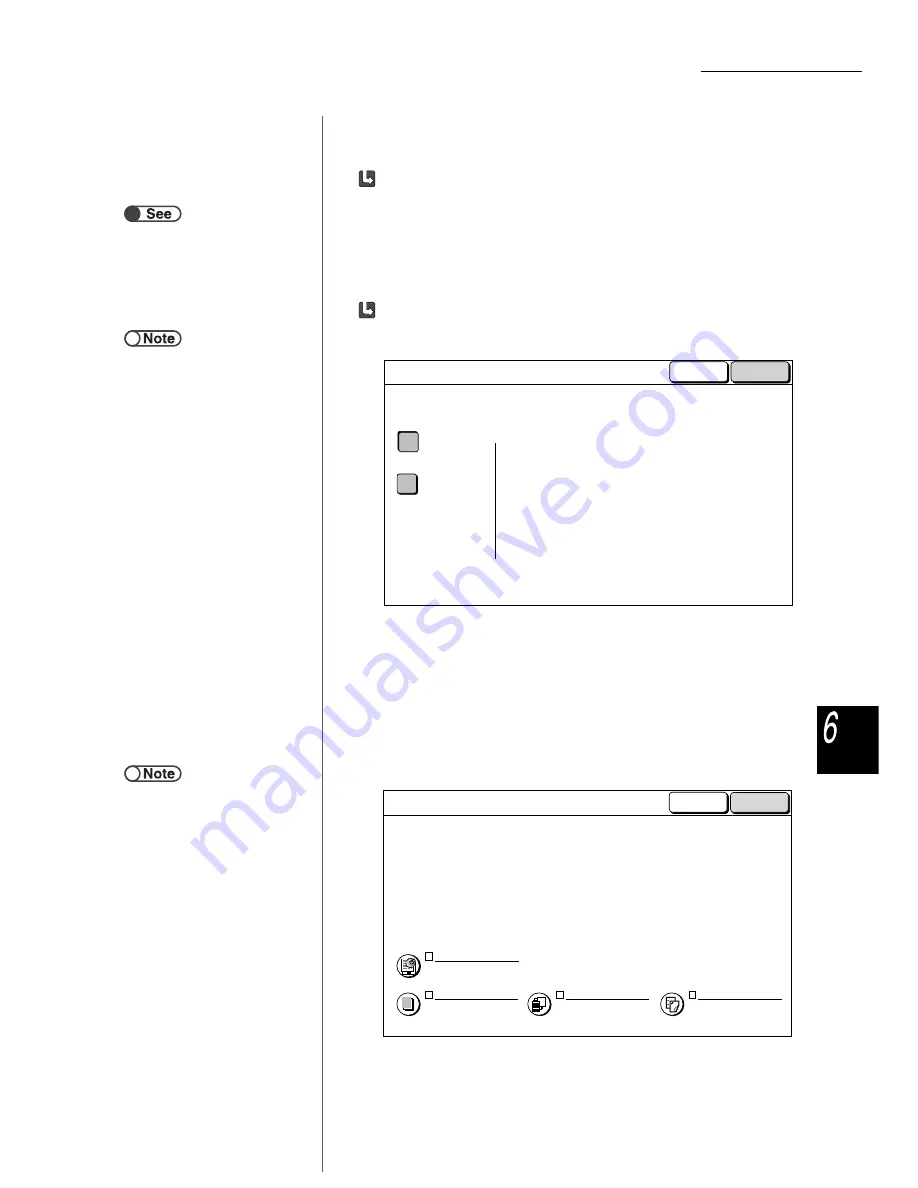
When specifying Finishing:
Specify whether using the stapling/punching setting defined during saving files
to the server. Select On to enable the setting.
If multiple files are selected, stapling or punching is performed based on the
selected staple/punch postions of the first file. If the Y-direction length of paper
is different, stapling or punching is not performed.
If the staple/punch postions have not been previously specified for all files, they
cannot be merged and the setting is cleared.
6
Select Next.
The example used in this explanation assumes that Annotation, Covers,
Separators, and the Finishing are not selected in Step 5.
The Merge Files screen is displayed.
“5.23 Inserting Transparency
Separators”
●
This does not change the setting of
stapling/punching made at saving in
the server.
●
When checking the setting of
stapling/punching at file saving in
the server, select only one file on the
Hard Disk (Copy File) screen and
press Review.
Off
On
The files can be stapled and/or punched based on
the selected staple/punch postions of the first file.
If the staple/punch postions have not been previously
specified for all files or the files contain both Face Up
and Face Down settings for Output Orientation,
stapling and punching will not be performed even
if you select On.
Cancel
Merge/Edit Files
Save
●
Select Previous Screen if you want
to return to the previous screen and
reconfirm the copy files to be
merged.
●
Separators is not displayed if only
one copy file has been selected.
Covers
No Covers
Separators
Off
Annotation
Off
Finishing
Off
Next
Merge/Edit Files
Make selections from the following features and select Next.
Previous Annotation settings will be cleared.
Make new selections for Annotation if necessary.
Previous
Screen


