7-2
Maintenance and Adjustment
Rev. I
Display Adjustment (SERIAL NO. *xxxx00xxxx*)
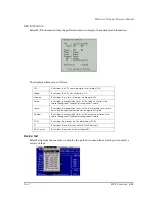
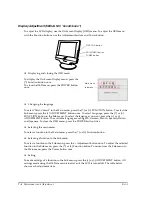
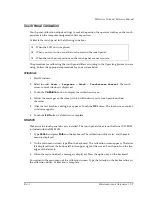
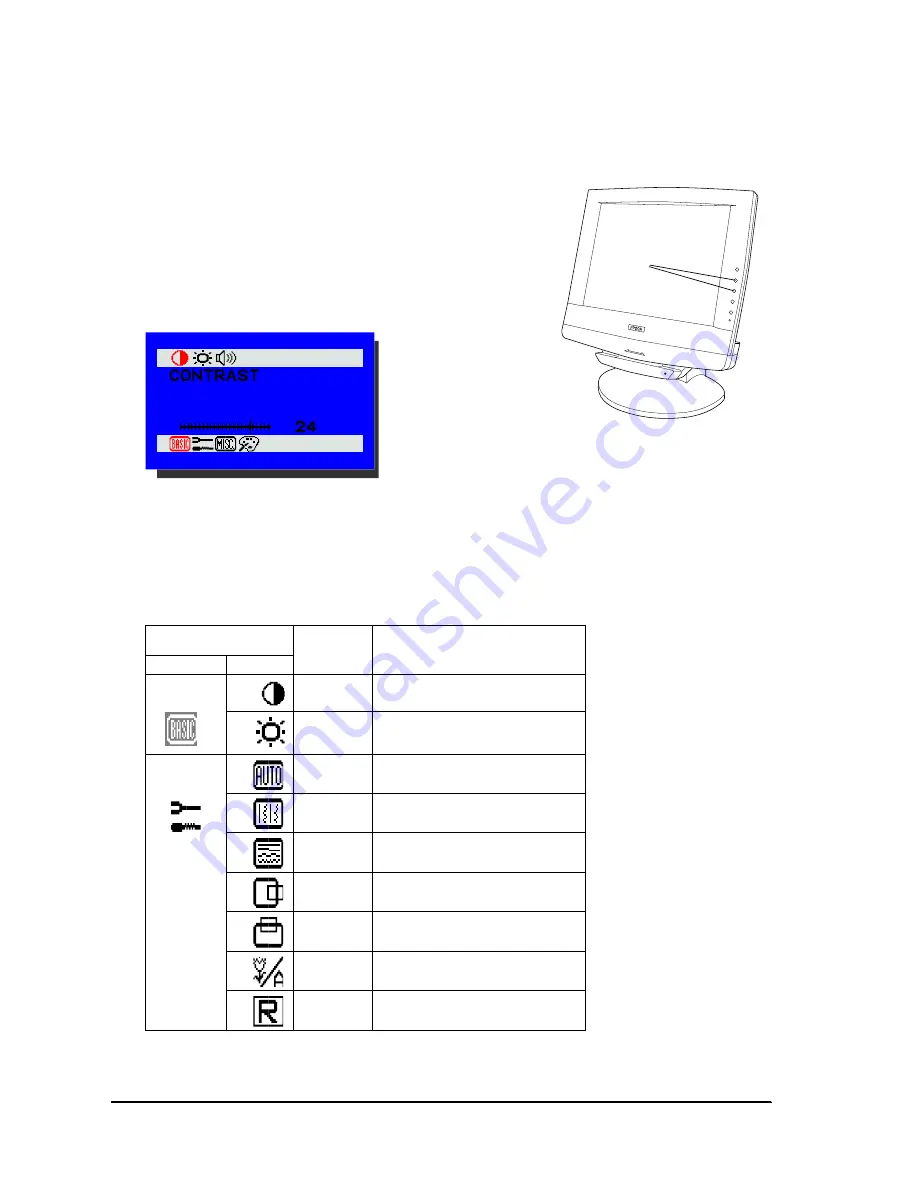
To adjust the LCD display, use the Function and
Adjustment control buttons on the right side of the LCD
unit.
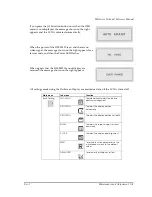
When you press the top Function control button (
↑)
once, the On-Screen Display appears in the lower right-
hand corner of the screen.
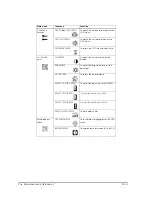
To select a function in the On-Screen Display, use the
↑
and
↓
Function control buttons, as
shown in the table below. To adjust the selected function, press the + or – Adjustment control
buttons. For example, to adjust the horizontal position of the display image, press the
↑
button
twice and the
↓
button 3 times. Then adjust the image using the + and – buttons.
All settings made using the On-Screen Display are maintained even if the LCD is turned off.
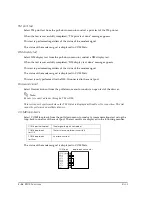
Number of times to press the
Function buttons
Setting items
Function
↑
button
↓
button
1
Basic Setting
0
CONTRAST
To adjust the contrast level of the display.
1
BRIGHTNESS
To adjust the brightness level of the
backlight.
2
POSITION
0
AUTO ADJUST
To automatically adjust the picture quality
and alignment.
1
PHASE
To adjust the screen display for focus and
clarity.
2
CLOCK
To adjust the display pixel alignment.
3
H-POSITION
To adjust the display position horizontally.
4
V-POSITION
To adjust the display position vertically.
5
GRAPH/TEXT
To select either Graphics or Text.
6
RESET
To set the function parameters in the
position menu to the default values.
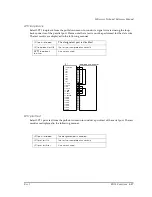
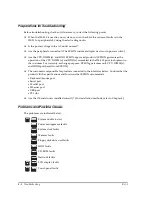
Function control
buttons
Summary of Contents for DM-M820
Page 1: ...Technical Reference Manual MR Series English 403308709 Rev I EPSON ...
Page 2: ......
Page 20: ...xviii Rev I ...
Page 42: ...2 8 Setup for the IM 800 and the DM M820 Rev I ...
Page 50: ...3 8 Hardware Specifications Rev I ...
Page 178: ...5 38 BIOS Functions Rev I ...
Page 216: ...8 26 Troubleshooting Rev I ...
Page 323: ......
Page 324: ...SEIKO EPSON CORPORATION EPSON ...

