Chapter 2
2-15
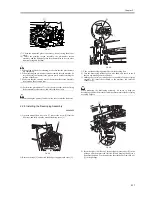
F-2-46
2.2.16 Changing Paper Size of the Front Deck (Left/
Right)
0008-8104
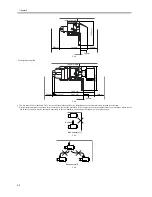
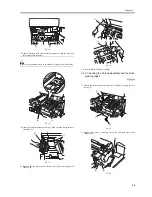
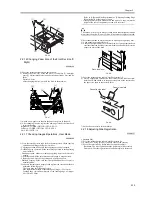
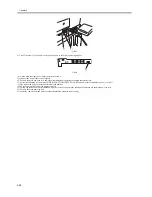
1) Press the release button to draw out the deck.
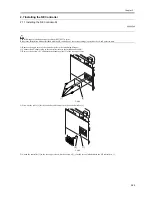
2) Remove the screws [4] of the end plate [1], left plate [2], and right
plate [3]. Adjust these plates to a paper size requested by user, and fix
them.
Default: A4 size
After changing the size, put back the deck to the machine.
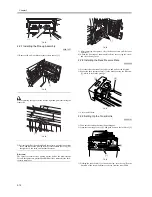
F-2-47
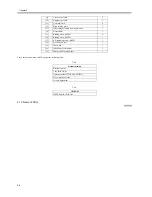
3) Attach a new paper size label to the paper size plate of the deck.
4) After changing the size, register the new paper size of the front deck
in service mode.
Right deck: COPIER>OPTION>CST>P-SZ-C1
Left deck: COPIER>OPTION>CST>P-SZ-C2
A4=6,B5=15,LTR=18
2.2.17 Checking Images/Operations, User Mode
0008-8105
1) Press the reset key twice to go back to the main screen. Check copying
operations and images using the test sheet.
- Copying operation: Make sure that copying operation is normal.
- 2-sided copying operation: Make sure that paper feed in the duplexing
unit is normal.
- Pickup operation: Make sure that paper pickup from each cassette is
normal.
- Operating sound: Make sure that abnormal sound is not generated.
- Fixed copy ratio: Check a copy image on a fixed ratio basis.
- Multiple copying: Make sure that the specified number of copies is
normally made.
- Make sure that images on paper picked up from the cassettes/decks are
within the following specs.
The specs have the following 2 types:
Side registration (margin at the left edge of image): 2.5±1.5mm
Leading edge registration (margin at the leading edge of image):
4.0+1.5mm/-1.0mm
Refer to [Adjusting Side Registration] or [Adjusting Leading Edge
Registration] if a result is out of specs.
* If image density differs between left and right of a copy, adjust the
height of the rear of the primary corona wire to correct.
The approx. first 10 copies may get soiled due to toner dropped from the
drum separation claw. However, this will not occur as copies are made.
2) Set standard mode in user mode/service mode upon request by user.
3) Load paper in the right/left deck.
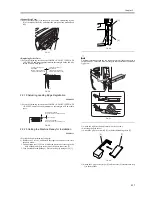
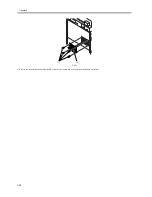
4) Put back the right/left deck to the machine. Peel an appropriate deck
size label from the size label (cassette/deck) board, and attach it to the
paper size plate of the deck.
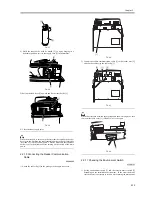
F-2-48
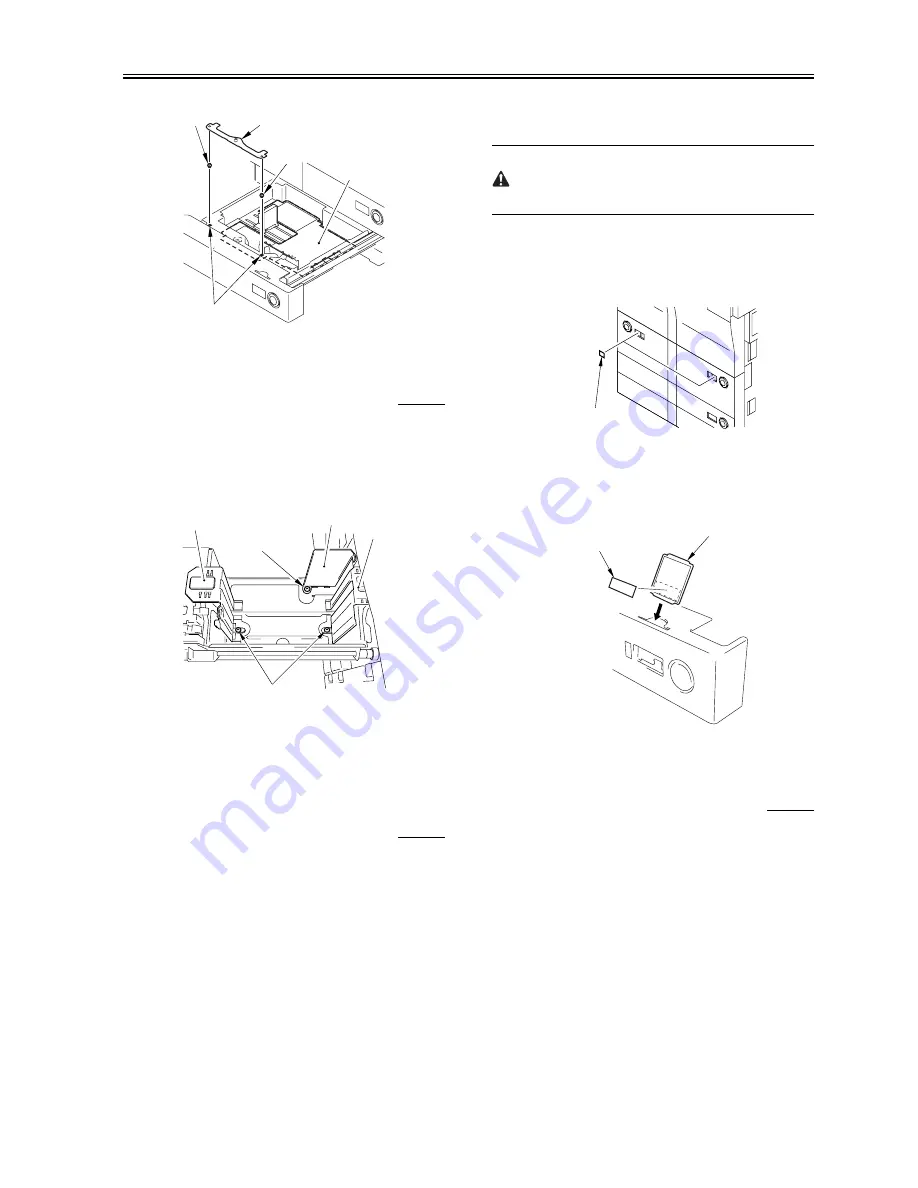
5) Press the release button to draw out the cassettes 3/4.
6) Peel an appropriate cassette size label from the size label (cassette/
deck) board, and attach it to the paper size plate of the cassette. Set
the paper size plate to the cassette cover.
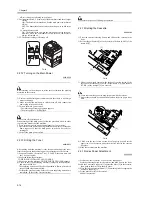
F-2-49
7) Put back each cassette to the machine.
2.2.18 Adjusting Side Registration
0008-8557
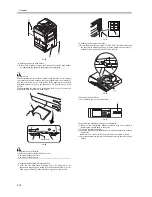
<Cassette 3/4>
1) Press the release button to draw out the cassette 3/4.
2) Loosen the 2 fixing screws [1] on both sides of the cassette.
3) Move the cassette body frontward or backward to adjust.
Backward: The side registration value (left margin) is decreased.
Frontward: The side registration value (left margin) is increased.
[2]
[3]
[4]
[1]
[1]
[1]
[2]
[3]
[4]
[4]
Deck size label
Cassette size label
Paper size plate
Summary of Contents for iR5570 Series
Page 1: ...Mar 29 2005 Service Manual iR6570 5570 Series ...
Page 2: ......
Page 6: ......
Page 26: ...Contents ...
Page 27: ...Chapter 1 Introduction ...
Page 28: ......
Page 30: ......
Page 55: ...Chapter 2 Installation ...
Page 56: ......
Page 58: ...Contents 2 9 3 Mounting the Cassette Heater 2 34 ...
Page 98: ......
Page 99: ...Chapter 3 Basic Operation ...
Page 100: ......
Page 102: ......
Page 110: ......
Page 111: ...Chapter 4 Main Controller ...
Page 112: ......
Page 114: ......
Page 135: ...Chapter 5 Original Exposure System ...
Page 136: ......
Page 181: ...Chapter 6 Laser Exposure ...
Page 182: ......
Page 184: ......
Page 192: ......
Page 193: ...Chapter 7 Image Formation ...
Page 194: ......
Page 198: ......
Page 259: ...Chapter 8 Pickup Feeding System ...
Page 260: ......
Page 350: ......
Page 351: ...Chapter 9 Fixing System ...
Page 352: ......
Page 401: ...Chapter 10 External and Controls ...
Page 402: ......
Page 406: ......
Page 448: ......
Page 449: ...Chapter 11 MEAP ...
Page 450: ......
Page 452: ......
Page 455: ...Chapter 12 Maintenance and Inspection ...
Page 456: ......
Page 458: ......
Page 468: ......
Page 469: ...Chapter 13 Standards and Adjustments ...
Page 470: ......
Page 505: ...Chapter 14 Correcting Faulty Images ...
Page 506: ......
Page 508: ......
Page 537: ...Chapter 15 Self Diagnosis ...
Page 538: ......
Page 540: ......
Page 565: ...Chapter 16 Service Mode ...
Page 566: ......
Page 568: ......
Page 633: ...Chapter 17 Upgrading ...
Page 634: ......
Page 636: ......
Page 641: ...Chapter 17 17 5 F 17 4 HDD Boot ROM Flash ROM System Software ...
Page 646: ...Chapter 17 17 10 F 17 11 8 Click START F 17 12 ...
Page 675: ...Chapter 17 17 39 F 17 59 2 Select the data to download F 17 60 3 Click Start ...
Page 677: ...Chapter 18 Service Tools ...
Page 678: ......
Page 680: ......
Page 683: ...Mar 29 2005 ...
Page 684: ......

