Caution
•
For safety, keep the Printhead out of the reach of children.
•
If ink is accidentally ingested, contact a physician immediately.
•
Do not touch the Printhead immediately after printing. The Printhead becomes extremely hot, and there is a risk of burns.
Important
•
There may be ink around the nozzles of the Printhead you remove. Handle the Printhead carefully during replacement. The
ink may stain clothing.
•
Do not open the Printhead pouch until immediately before installation. After removing the Printhead from the pouch, install it
right away. If the Printhead is left after the pouch is opened, the nozzles may dry out, which may affect printing quality.
Access the menu for Printhead replacement
Caution
•
When replacing the Printhead immediately after printing, wait a few minutes before replacing it. The metal parts of the Print-
head become hot during printing, and there is a risk of burns from touching these parts.
Important
•
Your hands may become dirty during Printhead replacement. Use the gloves provided with the new Printhead for replace-
ment.
Note
•
Prepare a new Ink Tank when ink levels are low.
•
When the remaining capacity of Maintenance cartridge is low, prepare a new Maintenance cartridge.
1
Remove any paper that has been advanced by selecting
Eject Paper
in the Control Panel menu.
•
When using a roll, rewind it.
(See "Removing the Roll from the Printer.")
→P.547
•
When using sheets, remove the sheet.
(See "Removing Sheets.")
→P.568
2
Clean inside the Top Cover.
(See "Cleaning Inside the Top Cover.")
→P.869
3
On the
Tab Selection screen
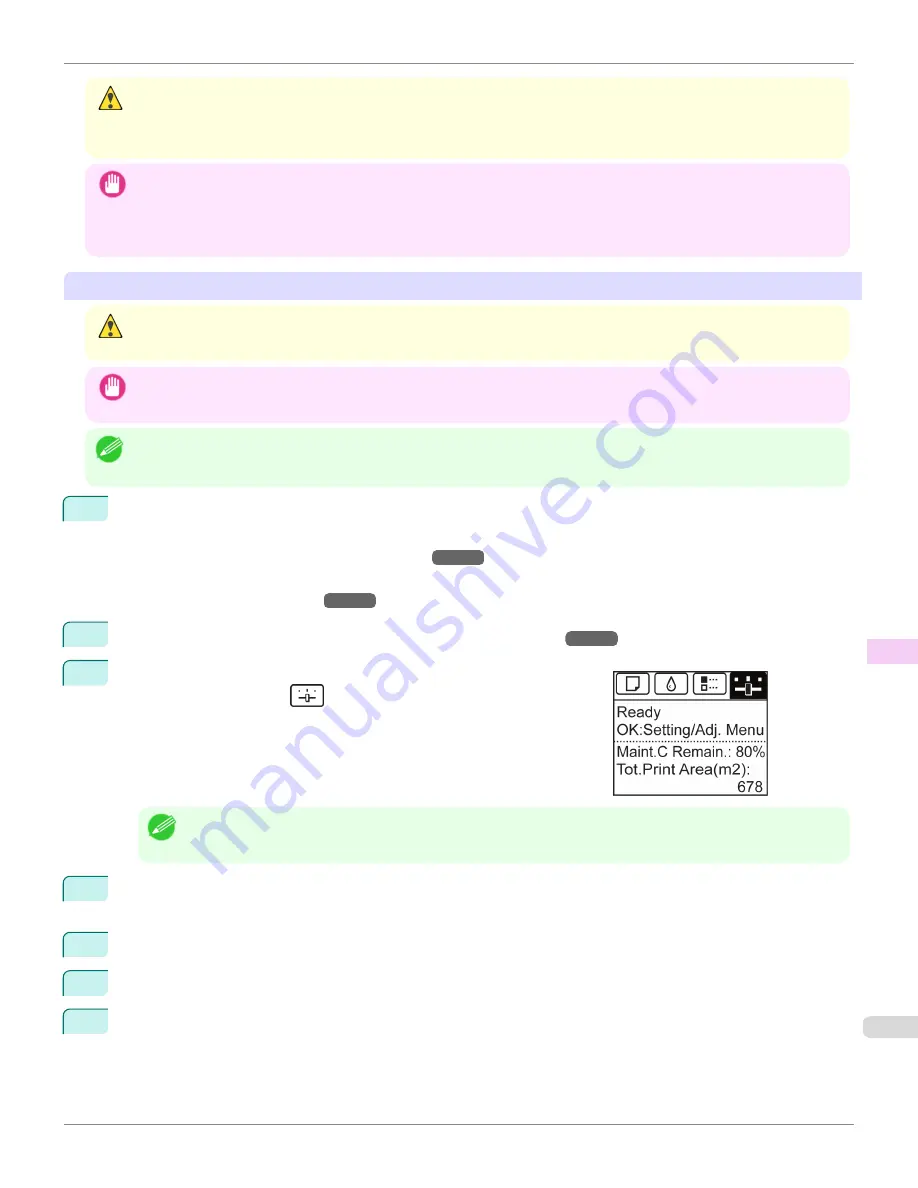
of the Control Panel, press
◀
or
▶
to se-
lect the Settings/Adj. tab (
).
Note
•
If the
Tab Selection screen
is not displayed, press the
Menu
button.
4
Press the
OK
button.
The
Set./Adj. Menu
is displayed.
5
Press
▲
or
▼
to select
Maintenance
, and then press the
OK
button.
6
Press
▲
or
▼
to select
Replace P.head
, and then press the
OK
button.
7
Press
▲
or
▼
to select the Printhead for replacement.
Select
Printhead L
when replacing the left printhead,
Printhead R
when replacing the right printhead, and
L &
R Printheads
when replacing both. Make sure your selection is correct.
iPF9400S
Replacing the Printhead
User's Guide
Maintenance and Consumables
Printheads
849
Summary of Contents for imagePROGRAF iPF9400S
Page 34: ...iPF9400S User s Guide 34 ...
Page 528: ...iPF9400S User s Guide 528 ...
Page 654: ...iPF9400S User s Guide 654 ...
Page 706: ...iPF9400S User s Guide 706 ...
Page 882: ...iPF9400S User s Guide 882 ...
Page 940: ...iPF9400S User s Guide 940 ...
Page 960: ...WEEE Directive iPF9400S User s Guide Appendix Disposal of the product 960 ...
Page 961: ...iPF9400S WEEE Directive User s Guide Appendix Disposal of the product 961 ...
Page 962: ...WEEE Directive iPF9400S User s Guide Appendix Disposal of the product 962 ...
Page 963: ...iPF9400S WEEE Directive User s Guide Appendix Disposal of the product 963 ...
Page 964: ...WEEE Directive iPF9400S User s Guide Appendix Disposal of the product 964 ...
Page 965: ...iPF9400S WEEE Directive User s Guide Appendix Disposal of the product 965 ...
Page 966: ...WEEE Directive iPF9400S User s Guide Appendix Disposal of the product 966 ...
Page 967: ...iPF9400S WEEE Directive User s Guide Appendix Disposal of the product 967 ...
Page 968: ...iPF9400S User s Guide 968 ...
Page 971: ...971 ...


