7
Press
▲
or
▼
to select
Initial adjustmt
, and then press the
OK
button.
A test pattern is printed for adjustment.
Adjustment is now finished if you have printed on a roll.
8
If you are printing on sheets, a confirmation message is displayed requesting you to continue printing. Press
the
OK
button and follow the instructions.
Note
•
Advanced adjustment can enable superior printing quality when printing fine lines or text at high precision on glossy
or semi-glossy photo or proofing paper.
(See "Enhancing Printing Quality.")
→P.804
Troubleshooting Paper Abrasion and Blurry Images
Troubleshooting Paper Abrasion and Blurry Images
The Printhead height setting affects printing quality.
Specifying a low Printhead height makes images clearer and enhances printing quality but may cause paper to rub
against the Printhead.
On the other hand, specifying a high Printhead height will prevent paper from rubbing against the Printhead but may
reduce the printing quality.
Important
•
Paper rubbing against or becoming caught on the Printhead may jam or result in printed documents that are soiled.
Note
•
Raise or lower the printhead, depending on the nature of the problem.
(See "Paper rubs against the printhead.")
→P.897
(See "The edges of the paper are dirty.")
→P.897
(See "Image edges are blurred or white banding occurs.")
→P.901
1
On the
Tab Selection screen
of the Control Panel, press
◀
or
▶
to se-
lect the Paper tab (
).
Note
•
If the
Tab Selection screen
is not displayed, press the
Menu
button.
2
Press the
OK
button.
The
Paper Menu
is displayed.
3
Press
▲
or
▼
to select
Paper Details
, and then press the
OK
button.
4
Press
▲
or
▼
to select the type of paper, and then press the
OK
button.
Note
•
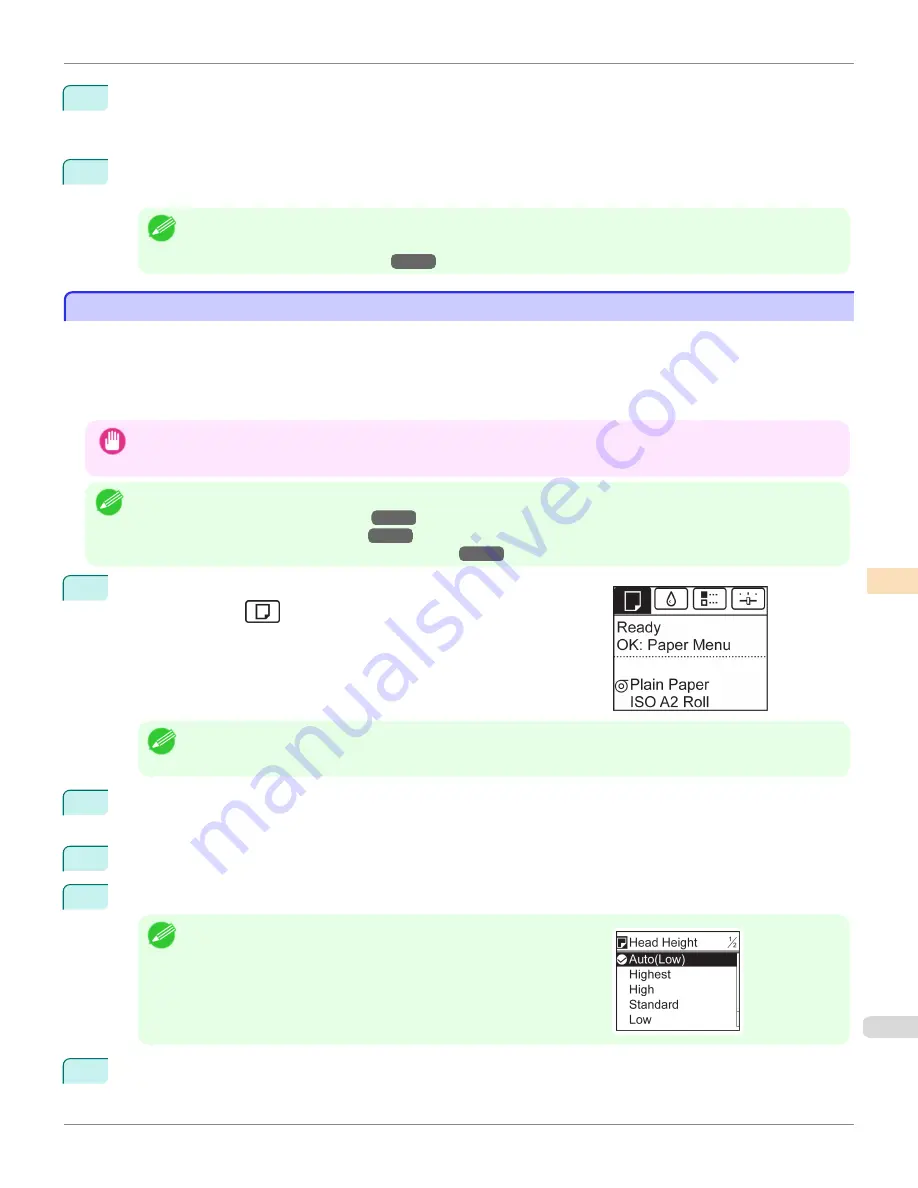
When
Head Height
is set to
Automatic
, the setting value selected for the
previous print job is displayed (to the right of
Automatic
) once you select
the type of paper currently supplied.
However, the value is cleared when the printer is turned off or the paper
is replaced.
5
Press
▲
or
▼
to select
Head Height
, and then press the
OK
button.
iPF9400S
Troubleshooting Paper Abrasion and Blurry Images
User's Guide
Adjustments for Better Print Quality
Adjusting the Printhead
811
Summary of Contents for imagePROGRAF iPF9400S
Page 34: ...iPF9400S User s Guide 34 ...
Page 528: ...iPF9400S User s Guide 528 ...
Page 654: ...iPF9400S User s Guide 654 ...
Page 706: ...iPF9400S User s Guide 706 ...
Page 882: ...iPF9400S User s Guide 882 ...
Page 940: ...iPF9400S User s Guide 940 ...
Page 960: ...WEEE Directive iPF9400S User s Guide Appendix Disposal of the product 960 ...
Page 961: ...iPF9400S WEEE Directive User s Guide Appendix Disposal of the product 961 ...
Page 962: ...WEEE Directive iPF9400S User s Guide Appendix Disposal of the product 962 ...
Page 963: ...iPF9400S WEEE Directive User s Guide Appendix Disposal of the product 963 ...
Page 964: ...WEEE Directive iPF9400S User s Guide Appendix Disposal of the product 964 ...
Page 965: ...iPF9400S WEEE Directive User s Guide Appendix Disposal of the product 965 ...
Page 966: ...WEEE Directive iPF9400S User s Guide Appendix Disposal of the product 966 ...
Page 967: ...iPF9400S WEEE Directive User s Guide Appendix Disposal of the product 967 ...
Page 968: ...iPF9400S User s Guide 968 ...
Page 971: ...971 ...


