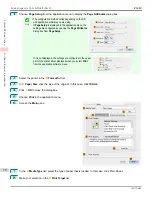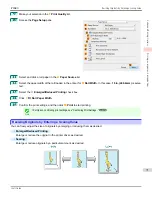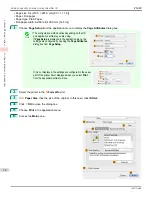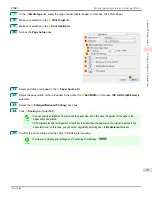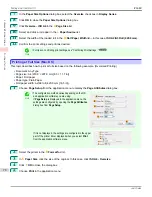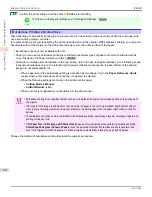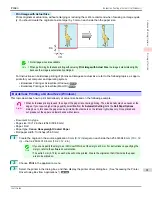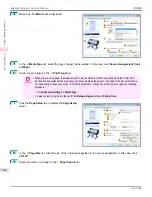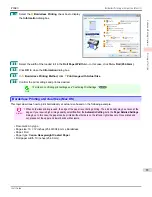
10
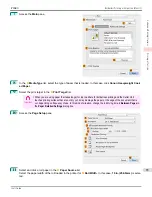
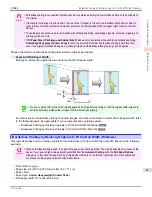
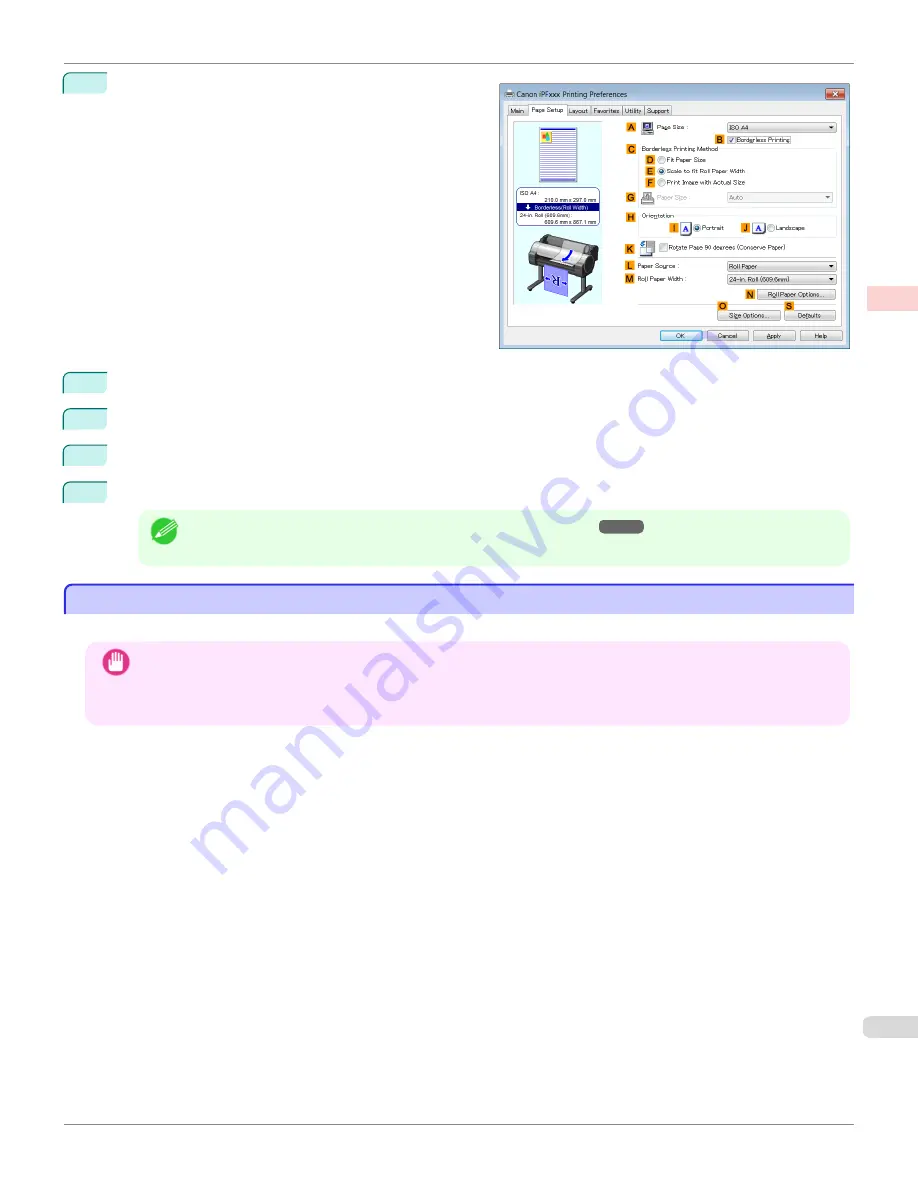
Select the
B
Borderless Printing
check box to display
the
Information
dialog box.
11
Select the width of the loaded roll in the
Roll Paper Width
list—in this case, click
10-in. Roll (254.0mm)
.
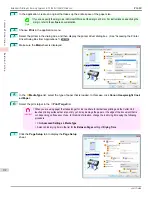
12
Click
OK
to close the
Information
dialog box.
13
In
C
Borderless Printing Method
, click
F
Print Image with Actual Size
.
14
Confirm the print settings and print as desired.
Note
•
For tips on confirming print settings,
see "Confirming Print Settings ."
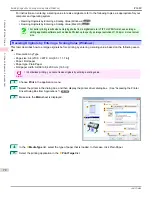
Borderless Printing at Actual Size (Mac OS)
Borderless Printing at Actual Size (Mac OS)
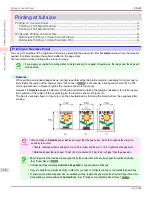
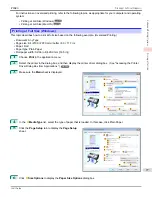
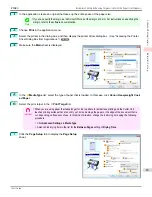
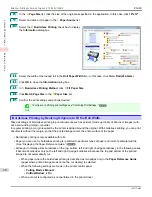
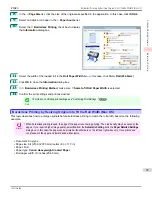
This topic describes how to print borderlessly at actual size based on the following example.
Important
•
When borderless printing is used, the edge of the paper is cut during printing. Thus, ink density may be uneven at the
edges. If you require higher image quality, select
No
from the
Automatic Cutting
list in the
Paper Detailed Settings
dialog box. In this case, the paper can be printed without borders on the left and right sides only. Once printed and
cut, please cut the upper and lower bands with scissors.
•
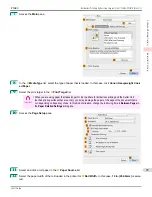
Document: Any type
•
Page size: 10 × 12 inches (254.0×304.8 mm)–Borderless
•
Paper: Roll
•
Paper type:
Canon Heavyweight Coated Paper
•
Roll paper width: 10 inches (254.0 mm)
iPF680
Borderless Printing at Actual Size (Mac OS)
Enhanced Printing Options
Printing at full size
83
Summary of Contents for imagePROGRAF iPF680
Page 14: ...14 ...
Page 30: ...iPF680 User s Guide 30 ...
Page 156: ...iPF680 User s Guide 156 ...
Page 358: ...iPF680 User s Guide 358 ...
Page 434: ...iPF680 User s Guide 434 ...
Page 472: ...iPF680 User s Guide 472 ...
Page 482: ...iPF680 User s Guide 482 ...
Page 522: ...iPF680 User s Guide 522 ...
Page 576: ...iPF680 User s Guide 576 ...
Page 628: ...iPF680 User s Guide 628 ...


