LCD SCREEN
38
f
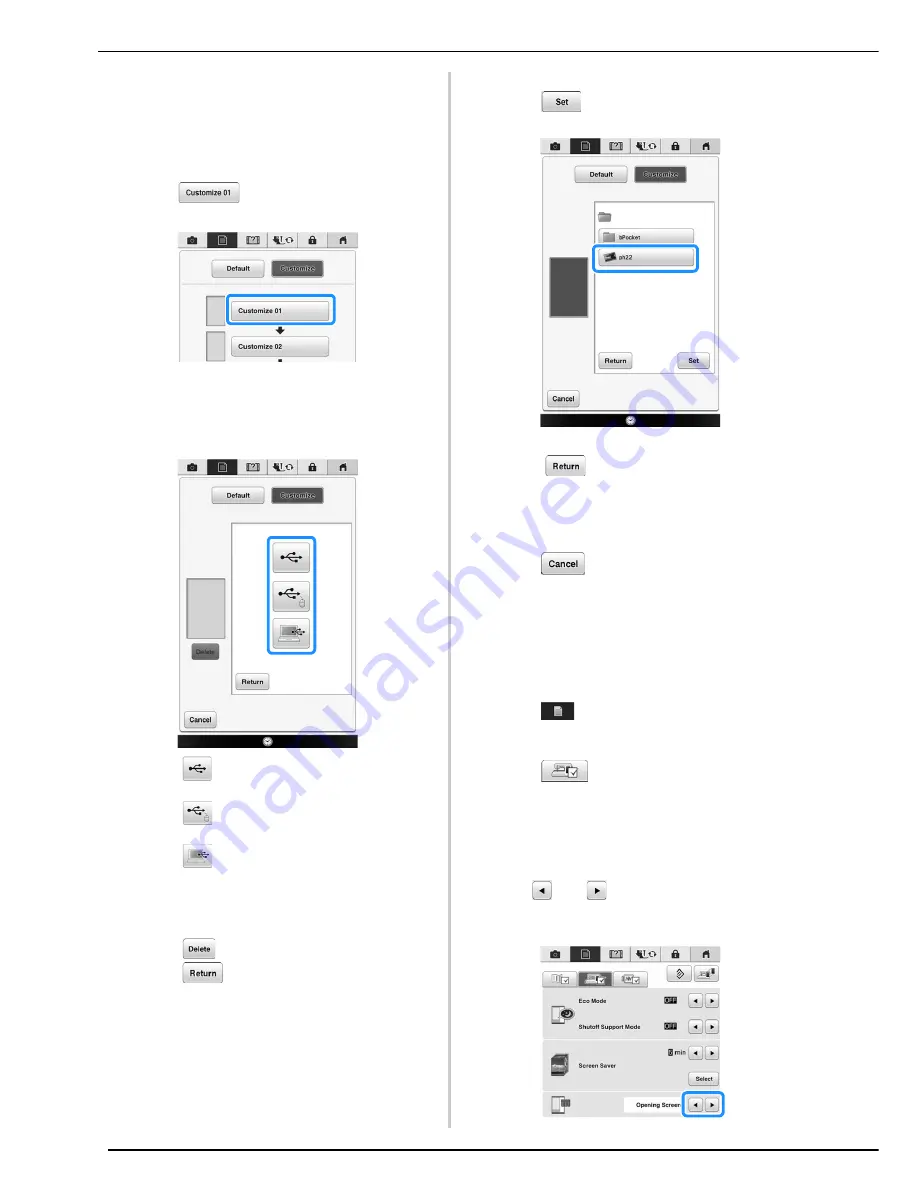
Connect the USB media or the computer
(using a USB cable) that contains your
personal image to the USB port of the
machine.
*
See page 48 about USB connectivity.
g
Press
to select the first image.
*
The images will appear in a list in this screen. Select
the desired number to specify the image.
h
Select the device that is connected.
*
Press
when connecting USB media to the USB
port.
*
Press
when connecting USB media to the
center USB port.
*
Press
when connecting a computer using a
USB cable, and then copy your personal images into
“Removable Disk”, which appears on the desktop of
the computer.
→
A list of your personal images appear on the screen.
*
Press
to delete the selected image.
*
Press
to view the previous page.
i
Press a file name to select image and then
press .
→
The selected image is stored on your machine.
*
Press
to view the previous page.
j
Repeat the procedure from step
g
to select
the remaining images.
k
Press
to return to the original
screen.
■
Selecting the Initial Screen Display
The Initial screen that appears on the machine can
be changed.
a
Press .
→
The settings screen appears.
b
Press .
→
The General settings screen appears.
c
Display page 5 of the General settings
screen.
d
Use
and
to select the setting for the
initial screen display.
Summary of Contents for 82-W20
Page 2: ......
Page 30: ...NAMES OF MACHINE PARTS AND THEIR FUNCTIONS 28 ...
Page 82: ...NEEDLE CALIBRATION USING THE BUILT IN CAMERA 80 ...
Page 170: ...SEWING THE STITCHES 168 ...
Page 190: ...COMBINING STITCH PATTERNS 188 Press Press ...
Page 198: ...USING THE MEMORY FUNCTION 196 ...
Page 210: ...USING STORED CUSTOM STITCHES 208 ...
Page 264: ...ATTACHING THE EMBROIDERY FRAME 262 b Pull the embroidery frame toward you ...
Page 286: ...ADJUSTMENTS DURING THE EMBROIDERY PROCESS 284 ...
Page 338: ...RESUME FEATURE 336 ...
Page 362: ...ILLUSTRATION SCAN 360 ...
Page 418: ......
Page 419: ......


