PATTERN DRAWING SCREEN
346
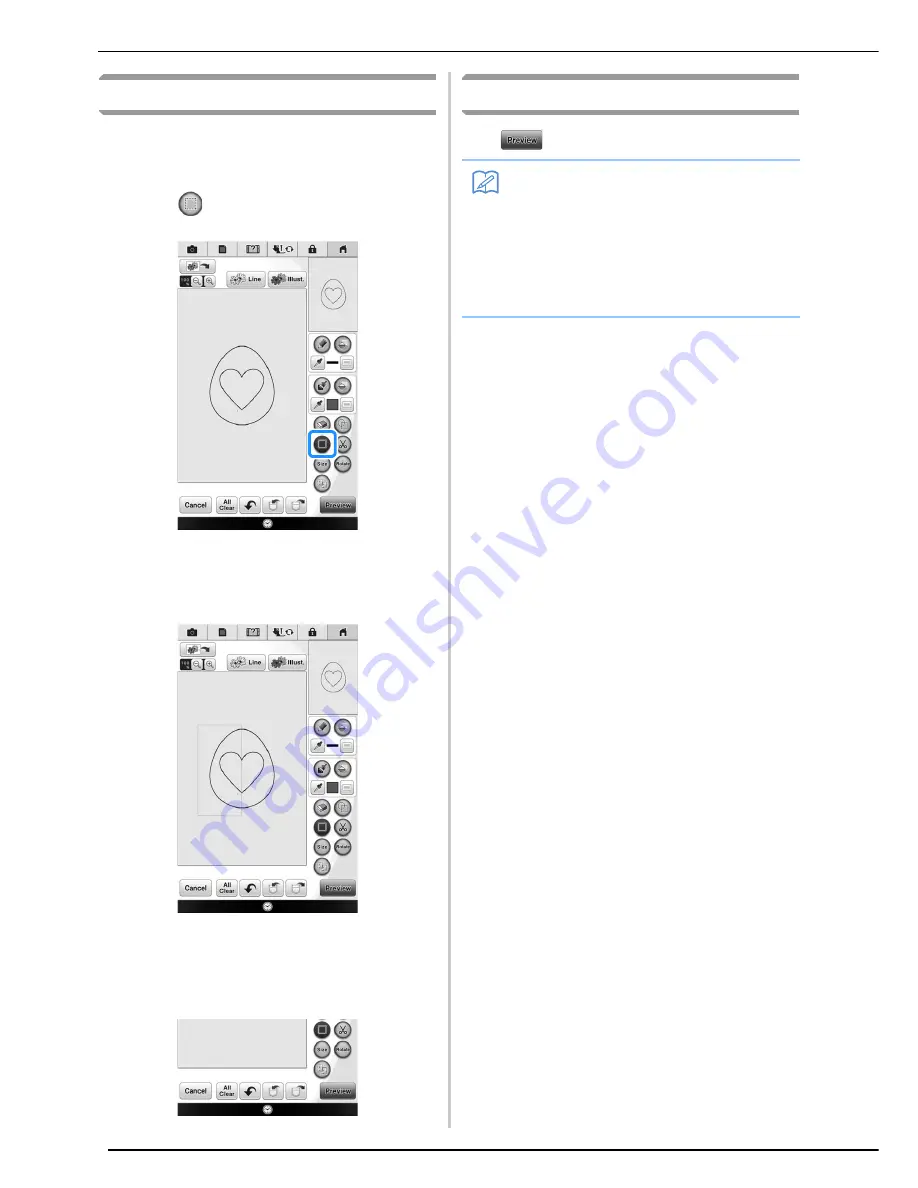
Using the select key
You can select the part of the design to move and/
or edit. Some keys are available only after you
select the part.
a
Press .
b
Select the area you want to edit.
→
Selected area is marked with red square.
c
Edit the design with available keys. (See
“Key functions” on page 341 for the details
of each key function.)
After Editing the Design
Press
to create the embroidery pattern.
Memo
• We recommend saving the My Design Center
pattern. You cannot return to the design screen
after applying stitching settings and continuing to
the embroidery edit screen.
• If the pattern is saved, you can start My Design
Center again and further edit the pattern or create a
new pattern with the same design and different
stitching settings applied.
Summary of Contents for 82-W20
Page 2: ......
Page 30: ...NAMES OF MACHINE PARTS AND THEIR FUNCTIONS 28 ...
Page 82: ...NEEDLE CALIBRATION USING THE BUILT IN CAMERA 80 ...
Page 170: ...SEWING THE STITCHES 168 ...
Page 190: ...COMBINING STITCH PATTERNS 188 Press Press ...
Page 198: ...USING THE MEMORY FUNCTION 196 ...
Page 210: ...USING STORED CUSTOM STITCHES 208 ...
Page 264: ...ATTACHING THE EMBROIDERY FRAME 262 b Pull the embroidery frame toward you ...
Page 286: ...ADJUSTMENTS DURING THE EMBROIDERY PROCESS 284 ...
Page 338: ...RESUME FEATURE 336 ...
Page 362: ...ILLUSTRATION SCAN 360 ...
Page 418: ......
Page 419: ......


