LINE SCAN
356
h
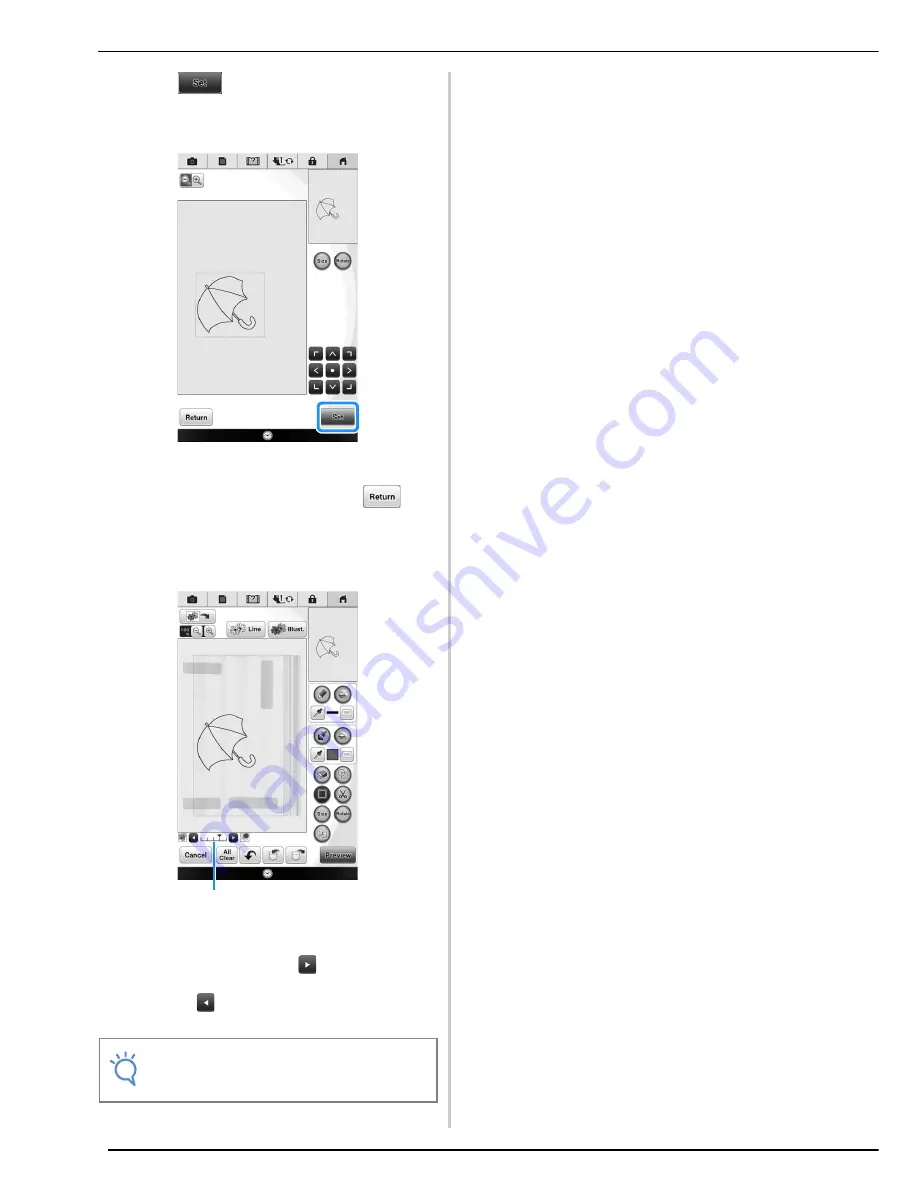
Press .
In this screen, the pattern can be resized, rotated or
moved.
→
The pattern design editing screen for My Design
Center appears.
*
To return to the previous screen, press
.
i
Follow the procedure described on
page 224 to edit the pattern as desired.
*
The original image is displayed in the background.
Use gauge
a
to adjust the transparency of the
background. Each press of
lightens the
background, making the line pattern darker. Each
press of
darkens the background, making the
line pattern lighter.
Note
• During scanning, the small dots that appear
and unnecessary lines can be erased.
a
Summary of Contents for 82-W20
Page 2: ......
Page 30: ...NAMES OF MACHINE PARTS AND THEIR FUNCTIONS 28 ...
Page 82: ...NEEDLE CALIBRATION USING THE BUILT IN CAMERA 80 ...
Page 170: ...SEWING THE STITCHES 168 ...
Page 190: ...COMBINING STITCH PATTERNS 188 Press Press ...
Page 198: ...USING THE MEMORY FUNCTION 196 ...
Page 210: ...USING STORED CUSTOM STITCHES 208 ...
Page 264: ...ATTACHING THE EMBROIDERY FRAME 262 b Pull the embroidery frame toward you ...
Page 286: ...ADJUSTMENTS DURING THE EMBROIDERY PROCESS 284 ...
Page 338: ...RESUME FEATURE 336 ...
Page 362: ...ILLUSTRATION SCAN 360 ...
Page 418: ......
Page 419: ......


