LINE SCAN
354
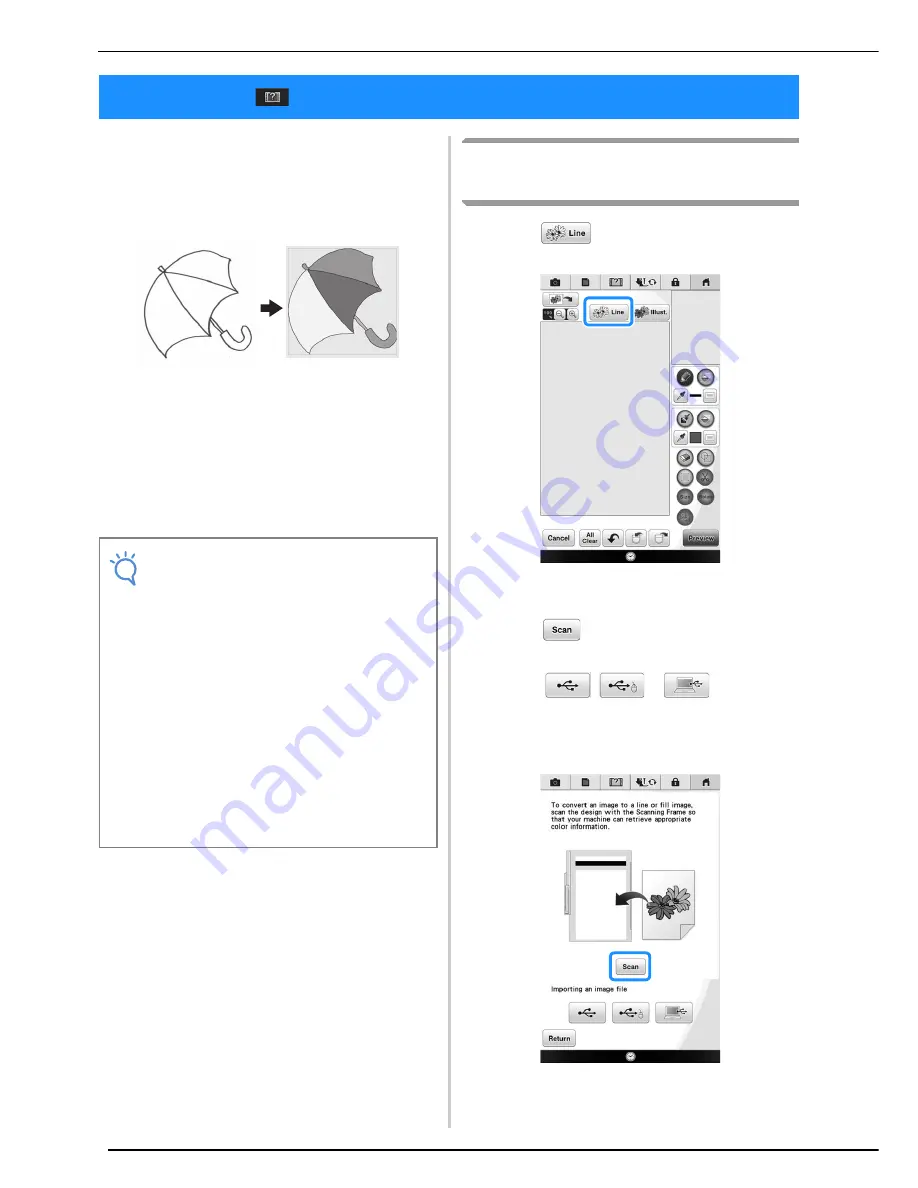
Custom patterns can be created from drawings.
You can create patterns by scanning your
drawings using the included scan frame or
importing an image from USB media or a
computer.
Recommended line drawings for Line Scan
• Line drawings must be drawn clearly using lines
with approximately 1 mm thickness.
• Line drawings should be drawn in a strong
contrast.
• If the lines are too short or gathered in small
space, they will not be scanned correctly.
Using the Scanning Frame to
Create a Pattern with Line Scan
a
Press .
→
The image display screen appears.
b
Press .
*
To import an image from USB media or a computer,
press
,
or
. For details,
refer to page 353.
*
If you scan the image, make sure that the scan frame
is attached to the machine. Refer to “Using the Scan
Frame” on page 350.
LINE SCAN
Note
• For details on creating patterns using color
illustrations, refer to “ILLUSTRATION
SCAN” on page 357.
• If you cannot scan the drawings as
expected, you can edit the design in the My
Design Center. Refer to “PATTERN
DRAWING SCREEN” on page 340.
• Line drawings are scanned without
recognizing the thickness of lines. If you
want to change the thickness of lines,
specify in the Settings screen. Refer to
“STITCH SETTINGS SCREEN” on
page 347.
• Line drawings are scanned as black lines. If
you want to change the colors, specify in
the My Design Center. Refer to “Drawing
Regions” on page 343.
Summary of Contents for 82-W20
Page 2: ......
Page 30: ...NAMES OF MACHINE PARTS AND THEIR FUNCTIONS 28 ...
Page 82: ...NEEDLE CALIBRATION USING THE BUILT IN CAMERA 80 ...
Page 170: ...SEWING THE STITCHES 168 ...
Page 190: ...COMBINING STITCH PATTERNS 188 Press Press ...
Page 198: ...USING THE MEMORY FUNCTION 196 ...
Page 210: ...USING STORED CUSTOM STITCHES 208 ...
Page 264: ...ATTACHING THE EMBROIDERY FRAME 262 b Pull the embroidery frame toward you ...
Page 286: ...ADJUSTMENTS DURING THE EMBROIDERY PROCESS 284 ...
Page 338: ...RESUME FEATURE 336 ...
Page 362: ...ILLUSTRATION SCAN 360 ...
Page 418: ......
Page 419: ......


