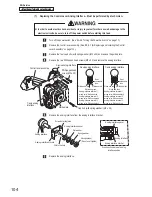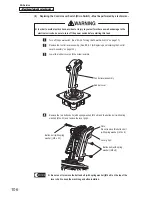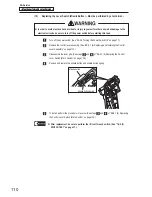
– Must be performed by a technician –
– Must be performed by a technician –
114
8B. Service
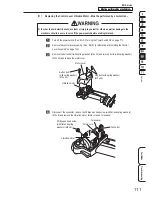
(13) Replacing the Rubber Cover – Must be performed by a technician –
z
z
In order to avoid electric shock, accident or injury to yourself or others as well as damage to the
electronic circuits, be sure to turn off the power switch before starting this task.
Turn off the power switch. (See “8A-2-3 Turning the Power Switch On” on page 77.)
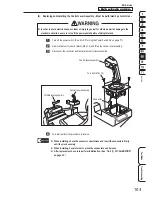
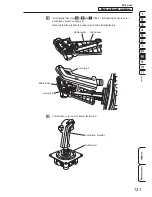
Remove the control lever assembly. (See “8B-5-1 (6) Replacing and Installing the Control
Lever Assembly” on page 103.)
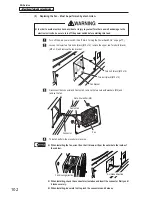
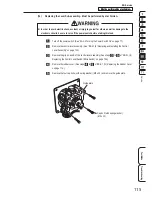
Remove the grips A and B of the control lever assembly. (See steps
to
of “8B-5-1 (8)
Replacing the Control Lever Switch (Micro Switch)” on page 106.)
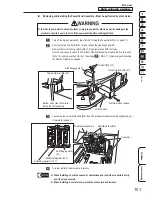
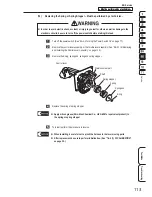
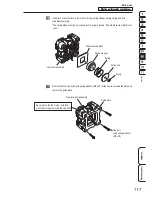
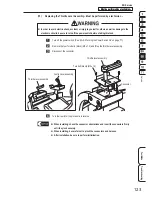
Remove the six button bolts (with spring washer) (M4 x 8) and remove the cover fixing frame
and rubber cover.
Button bolt
(with spring washer)
(M4 x 8)
Button bolt
(with spring washer)
(M4 x 8)
Cover fixing frame
Rubber cover
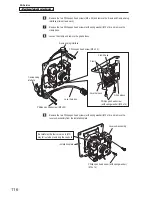
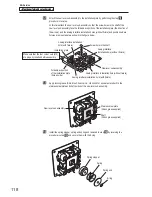
Replace the rubber cover.
To install, perform the procedure in reverse. (See steps
to
and
of “8B-5-1 (8)
Replacing the Control Lever Switch (Micro Switch)” on page 106.)
z
z
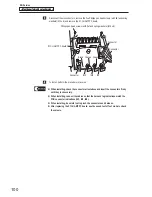
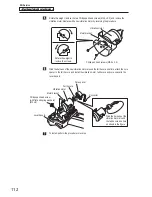
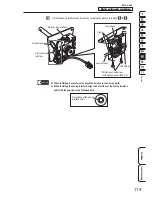
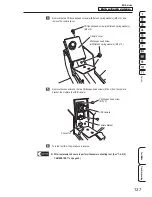
Arrange the cable by wrapping it around the shaft one time in the clockwise direction
starting from the analog interface side.
z
z
Arrange the cable along the side surface of the square pipe.
z
z
After replacement, be sure to perform initialization. (See “7-4-4 (1) I/F CALIBRATION”
on page 36.)

