53
7. Operation
Operation
Test Mode
Troubleshooting
(3) Cleaning the Projector Filters
z
z
Regularly clean the projector filters approximately once per week. Dust and dirt
accumulating on the filters may prevent adequate ventilation and result in a projector
error.
Remove the filter F and filter R. (See “8B-6-1 (3) Replacing the Filter F (Projector)” on page
150 and “8B-6-1 (4) Replacing the Filter R (Projector)” on page 151.)
Clean the dust and dirt from the filter F and filter R surfaces.
Wash with water and allow to dry thoroughly, or use a vacuum cleaner, being careful not to
suck the filter into the vacuum cleaner.
When a filter becomes torn or has large holes or other damage, replace it with a new one.
After cleaning, install the filters by reversing the procedure.
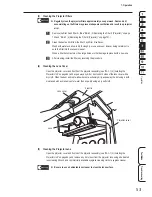
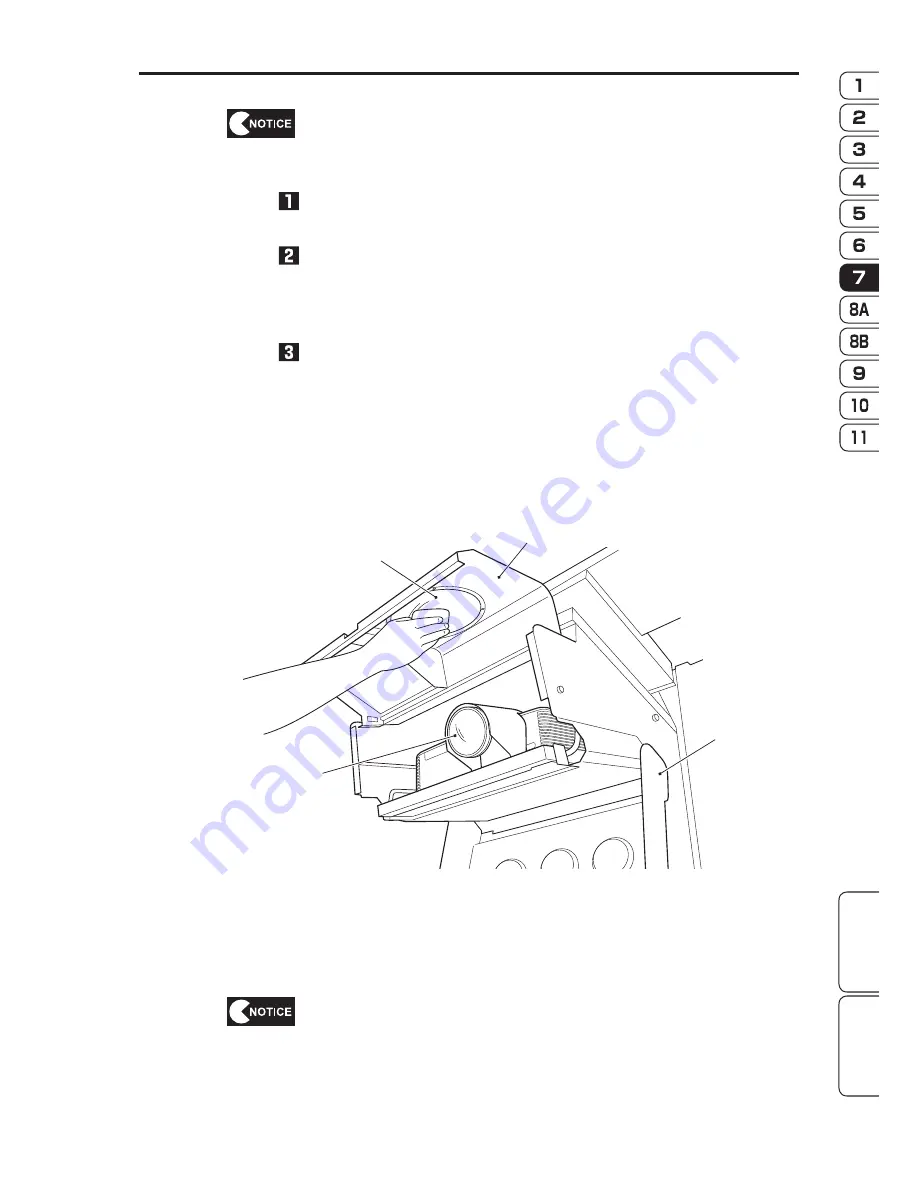
(4) Cleaning the Lens Cover
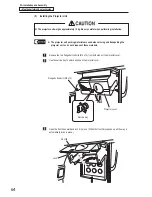
Open the projector cover and front lid of the projector assembly (see “8A-1-1 (5) Installing the
Projector Unit” on page 64), and wipe away any dirt or dust on both sides of the lens cover with a
dry cloth. When the door and rear window become extremely dirty, wipe away the dirt using a cloth
moistened with a small amount of water, then wipe dry using a dry soft cloth.
Lens
Lens cover
Front lid
Projector cover
(5) Cleaning the Projector Lens
Open the projector cover and front lid of the projector assembly (see “8A-1-1 (5) Installing the
Projector Unit” on page 64), and remove any dirt or dust from the projector lens using a dedicated
lens cleaning kit such as a commercially available eyeglass cleaning cloth or eyeglass cleaner.
z
z
Be sure to use a dedicated lens cleaner to clean the lens surface.

