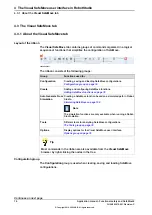

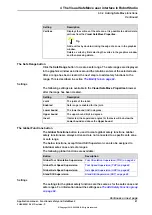


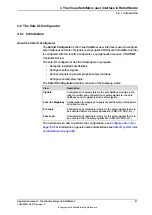


The Stop Configuration button
The
Stop Configuration
button is used configure a safety stop that is sent on the
safe fieldbus from the safety PLC to the robot controller.
The
Mode
setting defines which stop mode that shall be activated on the robot
controller (GS, AS, or ES). The corresponding warning will be written to the event
log and presented on the FlexPendant.
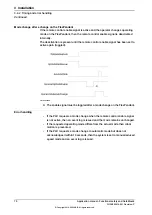
Regardless of the mode that is selected in the stop configuration setup, a safety
stop from the safety PLC will always trigger a protective stop on the superior stop
input (SS) of the IRC5 panel board.
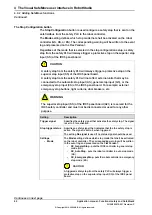
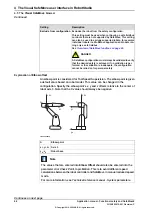
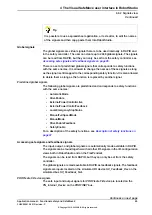
CAUTION
A safety stop from the safety PLC will always trigger a protective stop on the
superior stop input (SS) of the IRC5 panel board.
A safety stop from the safety PLC will not affect external units that may be
connected to the automatic stop input (AS), general stop input (GS), or the
emergency stop input (ES) of the IRC5 panel board. For example: external
emergency stop buttons, light curtains, door breakers, etc.
WARNING
The superior stop input (SS) of the IRC5 panel board (A21) is reserved for the
IRC5 safety controller and must not be disconnected or used for any other
purpose.
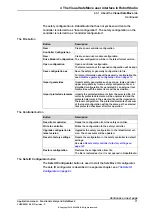
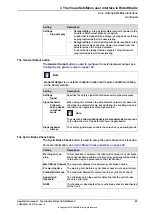
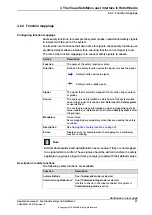
Description
Setting
Specifies the safety signal that activates the safety stop. The signal
is set to 0 for activation.
Trigger signal
Specifies a safety signal that indicates that the the safety stop is
active. The signal is set to 0 when triggered.
Stop trigger status
The setting
No signal
is used if no status signal should be used.
The
Mode
setting defines which stop mode that shall be activated
on the robot controller. The corresponding warning will be written
to the event log and presented on the FlexPendant.
•
SC_GeneralStop
- puts the IRC5 controller in general stop
mode (GS).
•
SC_AutoStop
- puts the robot controller in auto stop mode
(AS).
•
SC_EmergencyStop
- puts the robot controller in emergency
stop mode (ES).
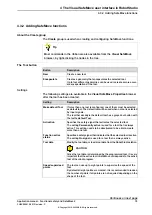
CAUTION
A triggered safety stop from the safety PLC will always trigger a
protective stop on the superior stop input (SS) of the IRC5 panel
board.
Settings
•
Mode
Continues on next page
82
Application manual - Functional safety and SafeMove2
3HAC052610-001 Revision: P
© Copyright 2016-2020 ABB. All rights reserved.
4 The Visual SafeMove user interface in RobotStudio
4.3.2 Adding SafeMove functions
Continued
Summary of Contents for SafeMove2
Page 1: ...ROBOTICS Application manual Functional safety and SafeMove2 ...
Page 8: ...This page is intentionally left blank ...
Page 16: ...This page is intentionally left blank ...
Page 34: ...This page is intentionally left blank ...
Page 56: ...This page is intentionally left blank ...
Page 72: ...This page is intentionally left blank ...
Page 112: ...This page is intentionally left blank ...
Page 194: ...This page is intentionally left blank ...
Page 196: ...This page is intentionally left blank ...
Page 234: ...This page is intentionally left blank ...
Page 237: ......