


Table 72: Programmable
Button
Access
level
Description
Motor lube
acknowledge
Operator
When both motors have been lubricated, the Operator must acknowledge the lubrication
has been performed. This is done by pressing the Motor Lube Acknowledge button and then
entering his/her initials, name or user ID as a 3 to 8 character string. The entry is displayed as
the Operator Initials at Last Lubrication and implies that both motors have been lubricated.
The date and time of this entry is automatically logged as the Date of Last Motor Lubrication
and Time of Last Motor Lubrication. This entry also resets the Operating Hours Since Last
Lubrication to zero.
This entry also resets the motor lubrication warning messages: “Warning – Motor Bearing
Lube Suggested”, “Warning – Motor Bearing Lube Required” and safety shutdown “Motor –
Lack of Bearing Lubrication”.
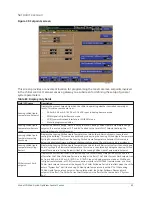
Enter your initials, name or user ID using the following procedure. The entry must be a
minimum of 3 characters and a maximum of 8 characters.
•
At the keypad, log in at OPERATOR access level using Password 9 6 7 5.
•
Press the Motor Lube Acknowledge key. A dialog box appears. A red box highlights the
first changeable location.
•
Use the ▲▼ keys to scroll sequentially through the alphabet to enter letters or
numbers. Each time the ▲ is pressed, the next higher sequential alphabet letter or
number is displayed. Each time the ▼ is pressed, the next lower alphabet letter or
number is displayed. When the desired letter or number is displayed, use the ► key to
forward space the red box for the next entry. Use the ◄ key to backspace, if necessary.
To write over an existing entry or to place a blank space, scroll to the beginning of the
alphabet. The selection prior to the letter A is a blank space. Use the ● key to enter a
period/decimal point. During the entry process, if it is desired to exit the dialog box and
retain the previous entry, press the CANCEL (X) key.
•
When all of the desired characters have been entered, press the ENTER key.
Motor lube date Admin
Allows modification of the Date of Last Motor Lubrication.
Auto lube
Service
This setpoint accommodates those chillers that are equipped with the optional Automatic
Motor Lubrication hardware that automatically lubricates the motor at regular intervals.
Since chillers equipped with this hardware don’t require manual lubrication, the lubrication
warnings displayed at 1000, 1200 and 1400 (safety shutdown) operating hours since last
lubrication are unnecessary. Therefore, when the automatic lubrication hardware is present,
this setpoint must be ENABLED. With this setting, no lubrication warnings or safety shutdown
will occur. If DISABLED, as it should be when not equipped with the automatic lubrication
hardware, the motor lubrication warnings and safety shutdown will occur at the associated
operating hours.
Shutdowns
Service
If the Auto Lube setpoint above is set to DISABLED, the SHUTDOWN Setpoint is used to enable
or disable the safety shutdown that occurs at 1400 operating hours since last lubrication. The
safety shutdown can be enabled or disabled per the customer’s preference. If enabled, the
safety shutdown will occur at the normal 1400 hours. If disabled, a warning will be displayed
but the safety shutdown will not occur.
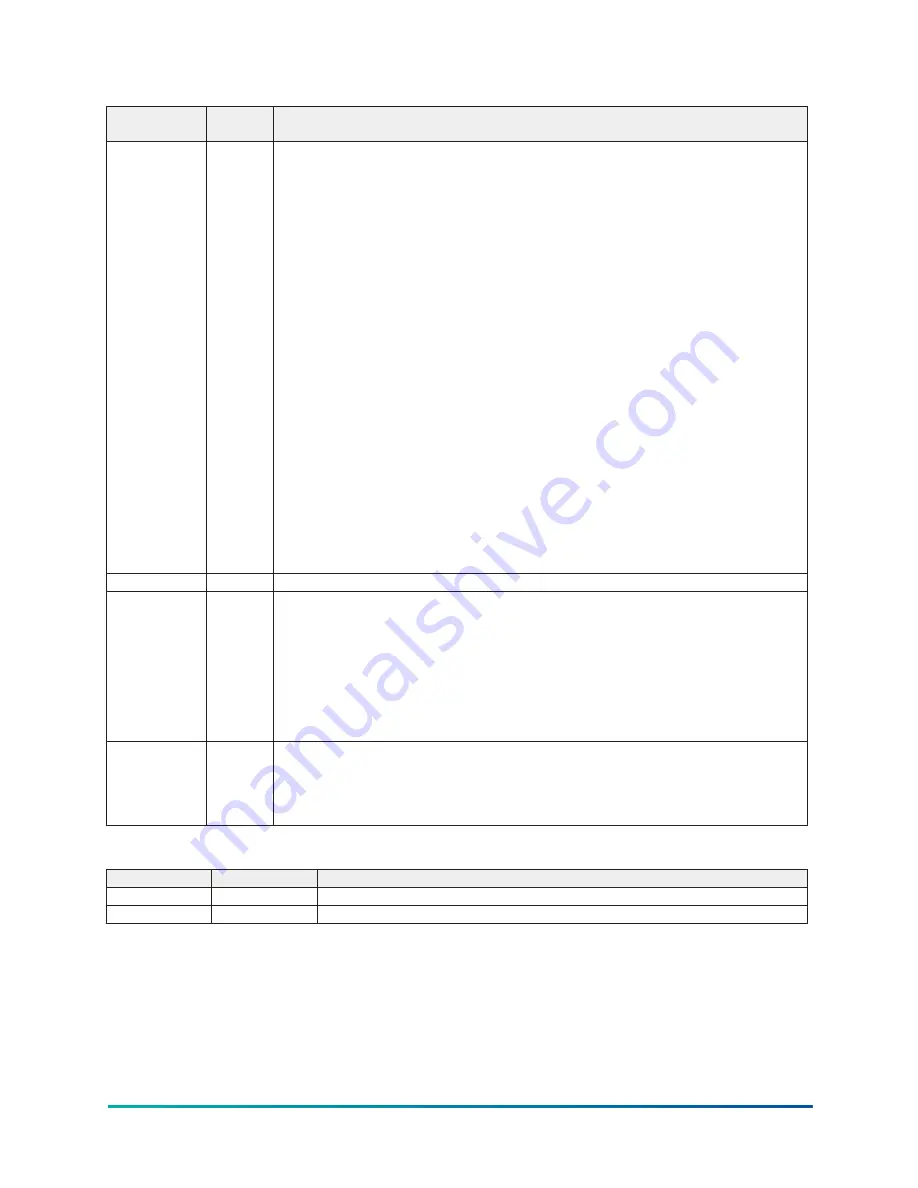
Table 73: Navigation
Button
Access level
Description
Home
View
Returns to the Home screen.
Motor
View
Returns to the Motor screen.
83
Model YD Mod D with OptiView Control Center
Содержание YD Mod D
Страница 2: ...2 Model YD Mod D with OptiView Control Center...
Страница 8: ...Nomenclature Model YD Mod D with OptiView Control Center 8...
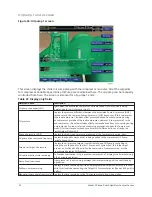
Страница 17: ...Figure 2 Chiller operation flow chart 17 Model YD Mod D with OptiView Control Center...
Страница 18: ...Figure 2 Chiller operation flow chart Model YD Mod D with OptiView Control Center 18...
Страница 19: ...Figure 2 Chiller operation flow chart 19 Model YD Mod D with OptiView Control Center...
Страница 20: ...Figure 2 Chiller operation flow chart Model YD Mod D with OptiView Control Center 20...
Страница 21: ...Figure 2 Chiller operation flow chart 21 Model YD Mod D with OptiView Control Center...
Страница 22: ...Figure 2 Chiller operation flow chart Model YD Mod D with OptiView Control Center 22...
Страница 150: ...Figure 57 Sample printout status Model YD Mod D with OptiView Control Center 150...
Страница 151: ...Figure 57 Sample printout status 151 Model YD Mod D with OptiView Control Center...
Страница 152: ...Figure 58 Sample printout setpoints Model YD Mod D with OptiView Control Center 152...
Страница 153: ...Figure 58 Sample printout setpoints 153 Model YD Mod D with OptiView Control Center...
Страница 154: ...Figure 59 Sample printout schedule Model YD Mod D with OptiView Control Center 154...
Страница 155: ...Figure 60 Sample printout sales order 155 Model YD Mod D with OptiView Control Center...
Страница 156: ...Figure 61 Sample printout history Model YD Mod D with OptiView Control Center 156...
Страница 157: ...Figure 61 Sample printout history 157 Model YD Mod D with OptiView Control Center...
Страница 159: ...Figure 64 Sample printout custom screen report 159 Model YD Mod D with OptiView Control Center...