X100 Series Main User Manual
111
IN
ST
A
LL
&
C
O
N
N
EC
T
SE
TU
P
CO
N
FIG
U
RE
RE
CO
RD
IN
G
S
O
FT
W
A
RE
RE
CO
RD
IN
G
S
O
FT
W
A
RE
4.6.4 ADJUSTING TIME SCHEDULES
To Add a new time schedule
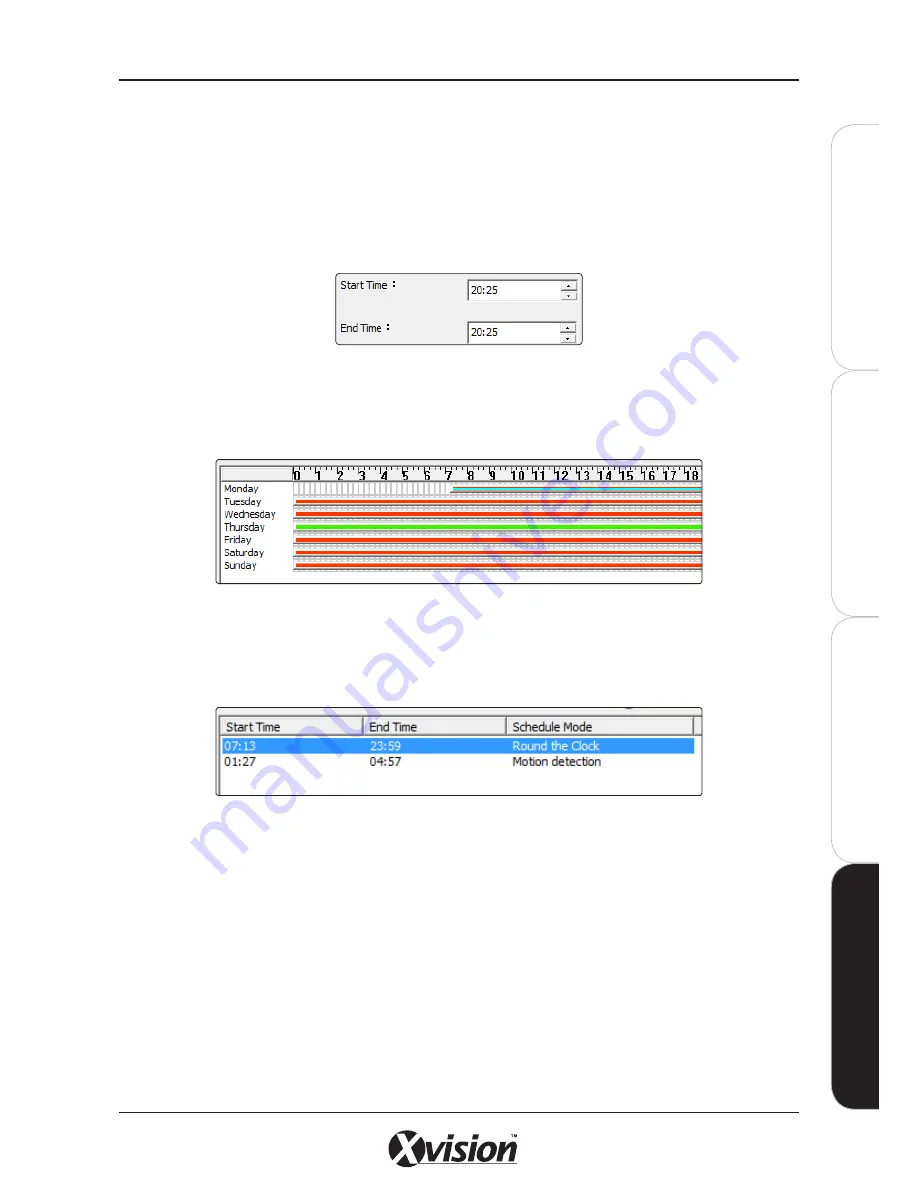
Define a new time schedule by selecting the required mode of schedule recording then clicking ADD. The
system will default to ‘round the clock’ recording which can be adjusted using the up and down arrows
on the START TIME and END TIME fields.
Alternatively, you can create a new time schedule by dragging over a selected EMPTY time period within
the Recording Schedule window where the left and right sides cover the start and end times of the
schedule. After dragging over a new area the Record Setup Window will popup automatically.
To Modify a time schedule
Select the Camera’s Name (daily mode) or Weekday (weekly mode) from the tree list.
Click on the time schedule from the Recording Schedule List as shown above OR click on the time slice
within the Recording Schedule window.
Adjust the start and end times using the up and down arrows on the START TIME and END TIME fields
or by dragging the time bar as required. Once adjustments have been made, click on the EDIT button to
save changes and prompt the Record Setup Window to popup.
To Delete a time schedule
Select the Camera’s Name (daily mode) or Weekday (weekly mode) from the tree list.
Click on the time schedule from the Recording Schedule List as shown above OR click on the time slice
within the Recording Schedule window. Click the DELETE button to remove it from the list.
Содержание X100 Series
Страница 1: ...User Manual X100 SERIES ...
Страница 176: ...V1 2 2010 10 ...


