REA
VERIFIER
© REA Elektronik GmbH, 64367 Mühltal, Germany --- REA MLV-2D Manual Version 3 – 21/12/2015
Page 44 of 98
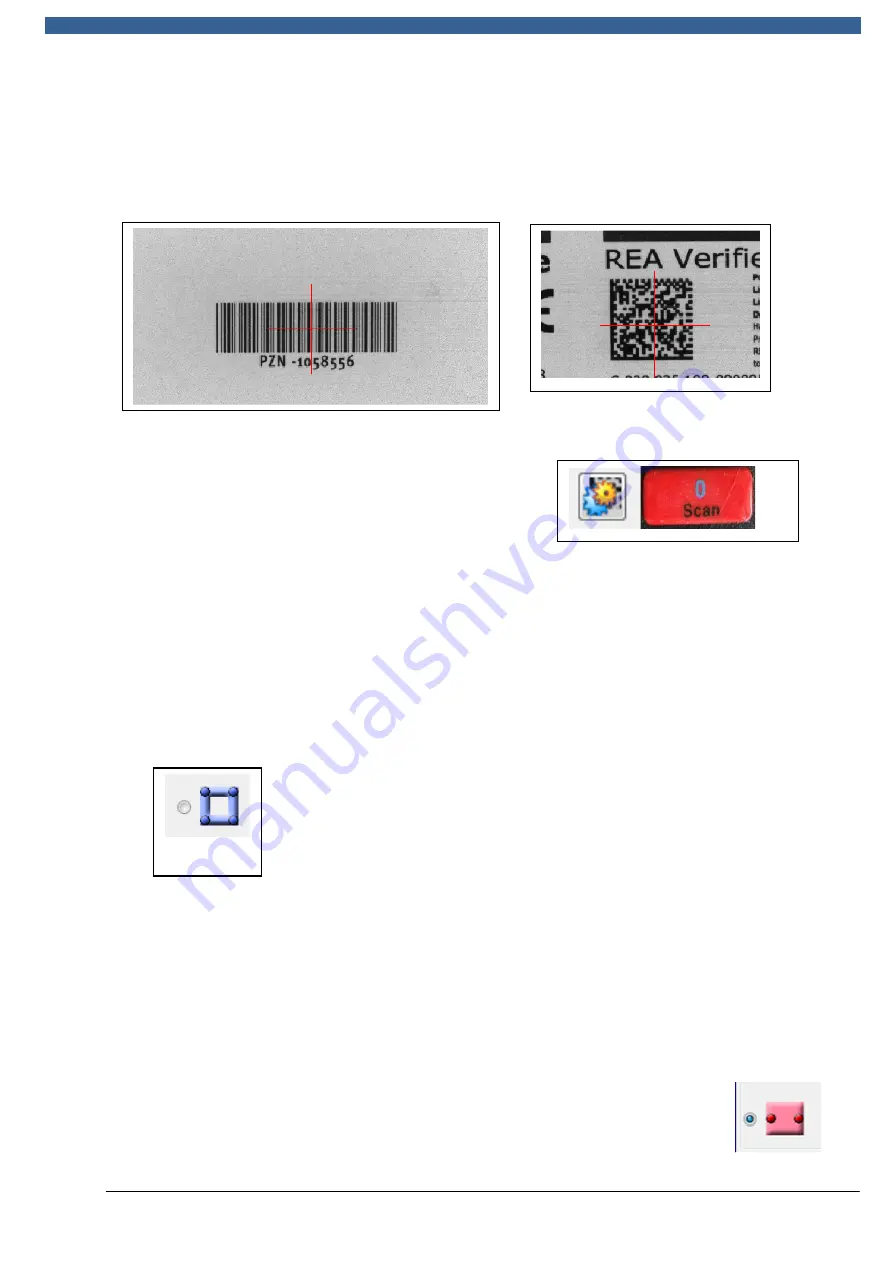
The measurement area can be set in various ways. The simplest way is just to display
the red cross hairs. The code is moved into the centre of the cross hairs and the
measurement is then started. This can be done by using the "Scan" button on the
device or the "Evaluation" button in the Windows software.
Cross hairs with barcode
Cross hairs with 2D code
The evaluation is started using the "Evaluation"
button or device scan button.
Pressing the evaluation button stops the live image and starts the capture of the
measurement image at the camera's full resolution. Following this, evaluation is
started. Normally, the symbology and the code type (1D or 2D) are recognised
automatically.
If automatic recognition fails, the measurement area must be set manually.
The icon with the blue square forces the measurement of a 2D code.
If the function is active, the mouse is used to click three corners of the matrix code in
the measurement image one after another. This causes a blue square to appear,
which sets the measurement area for the code. The thickness of the blue frame is not
relevant for the measurement; it can be altered by scrolling the mouse wheel. Only
the outer edge is relevant. In difficult measurement cases, alteration of the blue
frame (its size, the precision with which the code is targeted) can improve the stability
of the evaluation (see also section 5.2).
If a barcode is being measured, a red measurement area is superimposed on the
image as a bar at an angle of 90° in relation to the barcode lines. The
height of the bar determines the measurement area along the code
height. The measurement width is determined automatically (up to
Version 1.0.20.1). From Version 1.0.20.1/13914r, the measurement area
is constrained to the left and right position points (see also section 5.2).


