The File Menu
Commands and Settings 101
6
Select a location for your file.
Omnipro\data
is the default directory. OmniPage only looks
here for zone template files so you must save the file here.
7
Click
OK
.
Saved templates appear in the drop-down list under the Zone button. You
can also choose
Use Template...
in the Process menu. This command is
described later in this chapter.
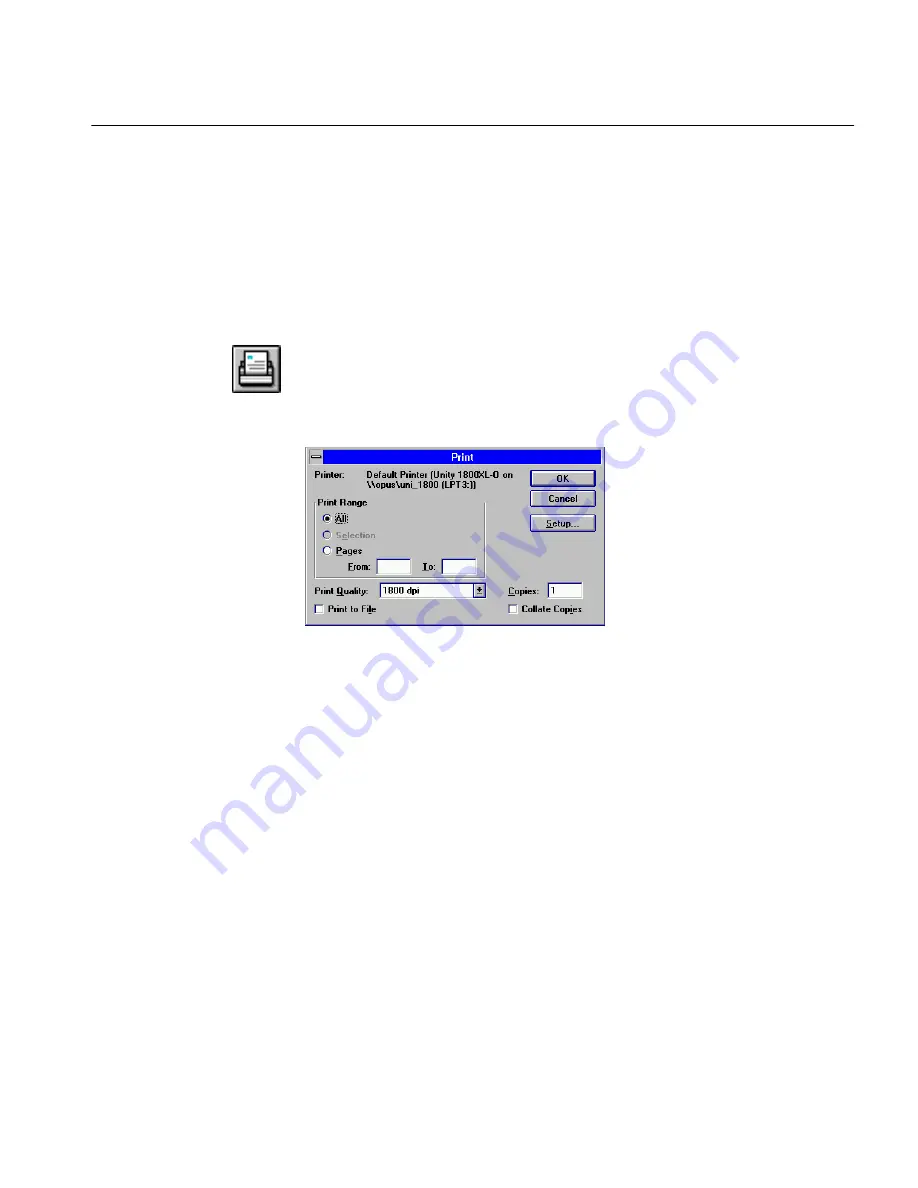
Choose
Print...
to print a recognized document. This prints information in
the text window but not the zone window. This command is also available
as a button in the toolbar.
The dialog box that appears depends on your printer.
Select the desired print options such as print range, print quality, and
number of copies. Click
OK
to start the print job. Click
Cancel
to exit
without printing or saving the selected print options.
Publish to Envoy
Choose
Publish to Envoy...
to save recognized text and any retained
graphics as a Novell Envoy runtime file.
An Envoy file displays information on your screen as if it were printed.
Envoy preserves your document’s fonts and page layout. Text and
graphics appear as they did in the OmniPage text window.
You cannot edit an Envoy file as you would edit a file in a word processor,
but you can rearrange, combine, and delete whole pages of the file. You
can annotate an Envoy file, print it, and copy and paste from an Envoy file
into other applications. You can send the file to other users and they will
be able to open it on their system. Envoy files are a self-opening; you do
not need to install either OmniPage or Envoy to view an Envoy file. See
“Opening a Novell Envoy Runtime File” on page 103.
Содержание OMNIPAGE PRO 6 - REFERENCE FOR WINDOWS
Страница 1: ...1 OmniPage Pro Version 6 for Windows Reference Manual...
Страница 80: ...Direct Input Mode Tutorials 80...


