


Appendix A
Tutorial
© National Instruments Corp.
A-13
GPIB-410 User Manual
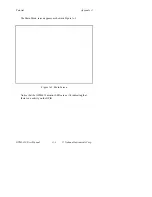
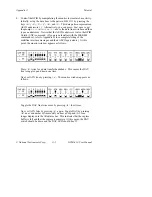
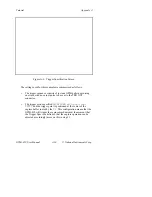
The data is displayed in the capture buffer with respect to the trigger
event which is the listen address 23 hex, or ASCII #. Following the
trigger point, a drop in the ATN line and the beginning of the message
to Device 3 can be seen. Notice that the trigger event is centered within
the sixteen captured events as specified on the Trigger Specification
screen. The two cursors
1
and
2
(far left column) provided for
scrolling through the buffer are initially positioned at the trigger event.
For more information on the Capture Display screen, refer to Chapter 4.
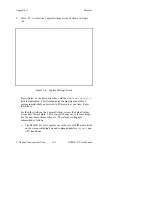
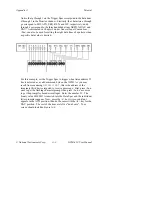
At this point, you may wish to experiment by increasing the size of the
capture buffer so that more samples are retained either side of the
trigger point, and then running through the <Alt-T>/<Alt-G> sequence
again. If you make the buffer large enough (for example, 1,000
entries), you can capture the entire sequence of patterns output by the
Pattern Generator. Notice, however, that if the capture buffer is larger
than the total number of patterns generated, the buffer will never fill up
and you will have to manually halt the capture at the end of the pattern
generation sequence to view the captured patterns. To do this, type
<Alt-C>.
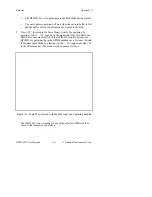
This concludes the tutorial examples. Press <F2> to return to the Main
Menu screen, or press <Esc> twice to exit the
GPIB410
program.


