


Appendix A
Tutorial
© National Instruments Corp.
A-11
GPIB-410 User Manual
3.
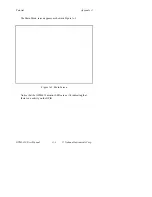
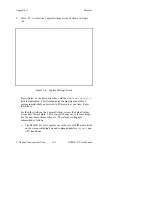
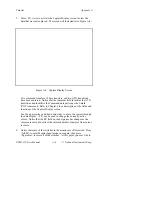
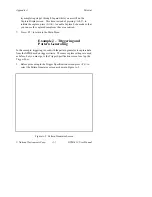
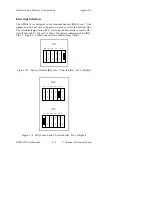
Press <F2> to return to the Main Menu screen. Press <Alt-T> to
enable the Trigger Mechanism. The
TRG
indicator appears in the
title/status bar and your screen looks like Figure A-7.
Figure A-7. Main Menu Screen with Trigger Enabled
The trigger is now armed and waiting for the trigger pattern to occur.
During this time, background capturing is also running and ready to
store pre-trigger capture samples into memory. If the capture buffer
fills up before the trigger occurs, the GPIB-410 automatically loops
around and reuses the buffer. When the trigger pattern is detected on
the bus, the GPIB-410 marks the next capture sample as the trigger
point and realigns any existing entries in the buffer so as to position the
trigger point as requested.
4.
When you enable the Pattern Generator, you will observe several things
occurring within a short period of time. First, the
GEN
indicator
appears in the title/status bar to indicate that the Pattern Generator is
enabled. This occurrence is quickly followed by the appearance of a


