


Tutorial
Appendix A
GPIB-410 User Manual
A-8
© National Instruments Corp.
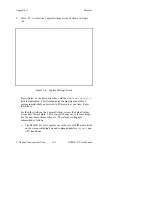
The default values for the Pattern Generator are used for this example.
Later, you can experiment with any of these settings, but, for now,
leave them as they are. The current settings are summarized as follows:
•
The GPIB-410 is set to output the contents of the pattern buffer
one time.
•
The monitor switches will not be reset to off when the next pattern
generation competes.
•
EOI will not be sent with the last byte output in the sequence.
•
The source of the contents of the pattern buffer to be output is
defined as the command file
GPIB410.PAT
.
Before proceeding, examine the contents of the file
GPIB410.PAT
by
turning to Appendix F, GPIB410.PAT Source Listing . This file, written
in IBPGL, defines a sequence of 16-bit patterns that are loaded into
memory prior to execution of the Pattern Generator. This area of
memory, referred to as the pattern buffer, is analogous to the capture
buffer used for capturing, except that its size is determined
automatically by the GPIB-410 software. After the buffer has been
loaded, the Pattern Generator can be executed any number of times
without reloading until a new filename is specified.
The commands in
GPIB410.PAT
are straightforward and commented.
For a complete description of the IBPGL command set and syntax,
refer to Appendix E. Notice in the listing that the set and handshake
commands are used to simulate addressing and data transfer activity
between the GPIB-410 and three imaginary devices. For the purposes
of this example, the GPIB-410 will be playing the role of all GPIB
Listeners as well as the GPIB Talker.
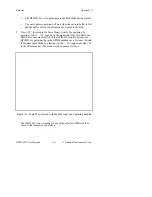
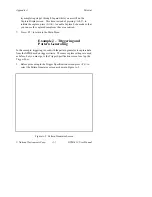
2.
Press <F4> to select the Trigger Specification screen. This screen
defines up to nine sequential patterns, collectively referred to as the
Trigger Spec , which the GPIB-410 should wait for before performing
the indicated action at the bottom of the screen. Only one pattern is
required in the Trigger Spec for this example.
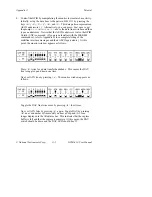
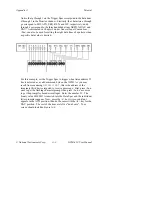
In constructing a trigger pattern, you must specify a 0, 1, or x (for
"don't care") condition for each signal line. This is done by pressing
the letter key indicated above the line you wish to set until the
appropriate selection appears.


