


Appendix A
Tutorial
© National Instruments Corp.
A-7
GPIB-410 User Manual
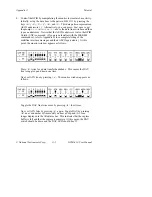
try completing steps 3 through 5 again while you are still on the
Capture Display screen. This time, instead of pressing <Alt-C> to
initiate the capture, press <Alt-E> to enable Capture Echo mode so that
you can see the captured samples as they are acquired.
7.
Press <F2> to return to the Main Menu.
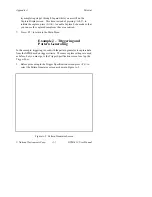
Example 2 – Triggering and
Pattern Generating
In this example, triggering is used with the pattern generator to capture data
from the GPIB based on trigger criteria. The same capture settings are used
as before, but you must go to the Trigger Specification screen to set up the
Trigger Spec .
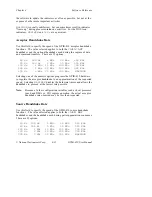
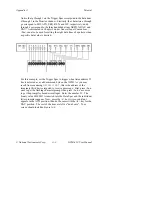
1.
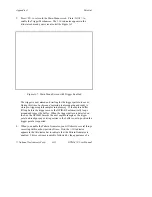
Before proceeding to the Trigger Specification screen, press <F6> to
select the Pattern Generator screen as shown in Figure A-5.
Figure A-5. Pattern Generator Screen


