Sampling mode
618
5. To execute the Delete Multisample command,
press the OK button. To cancel, press the Cancel
button.
Even if you also choose to delete the samples that
are included in the deleted multisample(s), any
sample data (waveform data) used by these samples
that is shared with other samples will not be
deleted. Only the sample itself will be deleted.
Copy MS (Copy Multisample)
This command copies the selected multisample to
another multisample.
Note:
The copy destination multisample number will
automatically be included in the resulting multisample
name. If necessary, use the “Rename MS” menu
command to rename it. When doing so, make sure that
the name is not identical to any other multisample
name. For more information, please see “About stereo
multisamples and stereo samples” on page 569.
1. Use “Multisample Select (MS)” (0–1a) to select the
copy-source multisample.
2. Select “Copy MS” to open the dialog box.
3. Specify the copy destination multisample number.
When copying a stereo multisample, copy
both the L and R channels of the copy destination
multisample number.
4. To execute the Copy Multisample command, press
the OK button. To cancel, press the Cancel button.
When a multisample is copied, the samples
assigned to the multisample will also be copied at
the same time. At this time, they will be
automatically copied to vacant sample numbers.
The sample data (waveform data) will be shared
between the copy source and copy destination.
(Additional sample memory area will not be
consumed.)
Rename MS (Rename Multisample)
This command modifies the name of the currently
selected multisample.
1. Use “Multisample Select (MS)” (0–1a) to select the
multisample whose name you want to edit.
2. Select “Rename MS” to open the dialog box.
3. Press the text edit button to move to the text edit
dialog box, and input a multisample name of up to
24 characters.
If the selected multisample is stereo, up to 22
characters can be input as the multisample name.
This is because the last two characters are reserved
for -L and -R. If you rename up to 22 characters of
the multisample of either the L or the R channel, the
other multisample name will automatically be
renamed.
4. To execute the Rename Multisample command,
press the OK button. To cancel, press the Cancel
button.
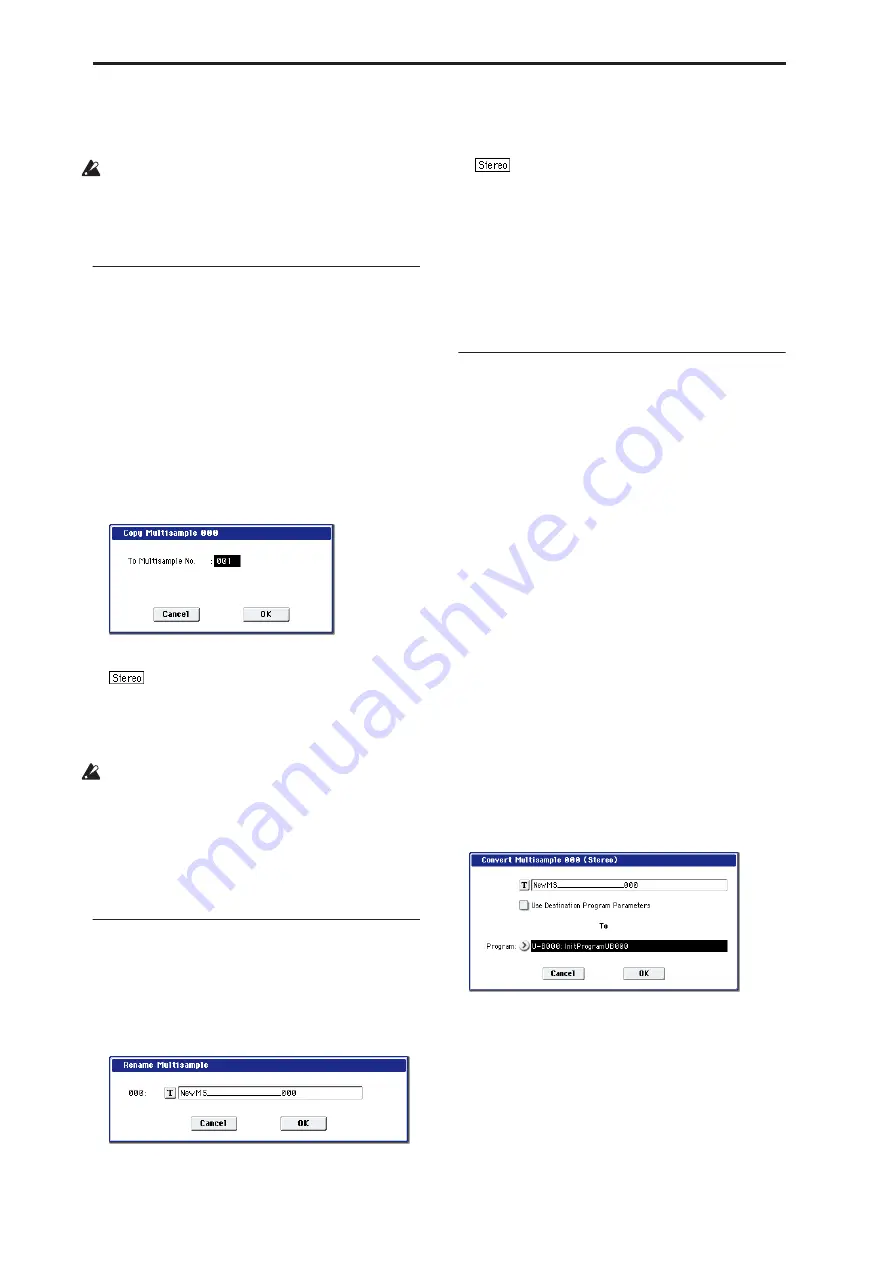
Convert MS (Multisample) To Program
This command converts the selected multisample into
a program.
If you have recorded a sample or created a
multisample and would like to play it in Program
mode, Combination mode, or Sequencer mode, you
must create a program that uses that multisample for
its oscillator.
If you’ve created a multisample in Sampling mode and
want to use it as a program, go to Program P2: OSC
Pitch and set the OSC1 Multisample/Wave Sequence
and OSC2 Multisample/Wave Sequence “Bank”
parameters (if “Type” = Multisample) to RAM Mono
or RAM Stereo. A multisample that you created in
Sampling mode can be used in the program, and then
to make program settings to specify how the
multisample will be sounded.
However by executing the “Convert MS To Program”
command, you can quickly and easily convert the
Sampling mode settings into a new program, without
having to make any Program mode settings as
described above.
1. Use “Multisample Select (MS)” (0–1a) to select the
multisample that you want to convert to a
program.
2. Select “Convert MS To Program” to open the
dialog box.
3. Press the text edit button to open the text edit
dialog box, and input a new program name (up to
24 characters).
By default, the multisample name will be specified
automatically.
4. If “Use Destination Program Parameters” is
unchecked:
Executing the command will replace the
multisample of the convert destination program
with the multisample selected here, and will
initialize the remaining program parameters.
Содержание Electronic Keyboard
Страница 1: ...Parameter Guide Parameter Guide ...
Страница 2: ......
Страница 180: ...Program mode EXi 170 ...
Страница 290: ...EXi STR 1 Plucked String 280 ...
Страница 572: ...Sequencer mode 562 ...
Страница 700: ...Global mode 690 ...
Страница 751: ...Insert Effects IFX1 IFX12 Routing 741 Fig 2 3a Fig 2 3b ...
Страница 902: ...Effect Guide 892 ...


