3.3.1
Auto zero can be executed by pressing the
[AUTOZERO] key when the guidance on sample
setting is indicated. For details, refer to Fig. 3-70.
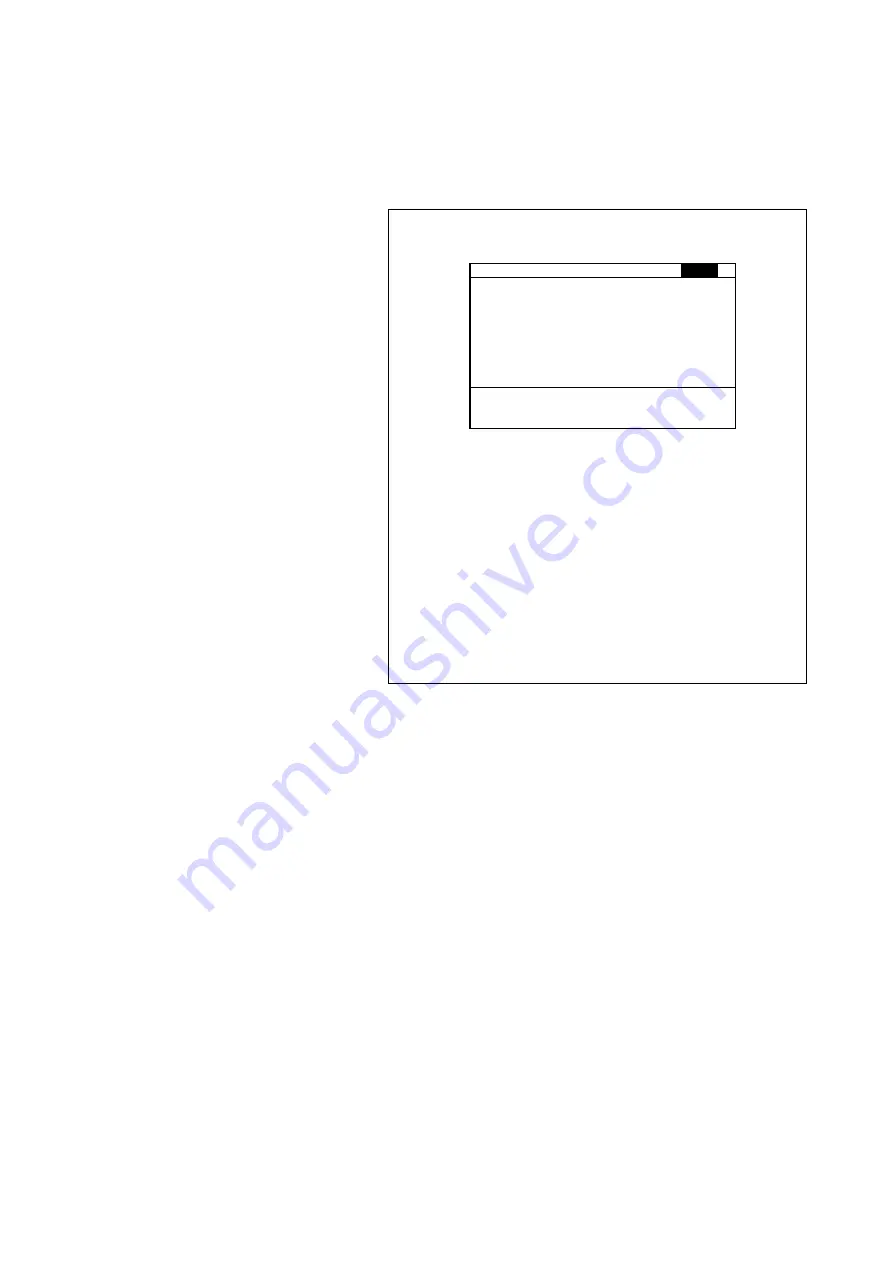
<1> Check that a guide message “START: Meas.
SampleXX:_” is displayed. For carrying out auto
zero, auto zero sample should be set to cell A.
Photometry
CELL 1
ID
ABS
CONC
1
START:Meas.Sample1:_
Sample Measurement Screen
<2> Set an auto zero sample, close the cover and press
the [AUTOZERO] key. The 6-cell holder will move to
the position of cell A and auto zero will be executed
there
<3> After execution of auto zero, the 6-cell holder moves
to the position before the execution and the sample
measurement screen reappears.
GUIDE
: For executing auto zero frequently, set an auto zero
to the position of cell A beforehand. It is now
possible to move to the position of cell A and
execute auto zero just by pressing the [AUTOZERO]
key.
Fig. 3-70 How to Execute Auto Zero
(2) After measurement of a sample, its measured
absorbance and concentration are indicated at the
corresponding sample position on the screen.
This screen appears after measurement of each
sample. Pressing the [START] key again starts
measurement of the next sample. Starting from the
1st sample, measurement can be made until the
[STOP] key is pressed or up to 150 samples.
Pressing the <1> key (Curve Confirmation) or <2> key
(Remeasure) allows the processing shown in Table
3-43.
3 - 109
Содержание U-5100
Страница 280: ...5 1 Check with Instrument Main Unit Alone Fig 5 6 Example Result of Wavelength Accuracy Check at 484 6 nm 5 6 ...
Страница 283: ...5 1 2 Fig 5 10 Example Result of Wavelength Repeatability Check 5 9 ...
Страница 286: ...5 1 Check with Instrument Main Unit Alone Fig 5 14 Example Result of Noise Level Check 5 12 ...
Страница 289: ...5 1 4 Fig 5 18 Example Result of Baseline Flatness Check 5 15 ...
Страница 292: ...5 1 Check with Instrument Main Unit Alone Fig 5 22 Example Result of Baseline Stability Check 5 18 ...


