3.2.3
3 - 69
5.
Setting of Printing Conditions
GUIDE
: Specify print items if determined beforehand.
You can also specify print items after completion
of measurement. If you do not want to set the
printing conditions here, proceed to step 6.
(1) To set the printing conditions, press the <4> key (Print)
and then [ENTER] key. Or select “Print” with the [
▲
]
or [
▼
] key and press the [ENTER] key or [
►
] key.
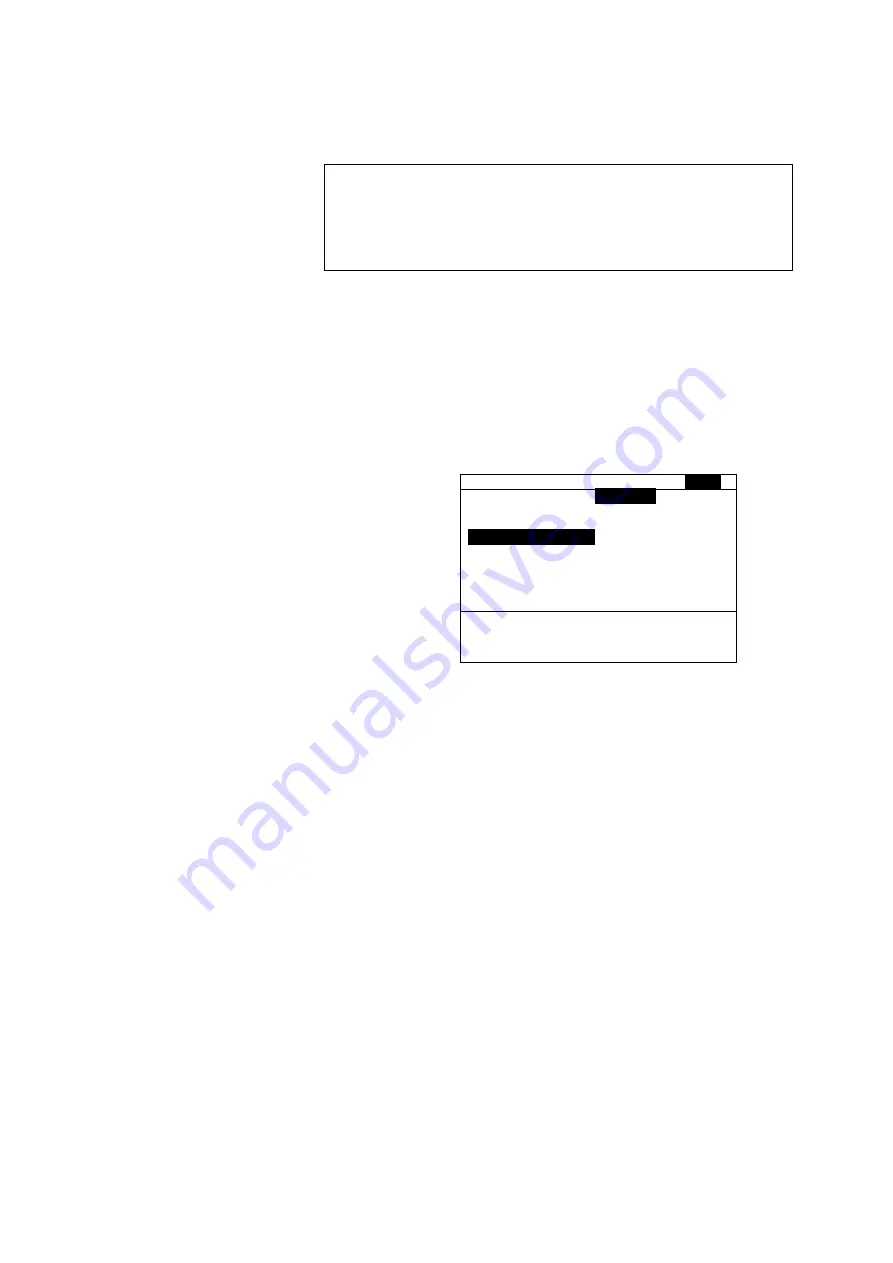
(2) The printing condition (Print) screen (Fig. 3-40)
appears.
Photometry
CELL A
1 Meas.PARAM.
Print Date
ON
2 Sample
Run Date ON
3 6 Cell Method
ON
4 Print
Sample
ON
5 Save Method
6 Meas.Screen
Select function. : _
□
1
ON □
2
OFF
Fig. 3-40 Printing Condition (Print) Screen
(3) To select the printing conditions, press the [ENTER]
key. Or select each item with the [
▲
] or [
▼
] key and
make your setting according to the guidance.
For details of each parameter, refer to Table 3-30.
(4) After specifying whether to print out the printing date
(Print Date), analysis date (Run Date), conditions
(Method) and sample data (Sample), return to the
Photometry screen by pressing the [RETURN] key or
[
◄
] key.
Содержание U-5100
Страница 280: ...5 1 Check with Instrument Main Unit Alone Fig 5 6 Example Result of Wavelength Accuracy Check at 484 6 nm 5 6 ...
Страница 283: ...5 1 2 Fig 5 10 Example Result of Wavelength Repeatability Check 5 9 ...
Страница 286: ...5 1 Check with Instrument Main Unit Alone Fig 5 14 Example Result of Noise Level Check 5 12 ...
Страница 289: ...5 1 4 Fig 5 18 Example Result of Baseline Flatness Check 5 15 ...
Страница 292: ...5 1 Check with Instrument Main Unit Alone Fig 5 22 Example Result of Baseline Stability Check 5 18 ...


