Tutorials
61
Step 4 — Enter the name of the map folder
1.
Type the name of the map folder in which to store your map images. This is
the folder you will choose when you sync the images to your device.
2.
Click Next.
If you selected your device from the list, go to step 6. If you selected Other,
go to the next step.
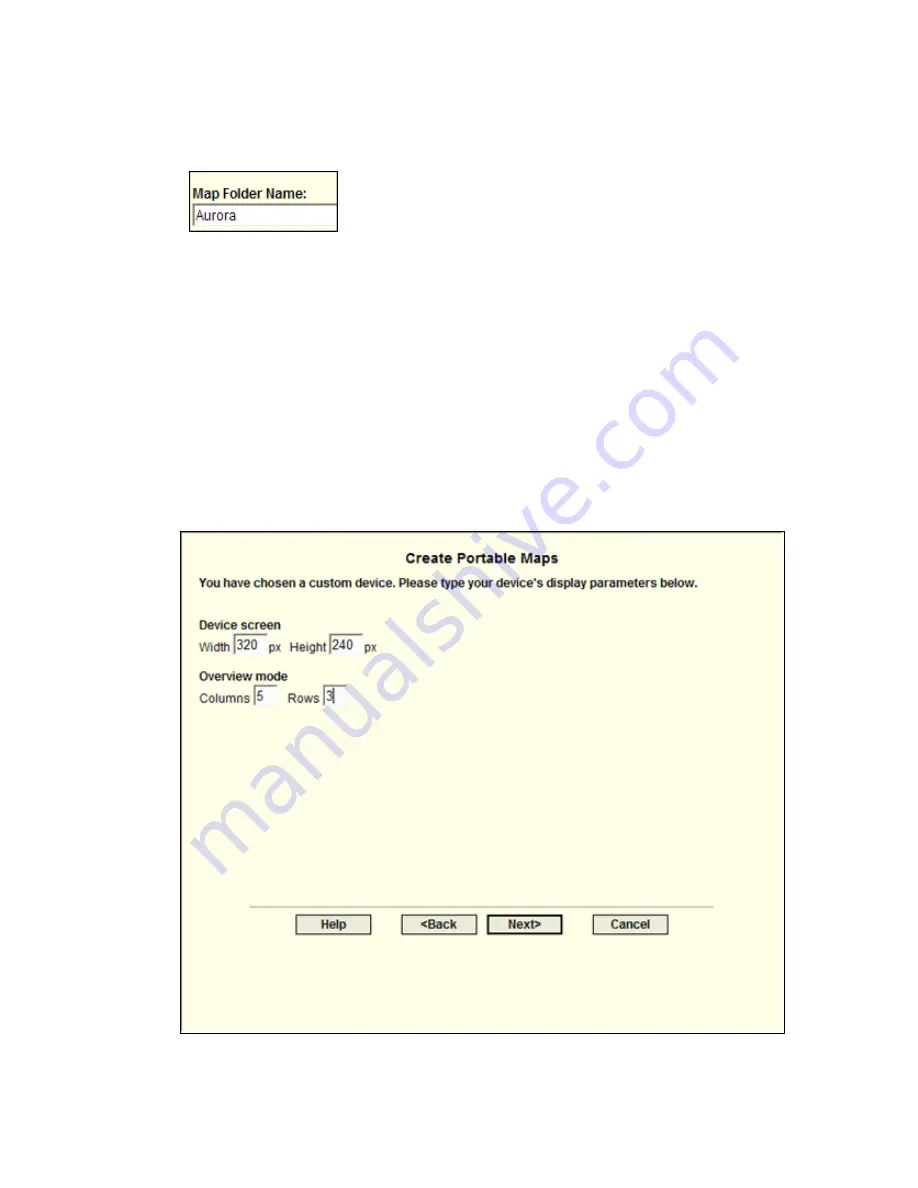
Step 5 — Enter the display information for your custom device
1.
In the Device screen Width and Height boxes, type the screen size in
pixels
2.
In the Overview mode Columns and Rows boxes, type the number of
columns and rows of photos that display when you view photos in preview
mode on your device.
The map will be divided into images based on the number of rows and column
you can view, so if you have five columns and 3 rows, your map is divided
into 15 images.
Содержание Street Atlas USA 2009
Страница 1: ...Street Atlas USA 2009 User Guide ...
Страница 2: ......
Страница 44: ......
Страница 56: ...Street Atlas USA 2009 User Guide 44 NavMode in 3 D ...
Страница 70: ...Street Atlas USA 2009 User Guide 58 Step 8 Exit the MapShare Wizard Click Close to exit the MapShare Wizard ...
Страница 74: ...Street Atlas USA 2009 User Guide 62 Step 6 Create your maps Click Next to create the maps ...
Страница 78: ......
Страница 90: ......
Страница 120: ......
Страница 146: ......
Страница 168: ......
Страница 228: ......
Страница 271: ...Using Voice Navigation and Speech Recognition 259 Last leg Approaching finish Off route ...
Страница 272: ......
Страница 290: ......
Страница 294: ......
Страница 298: ......
Страница 376: ......
Страница 388: ......


