Street Atlas USA® 2009 User Guide
198
To Draw a Circle, Rectangle, or Polygon
Use the following steps to add circles, rectangles, or polygons to the map.
1.
Click the Draw tab.
2.
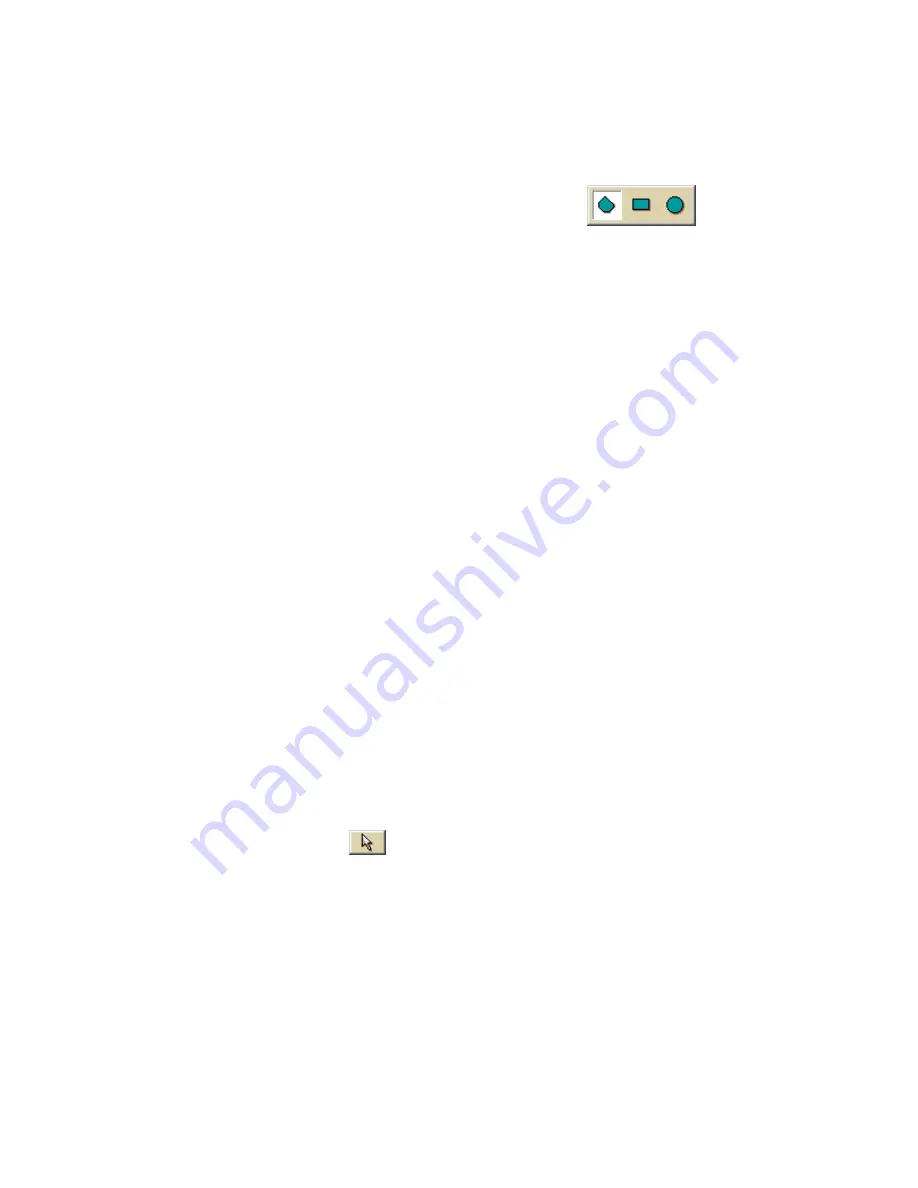
Click and hold the Polygon/Rectangle/Circle tool
to view its
hidden options. Select the tool you want.
3.
From the Fill drop-down list, select the fill style you want to apply to the area
object.
4.
Click the Fill Color button to the right of the Fill drop-down list to select the
color for your fill style.
5.
Select an outline style for your circle from the Outline drop-down list.
6.
Click the outline color button to select a color for the outline of your area
object.
7.
Select the width for your area object outline from the Width drop-down list.
8.
Select the Show Measurement check box to display area (and radius
information for circles) on the map as you draw the object.
9.
To draw a circle, click the location for the circle's center on the map and drag
away from center to set the radius for the circle. Release as soon as you
achieve the radius you want. The radius of the circle and the coordinates of
the circle's center display in the corresponding text boxes to the right of the
circle fill option area.
OR
To draw a rectangle, click the location for the rectangle's upper-left corner
on the map and drag away from the corner to set the width, height, and area
for the rectangle. Release as soon as you achieve the size you want. The
coordinates of the upper-left corner point display in the corresponding text
boxes to the right of the fill options. The distance and bearing/angle of the
final corner point from the first corner point display in the corresponding text
boxes to the right of the fill options.
OR
To draw a polygon, click the map to enter each point of the polygon. The
coordinates of each point display in the corresponding text boxes to the right
of the fill options. The distance and bearing/angle of each new point from its
previous point display in the corresponding text boxes. Labels display when
end points are clicked if the Show Measurement check box is selected.
10.
Click the Select tool
and then click the area object on the map.
A box displays around the object indicating that it is active.
11.
Click the object again. A text box displays. Type the label in the text box and
press the ENTER key on your keyboard.
Содержание Street Atlas USA 2009
Страница 1: ...Street Atlas USA 2009 User Guide ...
Страница 2: ......
Страница 44: ......
Страница 56: ...Street Atlas USA 2009 User Guide 44 NavMode in 3 D ...
Страница 70: ...Street Atlas USA 2009 User Guide 58 Step 8 Exit the MapShare Wizard Click Close to exit the MapShare Wizard ...
Страница 74: ...Street Atlas USA 2009 User Guide 62 Step 6 Create your maps Click Next to create the maps ...
Страница 78: ......
Страница 90: ......
Страница 120: ......
Страница 146: ......
Страница 168: ......
Страница 228: ......
Страница 271: ...Using Voice Navigation and Speech Recognition 259 Last leg Approaching finish Off route ...
Страница 272: ......
Страница 290: ......
Страница 294: ......
Страница 298: ......
Страница 376: ......
Страница 388: ......


