76
slow or heavily loaded network connections. Either will increase the CPU load on the source TeraStation.
Encrypted and compressed data will be decrypted and decompressed on the destination TeraStation.
• A maximum of 64 shared folders can be configured for replication.
• Replication can also be used to copy all data from a share to a share on an attached external drive. Format
the drive with ext3 or XFS before using it for replication. Drives with FAT32 partitions are not supported with
replication.
• You can select the first and second level of shared folders and USB drives connected to the TeraStation as the
replication source. Folders whose names contain more than 80 alphanumeric characters or "@" cannot be
selected.
As the replication destination, you can select the first level of shared folders, USB drives, and on/off-subnet
NASs shared folders.
• Don't use the same TeraStation for both failover and replication, or replication and Time Machine.
• Don't configure replication from one source folder to multiple destination folders.
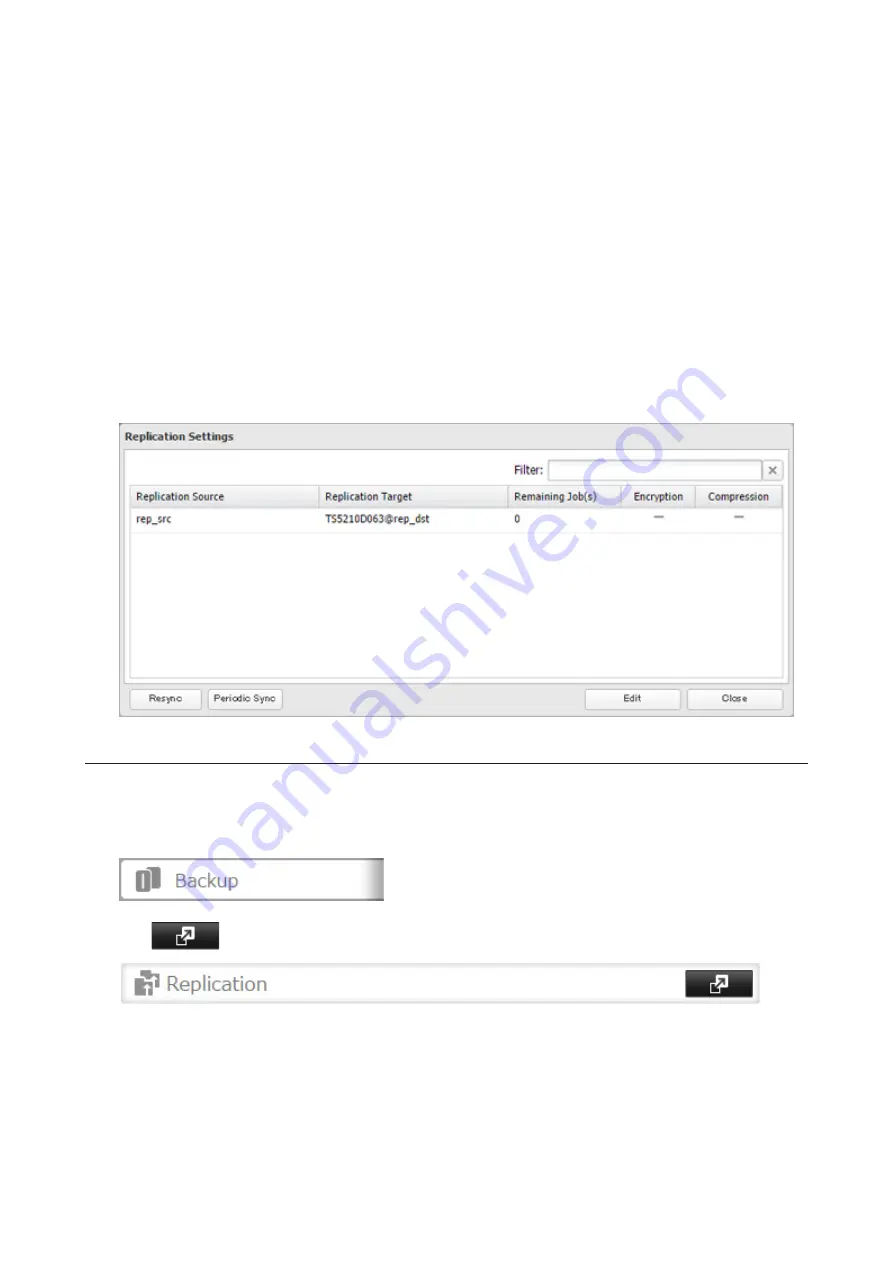
• If a network problem causes a replication error, unsynced data may be shown as "0" even though replication
is incomplete. Click
Resync
to recover from the replication error. All files from the source folder will be copied
to the destination folder.
Synchronizing Between Source and Destination Units Periodically
To copy files that are saved via other file sharing protocols such as AFP or FTP to the replication destination regularly,
configure "Periodic Sync" from Settings. Follow the procedure below.
1
In Settings, click
Backup
.
2
Click
to the right of "Replication".
Содержание TeraStation 5010
Страница 8: ...7 For Customers in Taiwan 175 ...
Страница 67: ...66 1 In Settings click Backup 2 Click to the right of Backup 3 Click List of LinkStations and TeraStations ...
Страница 75: ...74 3 Click Edit 4 Click Add 5 Click Browse under Replication Source ...
Страница 87: ...86 18Click Time Machine ...
Страница 88: ...87 19Click Select Backup Disk 20Select the TeraStation then click Use Disk ...
Страница 97: ...96 3 Click Create New Job 4 Select backup settings such as date and time to run 5 Click Add ...
Страница 103: ...102 4 Click the Options tab 5 Click Edit ...
Страница 114: ...113 7 Move the NFS switch to the position to enable NFS 8 Click to the right of NFS 9 Click the Client Settings tab ...
Страница 128: ...127 Updating Automatically 1 In Settings click Management 2 Click to the right of Update 3 Click Edit ...
Страница 137: ...136 3 Click Edit ...
Страница 138: ...137 4 Select or enter the desired MTU size and click OK ...
Страница 140: ...139 3 Click Edit 4 Clear the DHCP checkbox and enter the desired IP address and its subnet mask ...


