110
Port Trunking
Two Ethernet cables can be used to establish two separate communication routes, providing LAN port redundancy
and improving communication reliability. The use of two Ethernet cables enables access to the TeraStation even if
one of the cables is disconnected.
The port trunking modes that can be set in the TeraStation are shown below.
Trunking Mode
Characteristics
Active-backup
Only one NIC slave in the bond is active. A different slave becomes
active if and only if the active slave fails.
Dynamic link aggregation
*
Creates aggregation groups that share the network speed and duplex
settings. Utilizes all slave network interfaces in the active aggregator
group according to the 802.3ad specification.
TLB
The outgoing network packet traffic is distributed according to the
current load (relative to the speed) on each network interface slave.
* A separate intelligent switch that supports IEEE 802.3ad is required. Configure LACP in the switch first.
If the TeraStation is being used as an iSCSI drive, disable iSCSI before changing network settings such as port
trunking. Navigate to
Storage
-
iSCSI
in Settings and move the iSCSI switch to the off position temporarily.
1
Use an Ethernet cable to connect the hub LAN port and TeraStation LAN port 1.
Notes:
• Do not connect the second Ethernet cable to the TeraStation yet.
• If using an intelligent switch, configure the LAN ports on the switch first, before connecting to the
TeraStation.
2
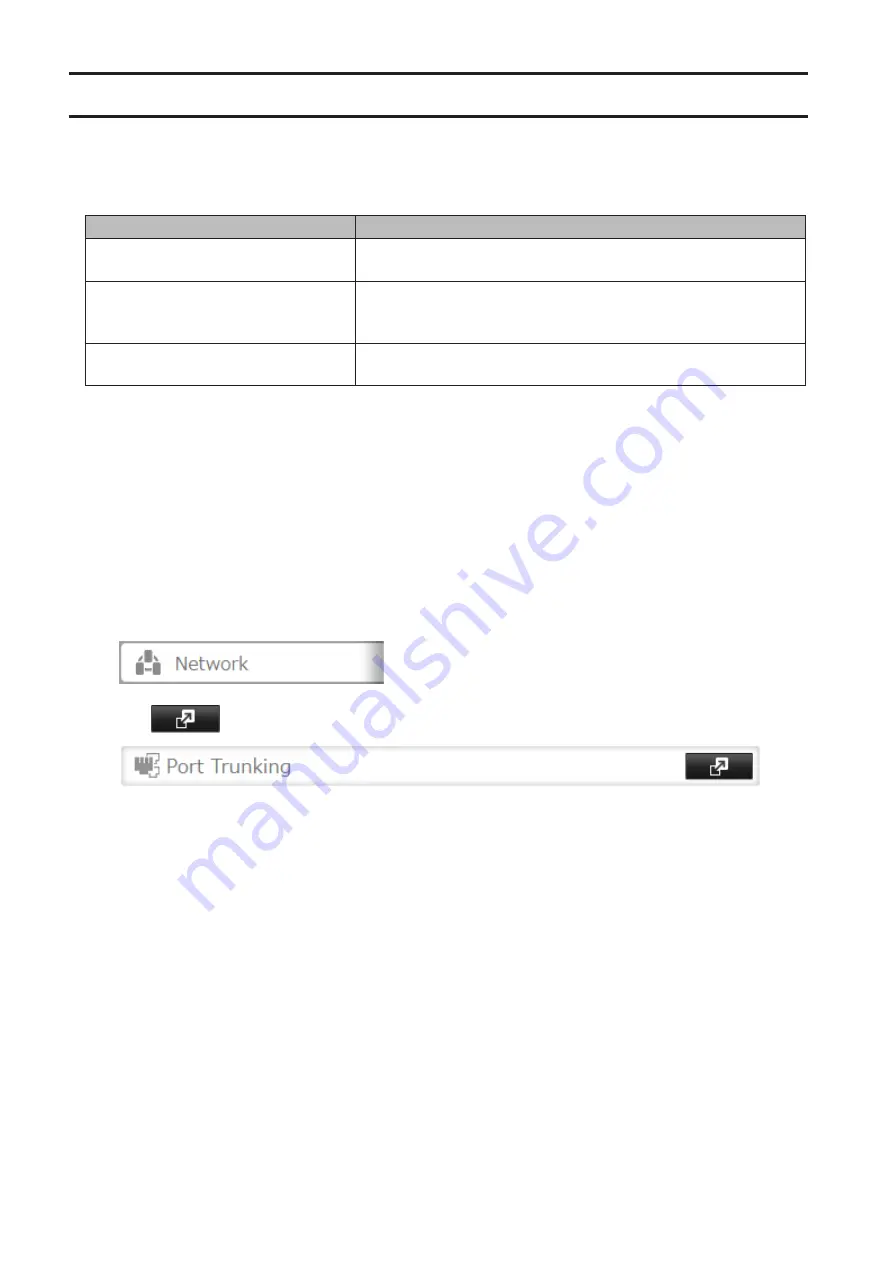
In Settings, click
Network
.
3
Click
to the right of "Port Trunking".
4
Select the LAN port that will be used and choose a port trunking bond.
Содержание TeraStation 5010
Страница 8: ...7 For Customers in Taiwan 175 ...
Страница 67: ...66 1 In Settings click Backup 2 Click to the right of Backup 3 Click List of LinkStations and TeraStations ...
Страница 75: ...74 3 Click Edit 4 Click Add 5 Click Browse under Replication Source ...
Страница 87: ...86 18Click Time Machine ...
Страница 88: ...87 19Click Select Backup Disk 20Select the TeraStation then click Use Disk ...
Страница 97: ...96 3 Click Create New Job 4 Select backup settings such as date and time to run 5 Click Add ...
Страница 103: ...102 4 Click the Options tab 5 Click Edit ...
Страница 114: ...113 7 Move the NFS switch to the position to enable NFS 8 Click to the right of NFS 9 Click the Client Settings tab ...
Страница 128: ...127 Updating Automatically 1 In Settings click Management 2 Click to the right of Update 3 Click Edit ...
Страница 137: ...136 3 Click Edit ...
Страница 138: ...137 4 Select or enter the desired MTU size and click OK ...
Страница 140: ...139 3 Click Edit 4 Clear the DHCP checkbox and enter the desired IP address and its subnet mask ...


